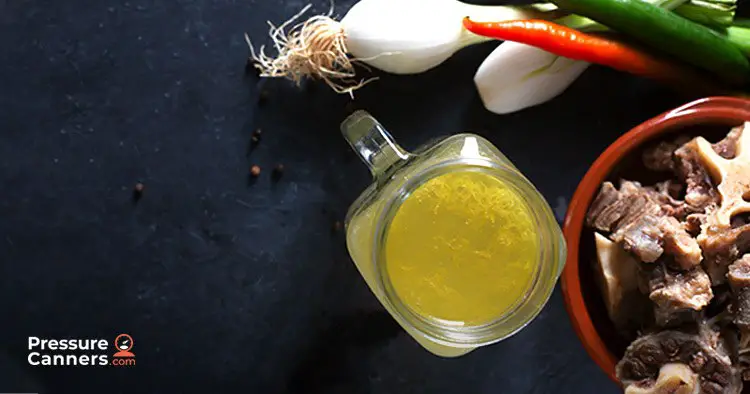
Canning Beef Broth is easy and fun, and a great staple to keep in your pantry. It’s much healthier than using store-bought bouillon cubes. You can customize the flavor and sodium content with fresh ingredients by using vegetables or bones that might go to waste. You can eat it on it’s own on a cold day, or use it to flavor soups, stews, and side dishes.
Use a Pressure Canner for Canning Beef Broth
Since beef broth is made from meat, a pressure canner is necessary, as potential bacteria in meat is only killed at high temperatures. Pressure canners are able to get up to that temperature and maintain it for longer periods of time.
Pressure canners also compensate for altitude differences and preserve food better. If you do not have a pressure canner, our buying guide will help you pick the perfect one.
The Recipes
Recipes for beef broth range from quite simple to more complex, and it all depends on your taste. The important thing is to find a recipe that you like now, and will want to eat several jars of in the future. Beef broth base recipes vary greatly and depend on taste, and you can also base it on what you have on hand. Those extra vegetables, the bone from a roast, and some spices can all combine to make a great flavorful stock.
Here are two recipes to get you started:
Recipe #1
Add beef bones, salt, sage, and water to cover in a stock pot. Put a lid on, place it on low heat and boil it for 8-10 hours. Sample the broth periodically to ensure it tastes the way you expect. Our beef bones come from a local rancher, and our sage was wild gathered in the desert, so every time we make a pot of stew, soup, or borscht, we start with this combination.
Recipe #2
These are general guidelines. Use what you have on hand.
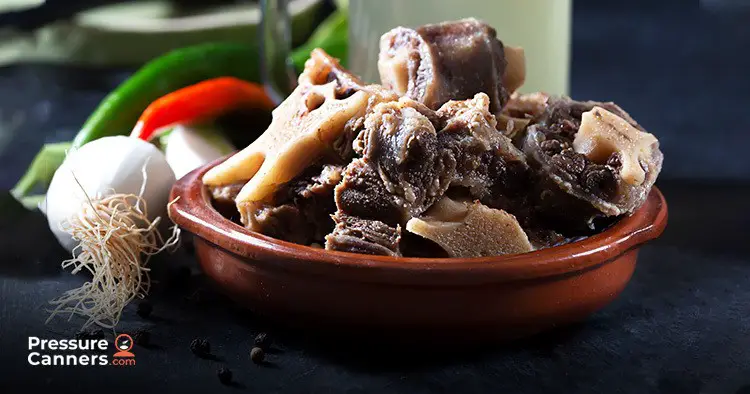
- Beef soup bones (beef shanks, short ribs, etc.)
- Vegetables (onions, carrots, celery, garlic, etc.)
- Seasonings (black pepper or peppercorns, fresh or dried thyme, rosemary, sage, etc.)
- Apple cider vinegar (this is optional – but it does help the bones release more of their flavor, 1-2 tbsp is enough)
Directions
- Place the bones in a large stock pot.
- Cut the vegetables into chunks and add to the stock pot, along with seasonings you have chosen.
- Cover with water. If you have a large stock pot, add up to 4 gallons of water.
- Place on a low heat and simmer for 8-12 hours. Cook it longer for a richer flavor. Be sure to put a lid on the pan or the water will evaporate, and you want to retain as much moisture as possible.
- Feel free to taste the broth from time to time, adding seasonings or more water to taste.
- If you see fat or other impurities accumulating on the surface of the water, just skim them off with a spoon.
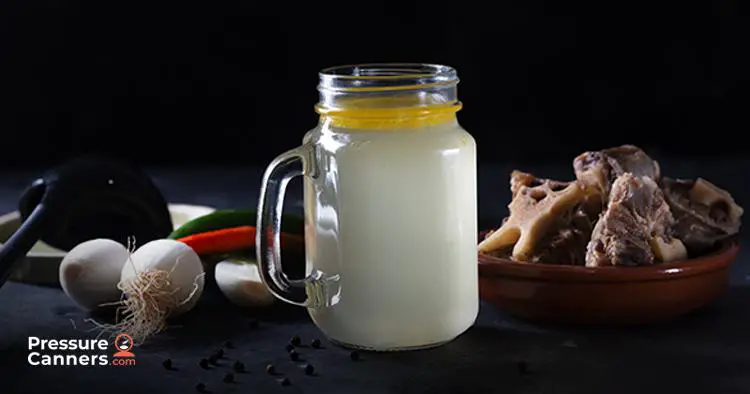
- Strain the broth into another pot and keep it warm.
- Optional: If you really want lean stock, after cooking you can strain the stock into a glass container, and allow it to cool in the fridge. The fat will rise to the top and harden, where you can remove it easily. You will need to bring the broth back to a simmer before starting the canning process.
How much will this make?
The amount of water you use will determine how many cans of beef broth you will have at the end. With Recipe #1, I made a smaller batch and canned 7 pint jars. If you use a bigger stock pot and add approximately 4 gallons of water, you will make about 7 quarts or 14 pints of broth.
Gather your Canning Tools
Make sure you have all of your canning tools ready to go:
- Pressure Canner
- Jars and Lids
- Jar Lifter
- Magnetic wand to lift lids from boiling water
If this is your first time canning, take a minute to read this guide.
Time for Canning Beef Broth
- Make sure your beef broth is strained and simmering on the stove, because ingredients must be hot when ladled into jars.
Prepare Jars and Lids

- With a pressure canner, you are not required to boil or bake your jars to sterilize them, because pressure canners get the jars hot enough to kill harmful bacteria. However, it is dangerous to add hot broth to cold jars.
- Jars should be clean, dry, and hot. If you have a dishwasher, run them through with an extra rinse, and keep them hot until you are ready to fill them. If you do not have a dishwasher, sterilize and keep them in the oven until you are ready to use them.
- You do, however, need to boil your lids., so place these in a pot of boiling water on another burner, and keep them hot.
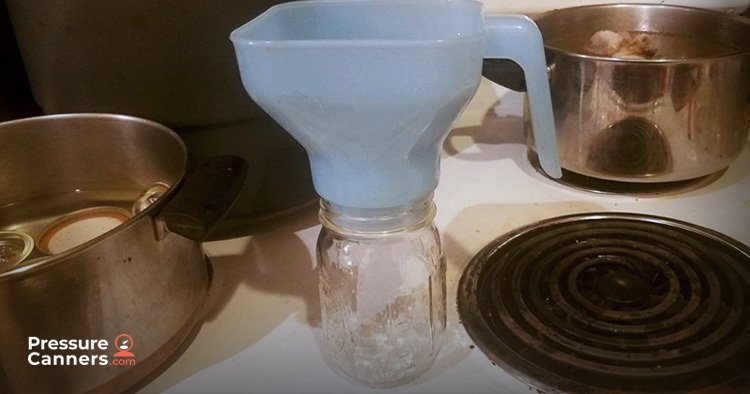
Add Broth to Jars
- Fill the hot jars with the hot broth, leaving 1-inch of headspace on the top, and remove any air bubbles that may happen to form in the broth.
- Wipe the top of the jars with a clean cloth.

- Remove a sterilized lid from the water with a magnetic lid wand, and dab dry on a paper towel. Place a sterilized lid and ring on the jar and hand tighten.
Add Jars to Pressure Canner
- Follow the instructions on the pressure canner, and place the jars in the pressure canner. Lock the lid and bring the canner to a boil on high heat. Let the canner vent for 10 minutes, then close the vent and continue heating. You want to see 11 PSI for a dial gauge and 10 PSI for a weighted gauge.
- Adjust the heat to keep the pressure steady, and once the pressure is achieved, start the processing timer. Quart jars should process for 25 minutes and pint jars for 20 minutes. NOTE: If you live at altitude, these pressures and time to process will be higher.
- When the time is up, follow your pressure canner instructions for venting, removing from the heat, and beginning the cooling process.
- After the pressure canner has cooled a bit and no longer vents steam, carefully open the lid of the pressure canner. Place the jars to cool further in a space with no drafts. Using a slow cooling process will ensure a good vacuum seal.
- Label your jars with the contents and date, and store them in a dark pantry until you are ready to use them.
It’s Your Turn!
Canning beef broth is a great way to use extra bones and produce, and it’s a great staple to have on hand. After you try canning beef broth, leave a comment below. Feel free to share recipes. We’d love to hear how it went, and answer any questions you may have.