Canning salsa is great for home canners of all sorts, from beginners to experts. It’s a little simpler than canning vegetables, or fruit jellies, and you can have fun experimenting with new flavors and spices!
As warmer weather approaches, salsa is the perfect snack to have on hand. You can pair it with yummy tortilla chips while you sit on the back porch with family and friends.
Store-bought salsa is good on its own, but homemade salsa packs a punch with flavor, spices, and freshness. So, let’s get to work on canning salsa for your next summer fiesta!
Some Things You Need to Know First
Before you start canning salsa, you need to know some of the basic terms associated with the canning process:
- Band – used to keep the lid securely fastened to the lid to form a two-piece cap
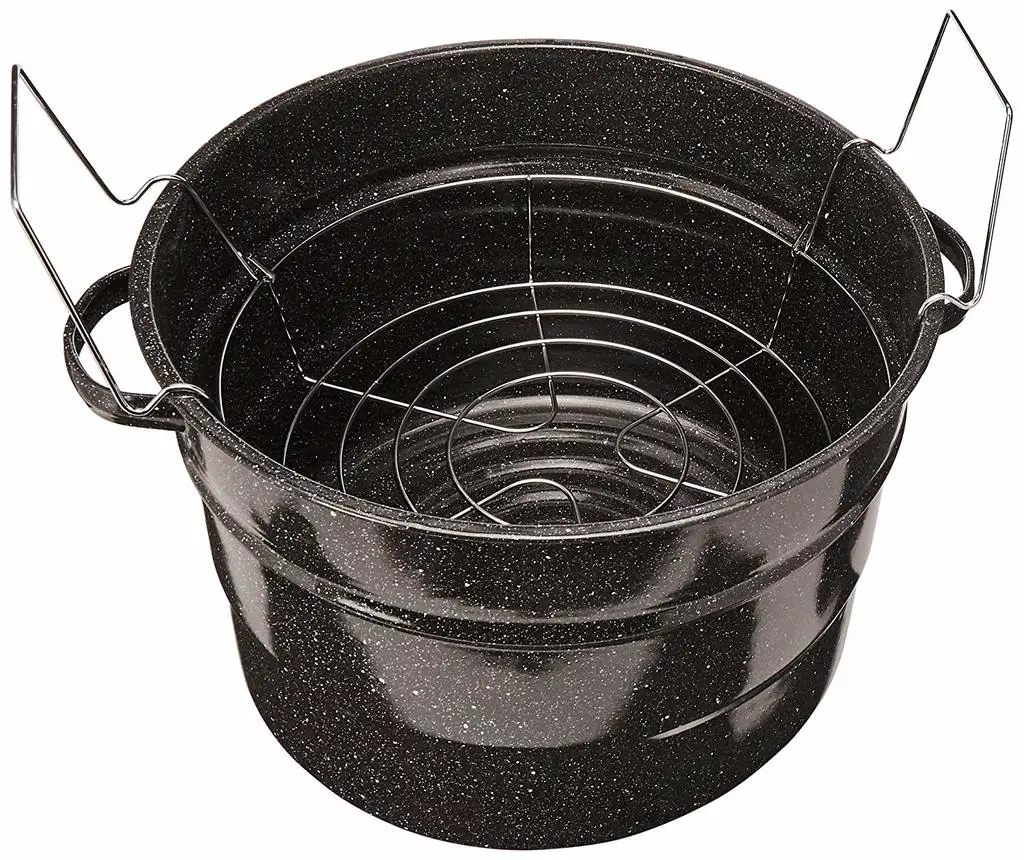
- Boiling-Water Canner – specifically designed pot where you can place filled jars completely inside to allow for the pressure process to occur
- Headspace – area at the top of the jar that is unfilled
- Lid – used in conjunction with the band to create a seal to form the other half of the two-piece cap
- Processing – when the jars and the contents are sterilized inside a canner to kill bacteria or other harmful elements
Of course, these are not the only terms you’ll need to know, but these are specific to canning in general. As we move forward with canning salsa, these basic terms will help you understand the process and what to do in each step.
The Perfect Canned Salsa Recipe
One of the first things you should consider before canning salsa is what kind of salsa you’re going to make. A basic tomato salsa, salsa verde, or a spicy jalapeno salsa are just a few examples of the fun you can have.
Here we’ve gathered an easy-to-follow recipe that will give you a flavorful punch with some simple ingredients. You may already have some of these veggies in your home garden!
Ingredients Needed
- 3 cloves of garlic
- 2 cups of lemon or lime juice (or both)
- 6 jalapeno peppers
- 3 cups of onions
- 2 cans of tomato paste
- 3 quarts of prepared tomatoes (or 15 lbs)
- 1 tbsp of salt and sugar
- 1 tsp of pepper
Feel free to add whatever you know you’d like in your salsa. A little cumin, for example, could give it more of a tex-mex flavor. Alternatively, red and yellow peppers will give you more of a veggie-packed salsa. If you like it spicy, get creative! You can make this salsa however you like – it is your creation.
Optional Ingredients (Probably from Your Garden)
- Cilantro
- Cumin
- Peppers (banana, hot chile, bell, jalapeno, ancho chile, etc.)
Feel free to have fun with ingredients and get creative. What’s going to be the most important, aside from the recipe, is ensuring that you understand the canning process itself.
Let’s Get Canning!
Gather up all of your supplies (see the list below), and let’s get started canning salsa.
Supplies You’ll Need
- The largest sauce pot you can find (think 3 quarts of tomatoes going in there)
- A small sauce pot to house your lids
- Water canner or large stockpot for the canning process
- Ladle for stirring and scooping out salsa into jars
- 3 large bowls for ingredients
- Pint jars for canning salsa
- Lids and bands (see above descriptions for more details)
- Towel (or towels depending on how messy you are)
- Timer
- Ice
- Trash can or large bowl to act as your trash can
Expert Tips
This might be your first go-round with canning salsa (or canning anything for that matter), and that’s okay. However, if you’re more experienced, or you know someone who can help you out, you would benefit from having these tools on hand for canning salsa:
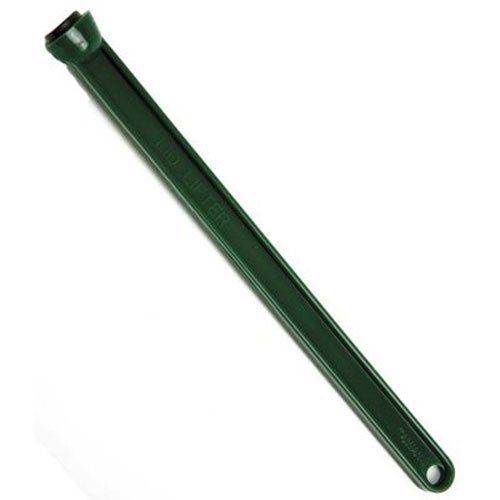
- Jar lifter
- Lid lifter
- Wide-mouth funnel
- Headspace tool
Substitute Tools
If you don’t have these tools on hand, you can use the following tools instead:
- Tongs (instead of the jar lifter)
- Fork OR Magnet (instead of lid lifter)
The other two devices aren’t easily replaceable with other household items, so don’t try to get too creative. You might up with a mess you can’t clean up easily.
Prepare Your Workspace First
This might sound like a no-brainer, but hear us out. Having all of your tools right out in the open will ensure that you have easy and quick access to everything you need.
Canning salsa is no walk in the park, but it’s not rocket science either. The trick to ensuring that canning salsa is more fun than hassle is to make sure you have everything you need on hand, plus a clear recipe to follow.
Canning experts make it very clear that you need to have your lids and jars hot before they’re filled. This is where those saucepans come in handy. Use the small sauce pot for the lids to rest in boiling water (more like a simmer, not a hard boil) and the larger sauce pot for the jars. Do this first before continuing with your canning process.
Some people don’t like to take up space on their stovetop during canning. You can use your dishwasher, after it has been run on a hot water rinse for sanitation, as a housing unit for your jars.
Opting for the dishwasher method allows you to use your open space and stockpot to get water boiling and ready for the filled jars. You’ll have to immerse the filled jars in the large stockpot with the canned salsa after it has been canned.
Add a few extra canning jars and lids, just in case your salsa recipe makes more than you originally anticipated.
Make sure you prepare your countertop surface for when the jars are filled and done with processing. Using a towel protects not only your countertops from the high heat of the processed jars but also from any salsa leakage that may occur during the processing period.
The Most Important Ingredient: Tomatoes
If you’re making salsa without tomatoes, you’re doing it wrong. That’s why this recipe calls for 15 tomatoes (or 3 quarts processed). You will be using a lot of vegetables, but you must first prepare them first.
Also, you can use some of the tomatoes that you have preserved before, making the whole process even easier.
The best type of tomatoes to use for canning salsa are Roma or Beefsteak. These tomatoes are typically stronger and can retain some of their texture in the high heat that comes with canning.
If you choose something more delicate, they may wither away and become too watery. You want to get the tomatoes that have less water and thicker skin.
Before you start canning salsa, peel the tomatoes. Without doing this step, you’ll be left with chewy salsa that is not very appetizing.
You can easily peel your tomatoes by placing a few vegetables at a time in a stockpot for 45 seconds. Then, put them in an ice bath immediately after removing them from the boiling water. Take them out of the ice bath after a few seconds, and the skin will peel right off! It’s as easy at that.
Juice Your Tomatoes
After peeling the tomatoes comes the fun part – juicing!
Take your vegetables and cut them in half. Squeeze out each half into a bowl (two squeezes at the most will be fine). It’s not recommended to wear white clothes during the juicing process. You can guess why!
Once all of the juice is (safely) out of the tomatoes, scoop out all of the seeds. Slice up the tomato halves. Remember that it is up to you as to how chunky you want the salsa.
Canning salsa is great because you get to choose how you want it to be – chunky, spicy, sweet. You can do whatever you want with your soon-to-be famous salsa recipe! Throw the chopped tomatoes into an empty sauce pot without the heat (we’ll get there in a minute).
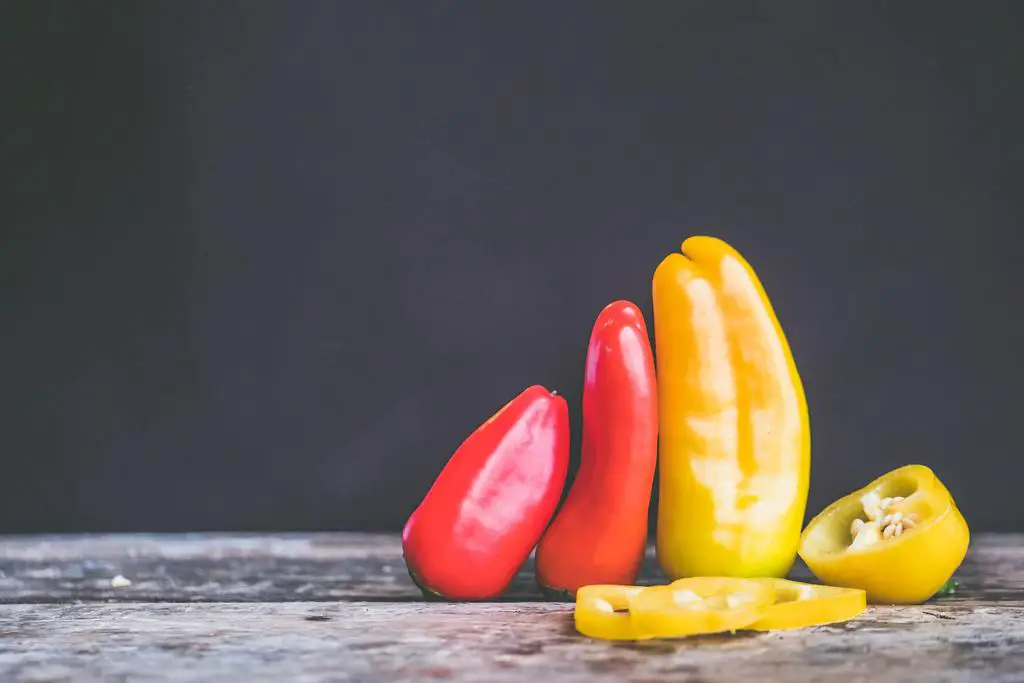
Get Your Peppers Ready
Spicy and sweet is the name of the game when it comes to salsa. What’s even better about canning salsa on your own is the fact that you get to choose what you want it to taste like! Let’s get those peppers ready to go.
Chop up whatever peppers you’re planning on using and combine them with your onions. Put them together in the sauce pot with your chopped up tomatoes (that are not cooking yet). Then, mince your garlic and chopped cilantro.
Add the rest of the ingredients from the ingredient list to the sauce pot and give it a big stir. Your salsa is almost ready for canning!
Simmer and Shine
Now is the time that the salsa ingredients work together to create their magic. For 30 minutes, you’ll let the salsa simmer. Get it hot and ready for the jars.
This is a great time to give your salsa a taste before you put it in the jars. Taste and add spices as your taste buds dictate. Add more peppers for a bigger spice kick, or more tomatoes if you want to reduce the spiciness.
You can also thin it out if needed with the juice you squeeze from the tomatoes. This is better than using water because the tomato juice has natural flavors that add to the salsa rather than using water that has no taste at all.
If your salsa is tasting too sour or acidic, try adding some brown sugar. This will balance out acidity while bringing out the flavors of your vegetables.
Let’s Start Using Your Canning Tools
Remember those canning tools that you placed nearby to have on hand? We’re ready to start using them!
Get those jars (which you’ve been keeping hot out of the dishwasher or the sauce pot) and put them on a flat surface. Put the salsa immediately into the jar and leave at least a ¼ inch headspace in the jar (refer to the top of the article for information regarding these terms).
Remove any excess salsa that may have leaked out during the filling process. If you skip this step, you may risk the jars not sealing properly, which would negate your canning attempts.
Take the lids out of the simmering water with the lid lifter (or fork/magnet) and dry them off. Do not take too long to put them on the filled jar or the canning process will not work. Screw the band on and watch the canning magic happen!
It’s Time for Processing
Your jars are filled and tightly sealed, which means they’re ready for processing!
The jars will head back to the stockpot that has the boiling water going. Fit as many of your filled jars as possible, but do not overfill the pot as this could cause possible breakage or damage to the jars. Put the lid on top of the canner or stockpot and take the heat down to medium/high.
Once the water reaches boiling again, set your timer for 15 minutes.
After 15 minutes of processing, you can turn the heat off and take the lid off of your canner. Let the jars sit inside of the stockpot for another 5 minutes to allow the process to continue.
Use your jar lifter to get the jars out of the canner or stockpot and put them on a flat surface. Keep the jars spaced out to avoid damaging the jars themselves. Do not move them again until the jars have cooled off!
Testing Your Seals
The period after the canning process is crucial. Without following the time frame exactly, you risk the seal breaking, which ruins the whole canning process.
Give your jars at least 12 hours before you start testing your seals. Do not leave them unattended for longer than 24 hours, though! To give your seals a test, check to see if the lid caves in a little bit. If it does, you’re good to go. That means your vacuum seal is just right.
If you find that your seal didn’t take, no worries, you can always reprocess them. While not ideal, this is an easy fix. Just take the band and lid off of the jar and empty the salsa back into a sauce pot. Give everything a good reheating back to a boil and clean all parts.
Put everything back into place, hand-tighten the band, and let the process happen again for another 15 minutes. Checking the seal is necessary to make sure your salsa is actually canned properly. Reprocessing is a simple solution if you have any issues.
Put it Away and Let it Marinate!
After you’ve done the hardest (and most fun) part of it all, you get to put your salsa jars on a shelf and let them marinate. Of course, you can use the salsa right away if you’d prefer, but canning salsa leaves you with easy last-minute gifts to give or the perfect snack on a summer night. Bon appetit!