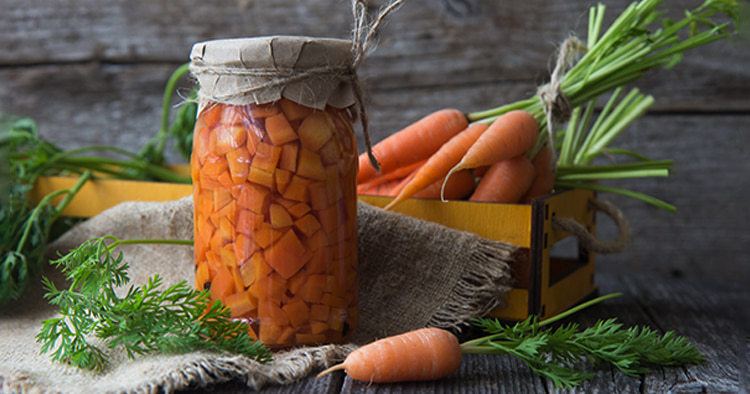
When you find yourself with a big pile of carrots from your garden, the farmer’s market, or just a huge sale at the grocery store, preserve them for future meals by pressure canning a batch. It is very easy to learn how to pressure can carrots, and this article will walk you through the basic steps.
Table of Contents
Choosing the Best Carrots
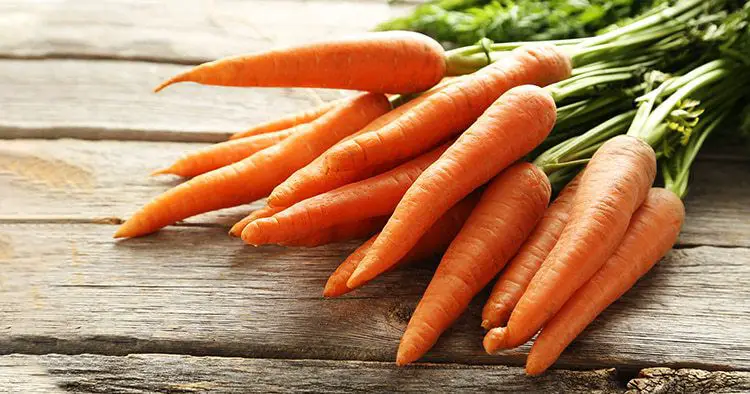
Ideal carrots for canning are fresh and crisp. If they are old or soft, they may end up mushy in the canning process. If they are roughly the same size, they will cook evenly in the pressure canner.
Carrots that are about 1 – 1 ¼ inch in diameter tend to taste the best. You can use larger carrots, but may be more fibrous when eaten later.
Gather about 17 ½ pounds of carrots for 7 quarts of canned carrots. 11 pounds of carrots will fill approximately 9 pint jars.
Preparing the Carrots
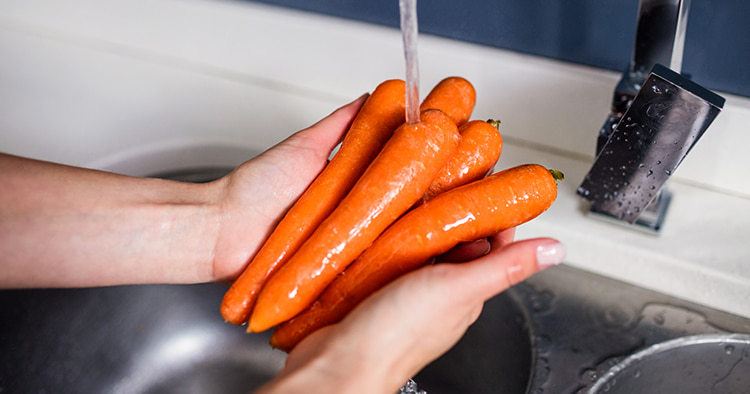
- Wash carrots well under cold running water.
- Trim the tops and the root ends.
- Peel the carrots – While some home canners leave the peels on, the USDA recommends peeling carrots as the skin can raise the risk of botulism. I had organic carrots and always eat the skins, so I took a chance and left the peels on.
- Slice the carrots into uniform pieces. Keep the slices at least 1/3 inch thick or they may get mushy. Carrot coins are popular, but matchstick pieces, or even whole small carrots work just fine.
- Rinse the sliced carrots in cold water once again to remove any dirt or botulism spores that may have made their way to the carrot’s surface.
Gather Your Pressure Canning Supplies
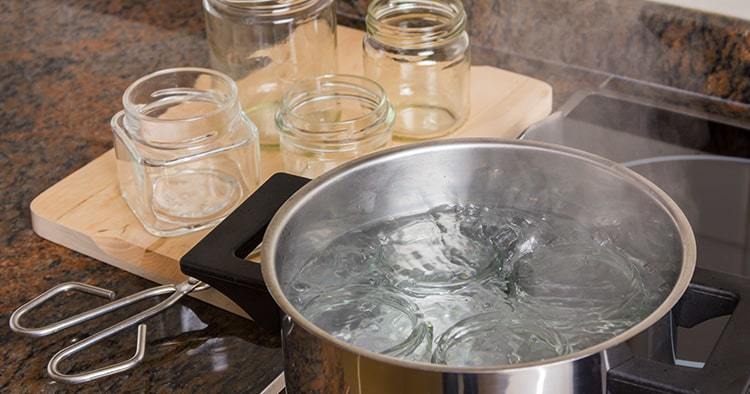
You need to use a pressure canner to preserve carrots. This will cook the carrots, kill all of the nasty bacteria, and provide the best preservation methods. Gather these canning supplies:
- Pressure canner filled with hot water – I fill my pressure canner and put it on the burner for a bit until it’s hot.
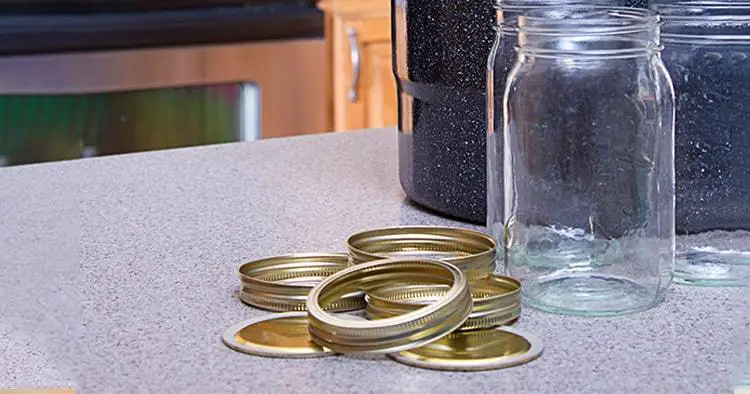
- Clean jars and rings – sterilize the jars in the oven or dishwasher and keep them hot. I like to use wide mouth jars for asparagus because it’s easier for me to fill.
- Lids – I set brand new lids in a pot of water on the stove and bring them to a boil
- Jar lifter
- Magnetic tool – for lifting the lids and rings
- Funnel
- Stick for removing air bubbles
- Pot of brine or hot water
- Towel – wet and dry for wiping the jar tops
- Carrots
- Salt (Optional)
Prepare the Canning Space
Prepare your jars, lids, and pressure canner:
- Set your pressure canner on the stove and warm up the water inside, as you do not want to put hot jars in cool water.
- Place your lids in a small pan and bring them to a simmer.
- Sterilize your jars and lids in the oven or dishwasher and keep them warm.
- Make sure your brine or water is ready and hot.
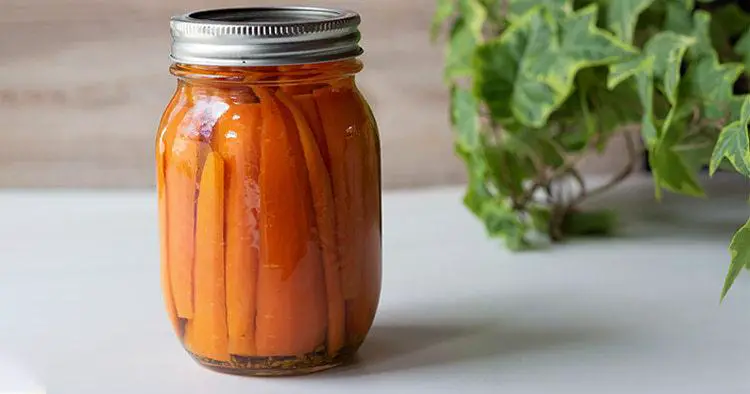
Hot Pack vs Raw Pack

Carrots can be packed into jars in a couple of ways.
For the hot pack method, place the carrots in a pot and cover them with boiling water. Bring the pot back to a boil and simmer for about 5 minutes. Spoon the carrots out and place them in the hot prepared canning jars. Add the boiling liquid to the jars before sealing.
For the cold pack method, put the room temperature prepared carrots into the hot jars. Spoon boiling water over the carrots before sealing.
An optional step before adding the lids to the jars is to add 1 teaspoon of salt per quart jar. This is just for flavor and will not affect the processing.
Whichever method you use, a funnel will make the whole process much easier.
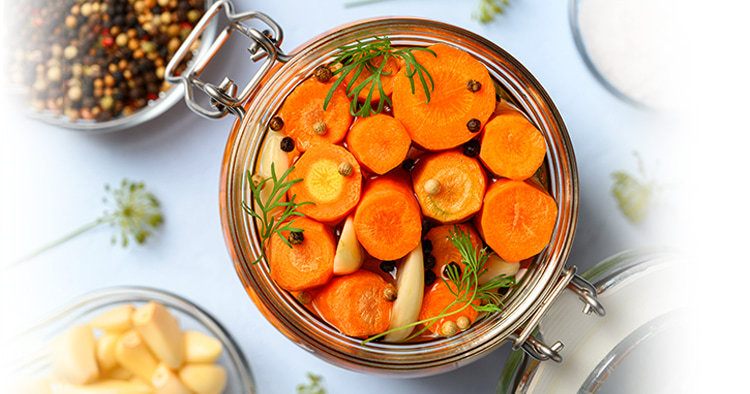
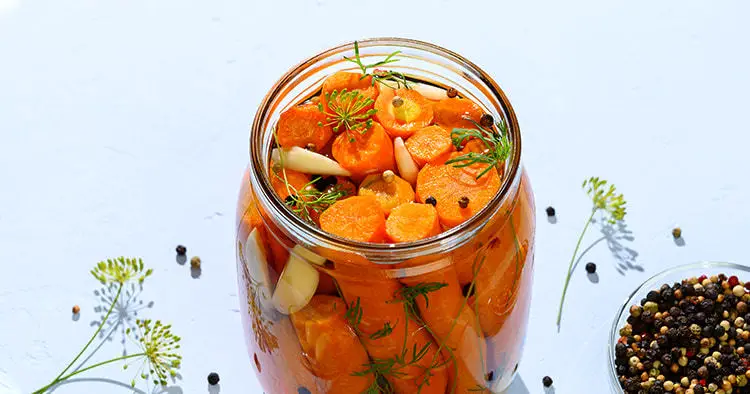
Pickling Carrots
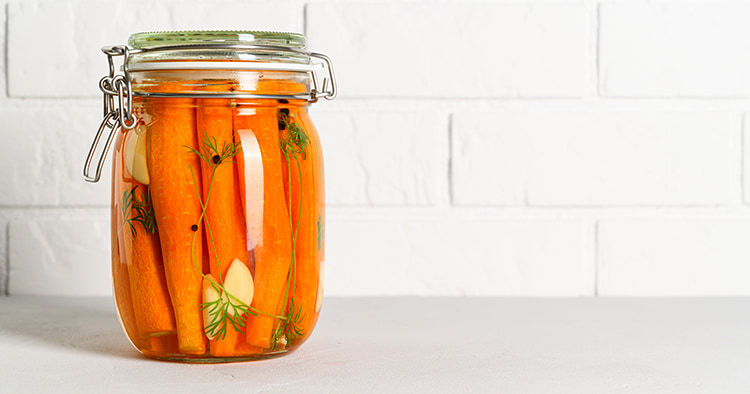
You can also make a brine, so the carrots are in essence pickled.
Here is a recipe from the National Center for Home Food Preparation for pickling liquid. This makes enough brine for 4 pint jars.
Combine these ingredients in a large pot.
- 5 ½ cups white distilled vinegar
- 1 cup water
- 2 cups sugar
- 2 teaspoons canning salt
Bring this to a boil. Add prepared carrots and boil for 10 minutes.
When you are ready to fill the jars, to each jar, add these two spices to the bottom of each jar:
- 2 teaspoons mustard seed
- 1 teaspoon celery seed
Add the carrots and fill the jars with the brine before sealing the jars and processing them in the pressure canner.
Fill your Jars
The jar should be hot when filling no matter which method of packing you use. Use a funnel to keep things neat and clean.
Once you’ve filled your jars with carrots, remove any air bubbles that may have stayed in the jar using a chopstick, plastic knife or a tool designed for the job.
Wipe the rims of the jar to remove any liquid. This is necessary for the jar lids to form a proper seal.
Lift the hot lid out of the simmering water, shake off the excess water. You can tap it dry on a clean towel. Place the lid on the jar and add the ring. Screw the ring on well, but not too tight.
Place the jars in the pressure canner. The water pressure will rise, so if there is too much water according to the manufacturer’s directions, just remove some.
Place the lid on your pressure canner and lock it. Following directions in your particular pressure canner manual with regarding to weights, pressure, and time. If you live at higher than 1000 feet, consult the pressure canning altitude chart and add extra processing time.
Ready to Pressure Can Carrots
Once the weights start rocking, start the timer. Once the timer goes off, turn off the heat and let the canner slowly release its pressure and cool down slowly. You can gently slide it over to another burner for this process. It depends on your stove.
Once the pressure is released, you can remove the lid and remove your jars. They will still be hot so use the jar lifter or hot pad.
Check to make sure the lids have sealed. If they have not, put them contents in the fridge or freezer for consumption soon. If they have sealed properly, label them store in a cool, dry place.
What to do with canned carrots
Arguably, home canned carrots taste way better than cans bought from the store. Now that you know how to pressure can carrots at home, you can get the produce when it’s freshest in the summer and fall and eat carrots all winter long.
Preparation is easy. Carrots are great fresh out of the jars or in a carrot mash. Add them to soups and stews for a hearty meal any night. Now that you know how to pressure can carrots, you can enjoy them all winter long.
How do you enjoy canned carrots? Share your tips and tricks for canned carrots below.