The worst thing you can read in any guide, not only about pressure canning tomatoes but about cooking in general, is that it is tricky. Cooking is easy.
Most problems we make is because we were stressed about doing things correctly, second-guessed ourselves, and made a slip. Before you even enter the kitchen, you should relax. Also, take several deep breaths, and remember that even if you “fail” some of the jars, you will still have some nice pasta dressing to use for your next meal.
While a calm attitude should be preserved, as a rule, two things are imperative to the process and that you should always remember: keep everything clean, and keep yourself safe. It is much better to clean up a stain made by tomatoes, than one made because you’ve cut yourself. Cleanliness, in this case, is quite easy, as the biggest factor, the jar itself, will be sterilized by the heat of the canner, but you should still make sure that everything in your kitchen or workspace is clean, dry, and orderly.
For newbie chefs, this might sound like a neat-freak talking, but having a clean kitchen will make it much easier for you to organize and to see what you are doing and where everything is.
Introduction
Pressure canning tomatoes is very easy because they inherently have the acidity needed to kill off harmful bacteria like Clostridium Botulinum, a.k.a. the bacteria that causes botulism. Regardless, because we are using a pressure canner, we can be sure that even sugary vegetables will be treated correctly.
Tomatoes are also good because they are versatile. It is best to use canned products in the first two years of creation. Otherwise, it is possible to use them safely almost indefinitely, adding just a bit of spice or vinegar to fix the taste once you open them.
Finally, even though there are some tips and tricks in this guide on how to make your pressure canning tomatoes project stand above the rest, it is not scripture. You should listen to your nose and your mouth if they tell you to add something extra.
You can always make different jars, and maybe even come to a brilliant discovery that your little experiment made a wonderful result that will bring joy to your family, friends, or the world, if you are willing to share that is.
Tools
The pressure canner is probably the most complex tool when pressure canning tomatoes, as everything else is fairly simple, and if you don’t have all of the devices in your kitchen already, that is because some are in the bathroom.
For our cooking, we have used the All American 211/2 quart Pressure Cooker Canner, which is specific because it doesn’t have a gasket that is very common in pressure cookers.
In most cases, you will need not only to monitor this gasket for cracks and breaks but also to lubricate it from time to time. If you have the same pressure canner as we do, you don’t need to worry about the rubber, but you will need to make sure that all of the seals are nice and tight.
While some additional muscle would be nice when screwing the lid on with the All American if you give it your best it will be enough regardless of your grip.
Additionally, the knife you are using is somewhat important, as experienced users will have the easiest time cleaning the tomatoes with a paring knife, while those starting their culinary journey should use the aptly-named tomato knife.
Here is a list of things you will need when
pressure canning tomatoes:
- Nice, fresh, tomatoes (red, green, yellow, whichever you prefer)
- A clean and sharp tomato knife
- One pressure canner
- One large plastic bowl
- Packs of ice
- A pasta catcher
- A ladle
- A stirring tool or a long spoon (note: not a whisk)
- A portable cutting board
- One jar holder
- A comparable number of jars to the number of tomatoes
- Lids, relative to the number of jars (maybe a few extra, just in case)
Preparation forPressure Canning Tomatoes
Experienced canners or cooks will know how much time they need for which task, and so it is possible to do things in the same time while the water is boiling, and especially once the pressure canner is on, but for this guide, we are doing everything by the book.
Have everything clean and ready. Clean the tomatoes and fill out the jars first. Then, you can star with pressure cooking, sealing, and storing everything up in the pantry.
Filling out the Jars
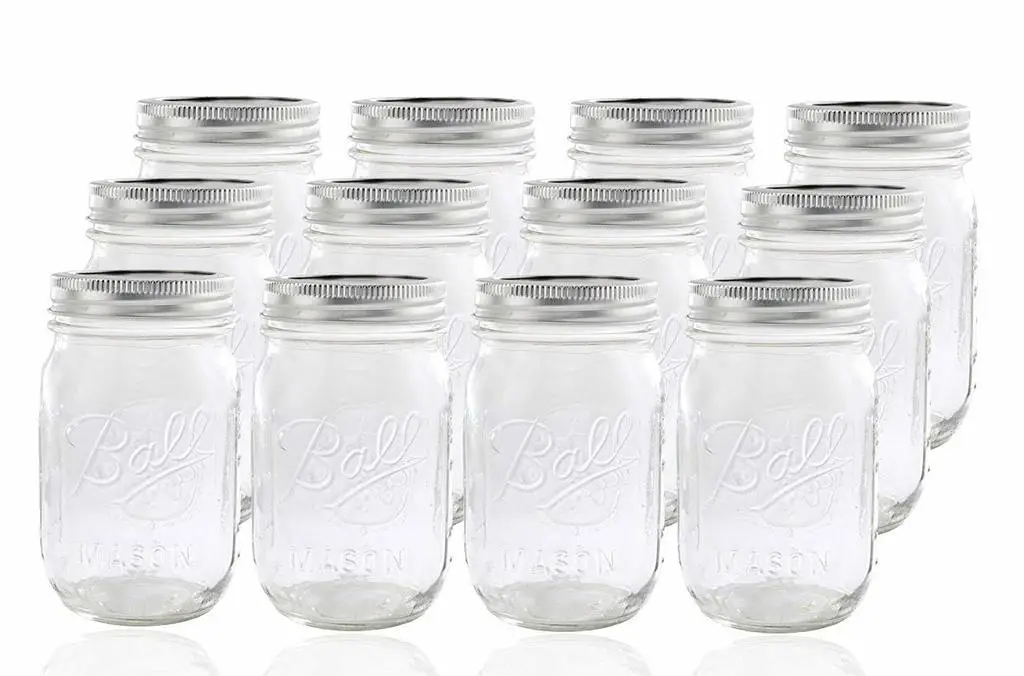
Ball Glass Mason Jar with Lid and Band
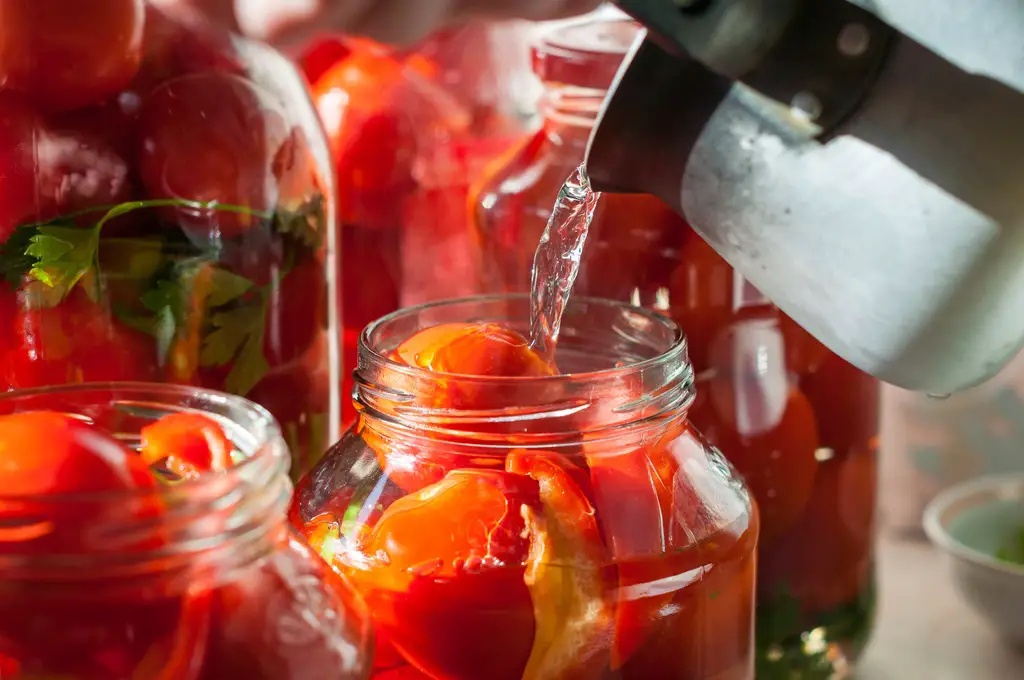
There are two popular ways to fill out jars with tomatoes, hot filling and cold filling. As there is not a significant difference in taste, and cold filling has fewer steps, we will portray that one.
The most important thing when filling the jar is to ensure that there are no air pockets or bubbles. Those will cause even the hardest jars to crack or burst, probably destroying entire batches. This is easily prevented by stirring the contents several times during the filling process. Also, this is usually a good time to put in some seasoning.
Prepare your ingredients beforehand and add accordingly. You might stray a bit from the receipt if you want, but keep in mind that if you put in some extra ingredients that they will leave a substantial influence in taste after a year in the jar.
Ingredients:
- Fresh tomatoes
- Citric acid (lemon juice, orange juice, or lime juice)
- Salt
Optional:
- Black pepper
or - Fresh mustard leaves
or - Peppermint
Clean
The cleaning process for tomatoes is very straightforward. First of all, wash the vegetables in running water, scrubbing any pesticide or dirt from the skin. Second, cut the top and the bottom, or better yet gauge out these ends if you have a tomato knife.
On some tomatoes, and especially if you have opted to buy organic, you will have some dark spots. While you don’t want any of these spots, which are, in fact, mold spots, to get into your jar, it is a good sign that the tomatoes are nice and ripe. Ripe tomatoes have more nutrients and more sugars, meaning that they will be much tastier once they are treated.
Cut off the whole area around the spots and leave your produce like that, ready for pealing.
Peal
Depending on the number of jars you want to be filled, sometimes it will be easier just to peel the tomatoes manually. But, if you have a large batch, you will want to prepare a pot of boiling water and a bowl of ice cold water. This part of pressure canning tomatoes you will need to play by ear.

Fill out your large pot halfway through with tap water (provided that it is chemically safe, if not use bottled water) and put it to boil. Once the water is near boiling point, fill your plastic bowl with ice and run it over with some more cold water to make it half full.
When the water is boiling, use your pasta catcher or ladle to put a tomato in boiling water for 30 to 60 seconds.
Once the 30-second mark has passed, place the tomatoes in cold water for about 15 seconds, and then put them out to dry and cool.
The thermal difference between the cold skin and the still hot insides will make the tomatoes basically peal themselves. This will leave you just to remove the skin from the body. It is imperative to remove the skin when pressure canning tomatoes as it has a thick cell wall and bacteria can hide inside.
Cut

You can quarter the pieces if you have larger jars, but as the pressure cooker only allows for quart jars, it will probably be better to dice them. Cut a tomato in half and then make large dice on both sides. If you have used a paring knife before, this is a moment where you will need a vegetable knife.
Fill your jars with one tomato at a time, as this will reduce the amount of runoff juice falling from the cutting board.
Fill
As you have started filling the jar, stir with a ladle or a long spoon every time you put a few tomatoes in. Once you have filled your jar to about halfway, add half a teaspoon of salt to every pint of jar volume. This point is also when you want to add any seasoning, mustard leaves, black pepper, or peppermint.
When filling the jar with cold tomatoes, leave about an inch to the top empty.
Once it is almost full, add the citric acid to the mix. You should add about ¼ of a teaspoon of citric acid to every pint of tomatoes in the jar. Most people use citrus fruit juices which are much more accessible, but they do leave some taste, and you will need to use more. If you are using lemon juice or lime juice you will need to add 1 tablespoon per pint, or 2 tablespoons per pint if you are using orange juice.
Once the jar is almost full, pour hot water with a ladle to top-off the jar and place the lid on top.
Season
While seasoning is the least important part of the technical process, it is an essential part of making the contents of the jar tasty for consumption.
A traditional variety has nothing inside except tomatoes, salt, and citric acid, and this will leave that classic taste of jarred tomatoes that most of us remember as kids.
But, if you want to spice things up, you can use flavors, especially herbal ones. These additions will change the taste substantially. Mustard leaves will make the tomatoes spicy, and peppermint will be almost completely infused to the produce, but it will make for an ”artisan” taste than some people just adore.
Pressure Canning Tomatoes
Always read the instructions for your particular pressure canner before you start pressure canning tomatoes. If your variety has a gasket, make sure that it is flexible and lubricated.
Fill out the bottom of the canner with water, to the level where the platform will sit. Put in the platform and place the jars on it. Note never to place the jars on the bottom of the canner, as the temperature difference between the base and the top will break the jar and probably ruin the canner. Use your jar holder to place as many jars inside that you can.
Once the jars are tightly inside, close the top and seal it tight. The lid shouldn’t budge even for a bit and should stay firmly on the top, with all latches in place.
Once the lid is sealed, put on the vent cap to build up the pressure and start cooking. You will want a slow fire to raise the pressure and temperature gradually to about 10 psi for both pint and quart jars. Once the pressure is reached, cook the jars for 10 minutes, releasing cap from the vent.
Make sure you adjust your pressure to your altitude, as not all places have 1 atmosphere of pressure in the open.
Mind the Product
After the 10 minutes, turn off the stove and leave the vent. Wait for everything to cool down entirely before you even try to open the lid.
Some products will have a lock to prevent you from opening the canner too quickly. For others, you will need to wait while the pressure gauge comes to the bottom and then wait for about an hour before you open the lid.
There is no point in making this part faster, as you will be leaving the jars to cool off even further later.
Once you open the lid, the contents will still be hot. You can even expect some steam to rise even after a few hours. Use your jar holder to pick out the jars and place them on a dry cloth. Place them at least an inch apart from each other.
Check the seal to see if it has tightened. You will do this by slowly pressing the middle of the lid to see if it flexes. If it is tight that means that your pressure canning tomatoes are done. You can now put it in the pantry. If the lid is not tight it should go to the fridge. Unsuccessful batches should be used in the next few days, up to a week.
Conclusion
Pressure canning tomatoes is not difficult, especially if you have all of the necessary tools. It is a good entry point for those who want to start learning about cooking. Finally, it is also an almost essential part of life for anyone making their own food.
Once you have your tomatoes canned, make sure to mark them if you have used anything special inside. You can use the contents for anything from sauces to dressing. Also, you can just eat them over bread with some smoked meat or salmon.


Pingback: Home Canning Supplies Make Preserving Easy | PressureCanners.com
Pingback: Canning Salsa Has Never Been Easier! | PressureCanners.com