Water bath canning is probably the best way to make your entry to the culinary world. It is a mix of very simple and straightforward techniques, together with interesting and artisanal results.
The only downside to water bath or pressure canning is that once you get the hang of it, you will try to can anything and everything. You will be filling the pantries of your family and friends with more deliciously sinful calories than they can manage.
You need very few tools to complete water bath canning. All of the additions people use are just to make the process even simpler and easier. The only prerequisite you need it some organizational skills, as you will want to mark everything you make to know what you have.
Also, you might want to write down any time you diverge from the beaten path, as you might need to recreate the recipe later.
Introduction
Water bath canning is much easier than pressure canning and demands a much shorter list of tools. You still need to be careful not to burn yourself with boiling water or heated lids, but that is the nature of working in a kitchen in general.
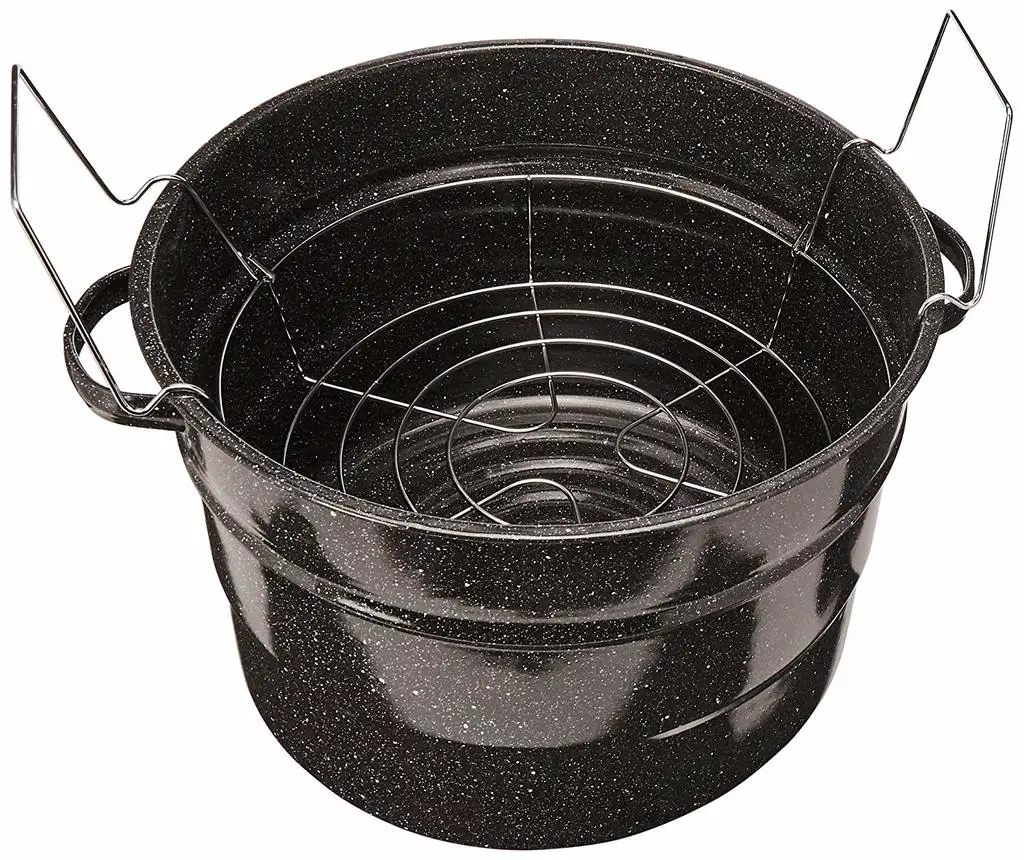
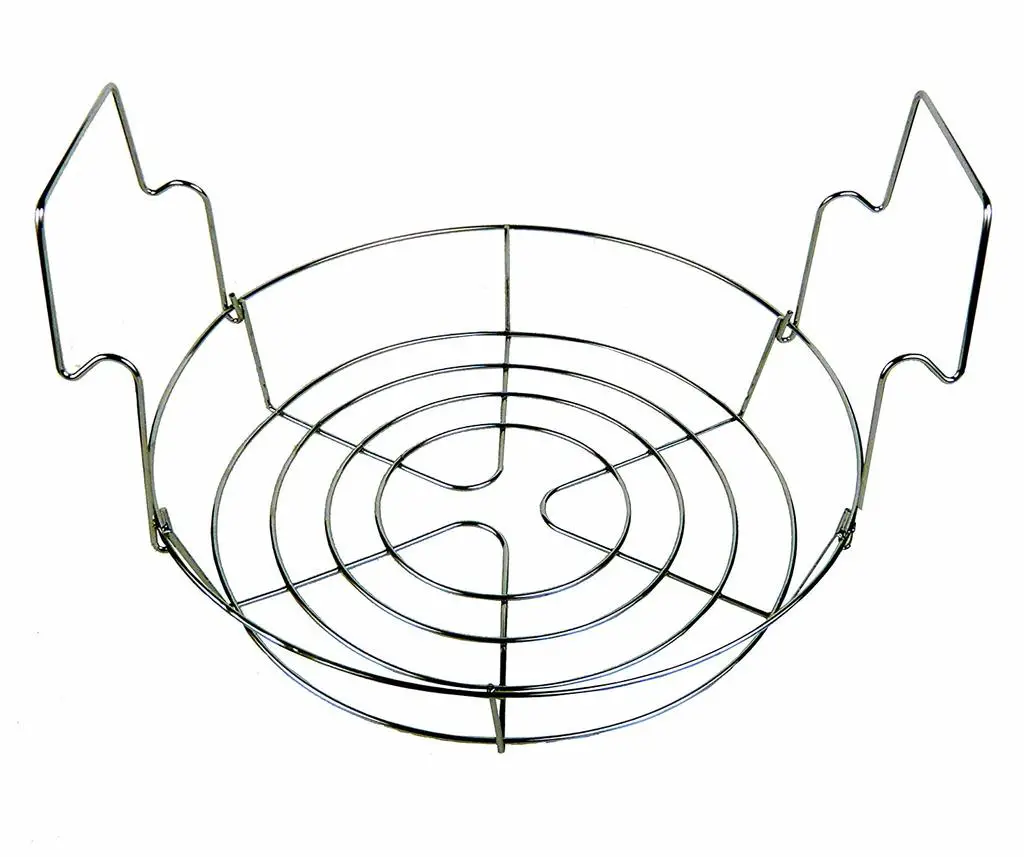
A water bath canning pot is basically a large pot that has a place for a rack. As the type of the pot is not important, you may even use a regular pot you have at home, or you can use a pressure canner, but without the needed pressure.
There is a variety of products on the market, and it is very easy to find a selection of high-quality products for a relatively small amount of money.
What Can You Can and What Can You Not
Once you have said this subtitle out loud quickly for a few times, you can decide what you want to put in your jars. While the formulae can vary, the main rule is to make whatever is inside safe to store for a long time, as well as safe to eat.
Different fruits and vegetables have various issues, concerning the bacteria that might be inside, any type of mold or fungus, as well as sugar and other types of carbohydrates that can dissolve in time and change the taste, ultimately make the contents rancid.
Fats
The first thing you can’t preserve this way is any type of fat, including lard, towel, grease, as well as any product that contains these ingredients. This means that fresh meat is out of the question and cannot be canned without the use of salt or preservatives. Animal products such as eggs also need to be pickled and not canned directly.
Dairy
Additionally, any types of milk or dairy products are also out of the question as lactose is filled with lactic bacteria that will, eventually, eat everything up. While some bacteria will make cheese out of milk, any other product will just become spoiled. If you think that you can go around this by using tofu, though luck, as soy milk has the same bacteria.
Grain
Then we come to the grain. While most grain looks dry compared to other foods, it still has some oil on the inside that is protected by the outer shell. This means that it will become a safe haven for bacteria on the inside and spoil your entire jar if you put them in. This goes for rice, wheat, oats, barley, corn, and any recipe that contains them, be those thickeners, pasta, or sweets.
Some Vegetables
Finally, there is a number of veggies that should be pickled rather than jarred fresh, as they usually have too big of a cell wall to be broken by water bath canning.
Also, they do not reduce as much as other products as to vacuum-seal the can correctly. These include broccoli, brussel sprouts, cabbage, cauliflower, eggplant, summer squash, olives, lettuce, artichokes, as well as mashed parsnips, squash, potatoes, and pumpkin.
You can jar parsnips, squash, potatoes, and pumpkin, but only diced and not mashed.
Tools for Water Bath Canning
There aren’t many tools that you will need to can your produce this way. For traditional recipes, you will need two sets of tools, one for preparing the contents and the other for the canning and jarring process itself.
Quick list:
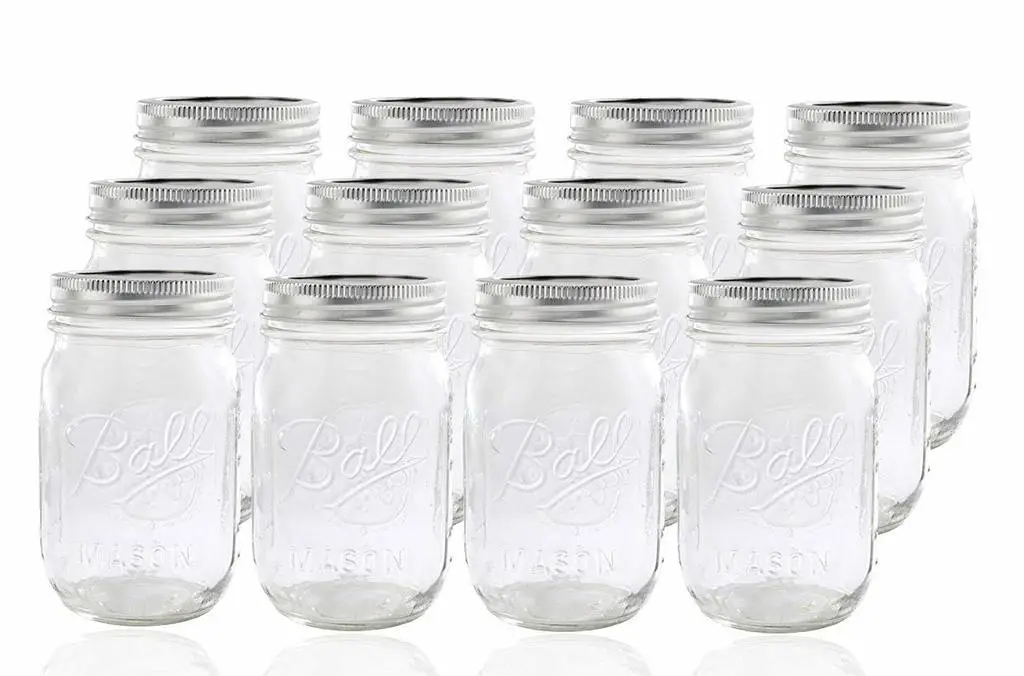
- Jars
- Lids
- A cutting board
- A vegetable knife
- A tomato knife
- A ladle
- A rubber spatula
- A canning funnel
- A large pot (with a tight lid)
- A wire rack
- A jar lifter
- A lid wand
As you may notice, most of the stuff here is something that you probably already have in your kitchen. Additionally, all other things can be ordered by a bargain price online.
Before you start your filling and water bath canning, make sure that all of your tools are accounted for and that you know where everything is. This way you will not need to lose time and nerves finding what you need. Also, it prevents you from maybe even burning up something in the process.
Once you have all your tools and ample space to work, you can start selecting your content of choice.
Your options are plentiful, and while techniques change slightly depending on the fruits and vegetables that you want to use, the principle is almost always the same, as well as the basic processes of ‘’hot canning” and sealing with a water bath.
Ingredients
The best results with water bath canning are with products that have high acidity. This is not for the taste alone, but also because the acidity in plants like oranges or tomatoes already kills most of the bacteria inside.
Also, they are rather easy to work with. Acid foods don’t actually need to be sour like lemon juice. Many jams and jellies have the desired acidity, while still being sweet and delicious.
Best things to can and jar using a water bath canning process are:
- Jams and jellies
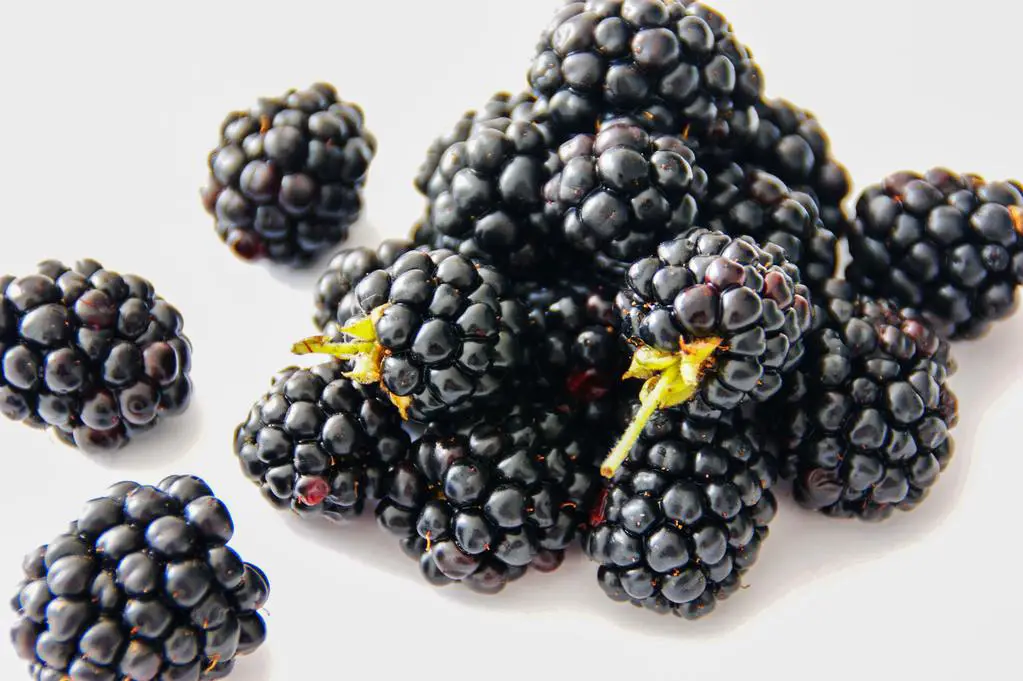
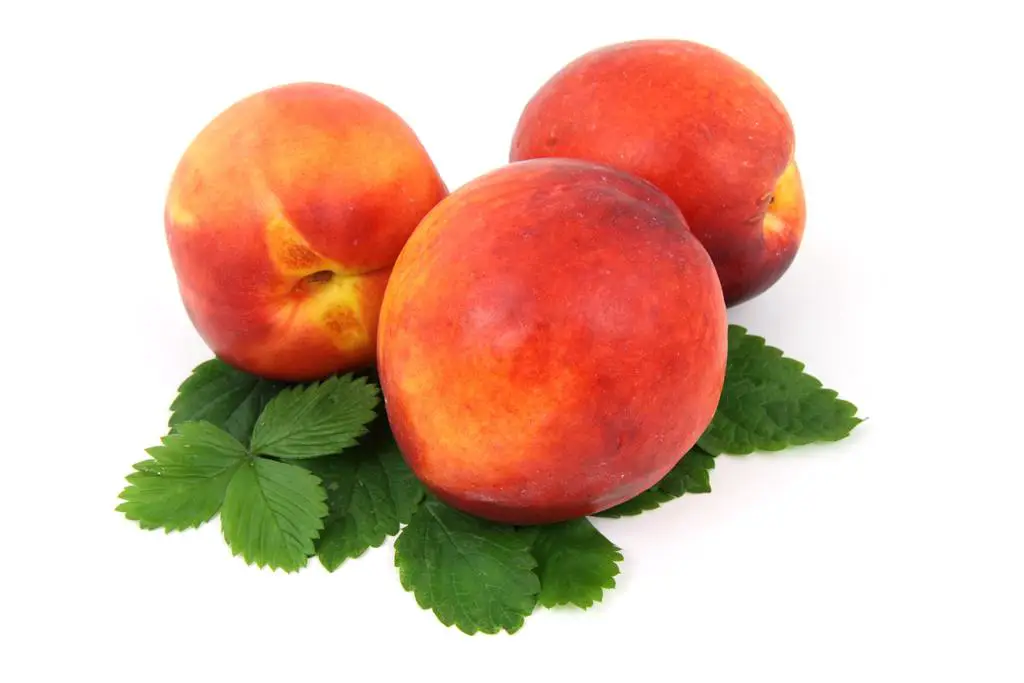
- Fruits and fruit juices
- Salsa
- Vinegars
- Tomatoes
While some things in this process can be filled into the jar cold, this process is much better applicable when using pressure canning. As in this case, we will be pre-boiling the jars as they are, we should use ‘’hot filling” to make out jars full with safe and delicious content.
Acidic Fruits and Vegetables
As previously mentioned, these kinds of fruits and vegetables are best suited to be canned or jarred. The acidity found inside removes much of the harmful bacteria and mold on its own. Additionally, most sour-ish fruit and veggies can easily warm up to a temperature that kills off other bacteria.
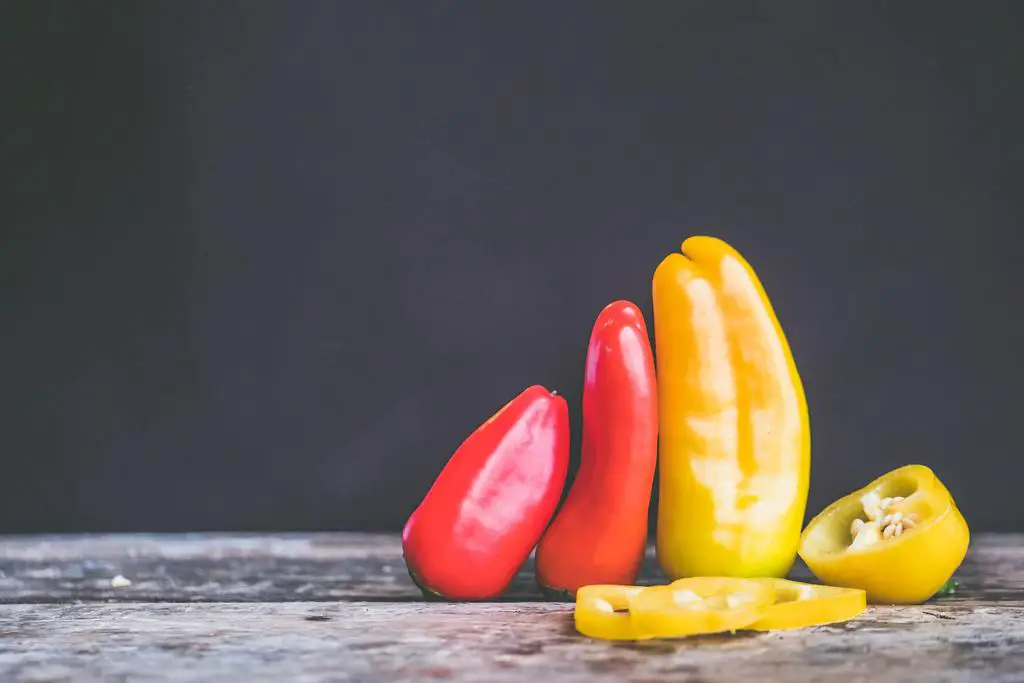
The number of acid foods that you can jar grows if you are using a hot filling technique, as this will break the cell wall of dryer fruits, as well as some vegetables rich in fiber like red peppers.
Sugary Fruits and Vegetables
Our terms might be slightly mixed here, as most people have the misconception that ‘’acidic” has much to do with taste. We usually think that acidic fruit just means ‘’sour”, while non-acidic means sweet. This doesn’t need to be the case, as anything that has a pH value below 6.5 should be considered ‘’acidic” and those which don’t should be considered ‘’not acidic”.
This group contains most vegetables, as well as fruits like modern bananas (Cavendish). Unlike their acidic cousins, they have thicker cell walls and lesser water content, making them harder to process thermally. This is why in the case of sugary fruits you should always focus on making a jam or jelly that you will first cook directly before putting it into the jar for final sealing.
Starchy Fruits and Vegetables
While you will often see starchy fruits and vegetables canned by large companies, this is not something you should do at home. During cooking, starch expands quite a bit and can shatter the glass jar that you are using. Additionally, this type of produce has very thick cell walls and can shield many bacteria from being killed off, destroying the batch inside.
The best thing to do with things like potatoes or eggplant is to marinade and pickle them. This will preserve them for a long time, without the risk of injury or infection.
The Process of Water Bath Canning
Finally, the process of actually making the finished canned product. Once you have all the tools at your disposal, as well as the ingredients you need, you can start first to prepare the contents and then proceed with filling out the jars and sealing them with water bath canning.
1. Clean Everything
Before you start, clean the jars, lids, and pots in soapy water. Be sure to rinse everything properly and not leave any soap spots on the inside of the lids. Once everything is cleaned, it is time to sterilize it.
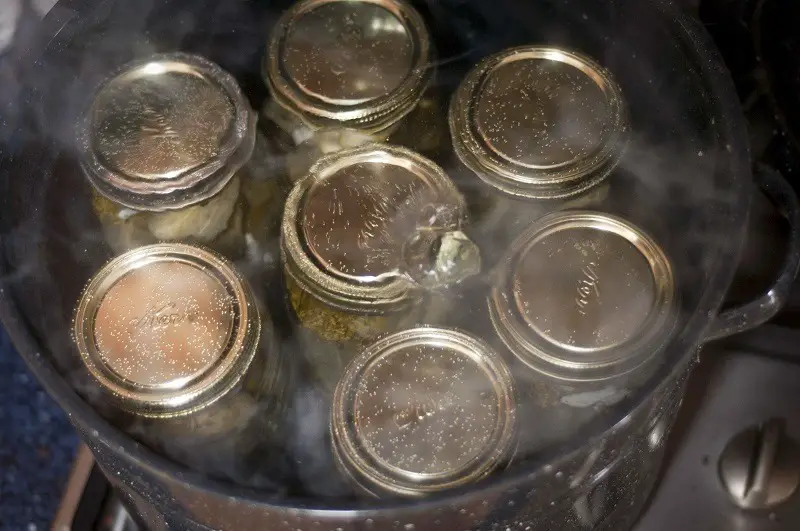
Put your rack inside the pot and put open, lidless, jars on the rack. Fill the pot with room temperature water and put it to boil on a very slow fire. Your goal should be to maintain the heat of around 180°F for about 10 minutes.
This process will not only sterilize the jars from any bacteria that could have been hidden in the curves and crannies but will also expand the jar ever so slightly. This expansion will prepare the jar for the hot content that will come in. Also, it will prepare it for the future bath canning.
2. Filling the Jars
Unlike the cold filling method, which is often used when you are canning tomatoes, a hot filling is often safer medically. Although, it has some risks and needs a funnel to put everything in safely.
Depending on what you are using, the recipe will be different. Regardless, you will need to clean your fruits and veggies first and cut off any mold you see (the dark spots). Also, you need to remove the skin from anything you are making. Some veggies will be easy, but for others, you will need to use the boiling water and ice water technique.
Once you have everything cooked, place the funnel onto the jar and fill the content slowly and evenly. Use a rubber spatula to even the levels and remove any air bubbles that can form. Finally, leave about ½ an inch at the top. Depending on what you are using you can fill this with various preservatives. Finally, you can use citric acids like lemon juice, or just warm water.
Ensure that the rim is nice and clean to get a good seal on the jar.
3. Closing the Jars
The lid should be touching the contents of the jar, as well as the jar itself on all sides. If you see the lid floating a bit, press on it and remove excess liquid with a damp cloth.
Then closing the jar, tighten just to the point when you feel any resistance. It is best to do this with just one finger and stop as soon as the finger starts slipping.
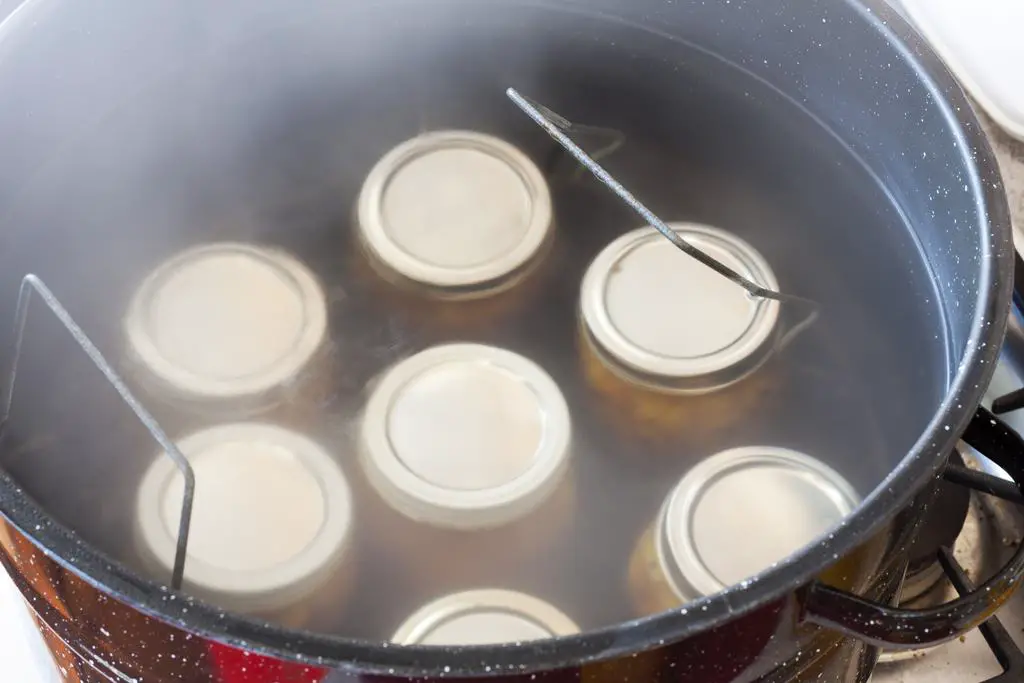
Fill out the large pot with water to where half of the jar would be and start bringing it to a simmer. Remember to measure the amount of water from where the rack is and not where it will be. Once it is up to temperature, start putting the jars inside one by one.
Finally, when all of the jars are inside, lower the rack as to submerge all of the cans. They will need to be at least an inch under water. If there is not enough water, add some boiling water.
4. Cooking
There is little at fault in letting the jars stay in boiling water for longer. This is why you should always leave them inside for 20 minutes, which is the recommendation for one-quart jars. The glass could be thicker, and there could be impurities in the produce. It is just better to be safe than sorry.
Once all the jars are in, light up the fire to put the water to a rolling boil and cover the pot. Let it boil for 20 minutes and then cool for 20 minutes when you place it off the fire.
5. Check the Seal
Once the water has stopped turning, use the jar holder to pick out your jars from the pot and place them on a cloth. The jars should be at least an inch apart when cooling.
Press slightly on the seal, press on the center of the lid and see if it pops out. If everything is in place, you can safely store your jar into the pantry for many years. If you see the lid pop out, that means that the seal is not perfect. You should use your botched canned product in the next few weeks and refrigerate it as soon as it is cool enough.
Conclusion
As you can see, water bath canning is not difficult, and you only need a couple of tools. Once you know what you want to make, you can start on your culinary journey. Soon, you will can delicious jams, jellies, salsas, and sauces that you can eat throughout the years.

Pingback: Home Canning Supplies Make Preserving Easy | PressureCanners.com
Pingback: Canning Salsa Has Never Been Easier! | PressureCanners.com