The moment you take a brand new canning jar out of its box, you shouldn’t assume that the jar itself is sterile. You have no idea as to what practices the companies making these cans follow so that the can will come with some form of bacteria located inside.
A general rule of thumb to follow would be to automatically assume that just because the canning jar is covered by plastic wrap or comes in a box that it is not manufactured in a sterile environment.

On top of the canning jars being contaminated by bacteria that are not visible to the naked eye, canning jars may also accumulate pieces of dirt, dust, and in some cases even chips of glass.
You may be surprised to hear that a majority of packaged jars break from the time they leave the factory doors to the time they reach your home.
In fact, sterilizing jars for canning comes in handy since you can use it as the time to inspect each jar for any cracks or chips. If you do find any imperfections, you can simply toss aside these non-useful cans
Regardless if the jar you’re using is brand new or been used hundred times over, you always need to clean the canning equipment before filling them.
What Are Dangers Of Unsterilized Canning Equipment?
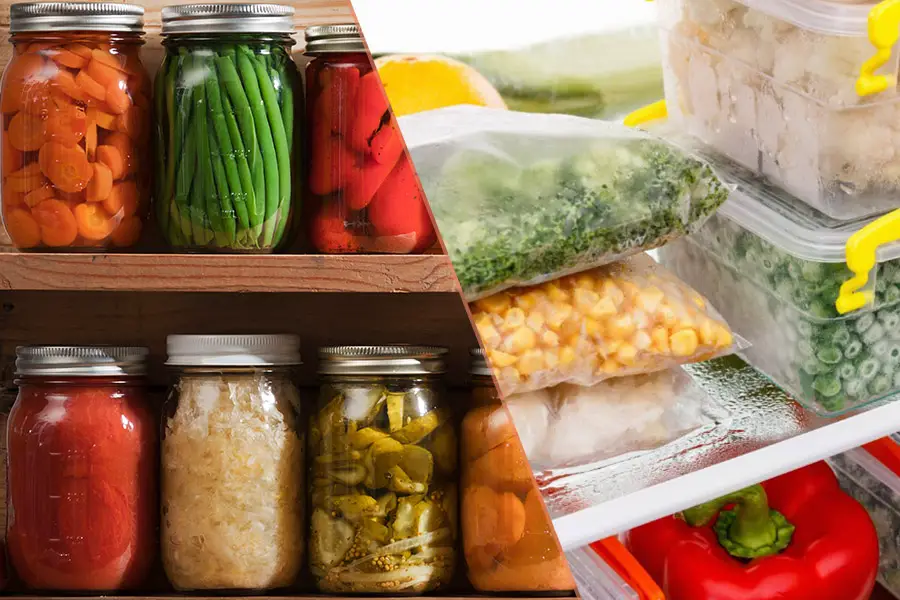
For those who prefer to grow their fruits and vegetables, you’re most likely considering home canning as a method of preservation.
Sometimes certain recipes call for canning fruit and vegetables, so it’s crucial to comprehend some of the dangers that come with sterilized canning equipment. In fact, if you improperly home can your items, you run the risk of causing certain illnesses that can severely impact your health.

The illness we’re referring to is botulism, which you’ve most likely never heard of. Botulism is one of those rare but potentially deadly illnesses that can be avoided. The origin of botulism comes from a germ called Clostridium botulinum.
Sterilizing Canning Equipment BasicsThe Water Bath Method
You could be making anything from tomato sauce to jam, but if the food you’re using has been processed for less than 10 minutes, then it’s mandatory on your part to prepare the cans you plan on utilizing ahead of time.
For instance, if you come across a recipe that calls for you sterilizing jars, but doesn’t tell you how to sterilize them, you should refer to the information we’re about to go into detail below.

You may come across information telling you that you can readily sterilize cans in an oven or dishwasher, but do not listen to these sources.
Both of those cleaning methods have not been considered adequate by the United States Department of Agriculture, so make sure only to follow the advice of those who adhere to sterilizing techniques that have earned the USDA stamp of approval.
Cleaning Tools
For those who don’t have a home canning cleaning kit handy, then you need to go out of your way to equip yourself with the necessary tools. You’ll require a canning jar, a large pot, as well as a jar lifter.
As a side note, the large pot you’ll be using should be at least three inches taller than the cans you use. For those who don’t have a jar lifter on them, you can use tongs as an alternative.
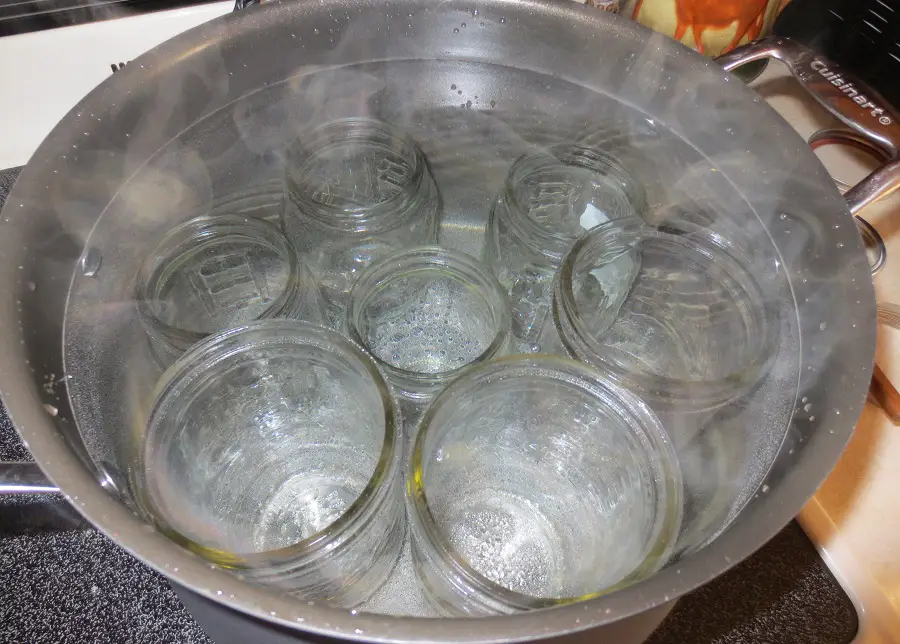
Sterilizing Steps
- thermometer
Side Note
The steps detailed above serve as a guide to sterilize solely the cans and not their adhesive rings. If you do leave the rings on, you run the risk of disfiguring them, which will deem the can itself useless.
Alternatively, you can clean the canning lids by running them through some hot water for a couple of minutes.
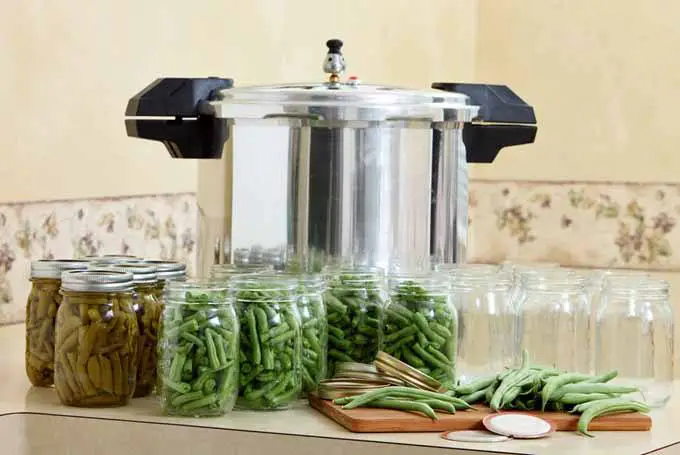
How To Sterilize Pressure Canner And Other Canning Equipment?
The steps involved in sterilizing pressure canner is quite different than that of a water bath, which is the sterilizing method we went in-depth above.
A pressure canner removes the need to sterilize your canning jars and lids since hot boiling water combined with soap couldn’t even clean the cans as much as a pressure canner will.
Pressure canners are a much more advanced way of cleaning your canning jars and will come in handy if you plan on home canning a lot more in the future.
The water bath method is ideal for those who make homemade jams once a while and need a quick sterilizing process that doesn’t involve much work on your part.

A pressure canner is typically utilized for cooking food, but it features a unique design that’s best suited for home canning. The pressure canner normally comes with a pressure valve that you have to keep track of while canning foods of high acidity.
You’ll know that you’re using your pressure canner correctly if you observe it jiggle around every 2 to four minutes. Once ten to fifteen minutes pass by, you should turn the heat off and allow the pressure canner to cool down on its own.
You should keep track of the pressure valve, so once it hits zero, you can safely remove the lid to lift the cans out of the pressure canner.
Final Thoughts
As you can see sterilizing canning equipment is a challenging process that can be simplified if you simply utilize the right tools such as a pressure canner.
If a pressure canner is out of your budget, then you can easily follow the steps of the water bath method, which will suffice as adequate sterilization.
For any additional comments or questions, you should feel free to leave them below because we will promptly answer.
You’ll know that you’re using your pressure canner correctly if you observe it jiggle around every 2 to four minutes. Once ten to fifteen minutes pass by, you should turn the heat off and allow the pressure canner to cool down on its own.
You should keep track of the pressure valve, so once it hits zero, you can safely remove the lid to lift the cans out of the pressure canner.
Resources:
theprairiehomestead

Pingback: How to Sterilize Canning Jars in the Oven | PressureCanners.com