The purpose of canning is the long-term preservation food. In order do this you must know how to seal canning jars properly. A good seal protects from bacteria growth and ensures that the food has the right taste and texture when you open the jars months or years in the future. This article will show you how to seal canning jars and troubleshooting tips when things go wrong.
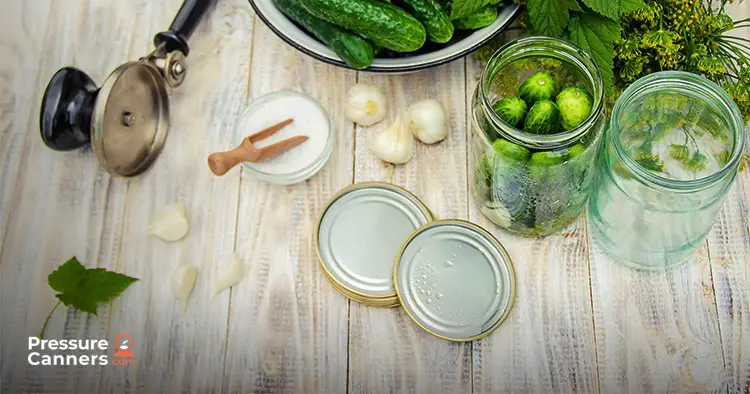
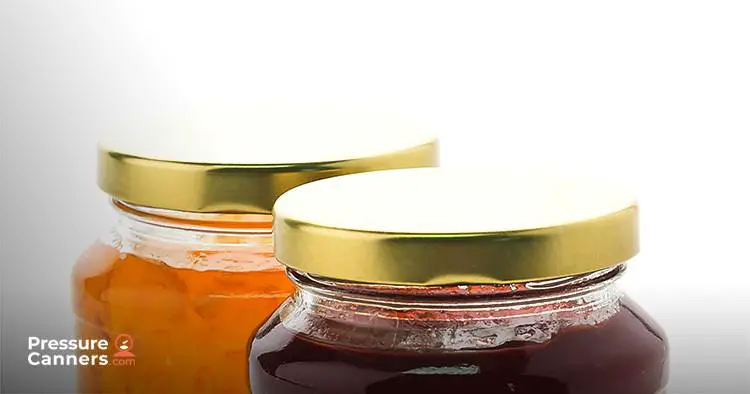
Canning jar lids
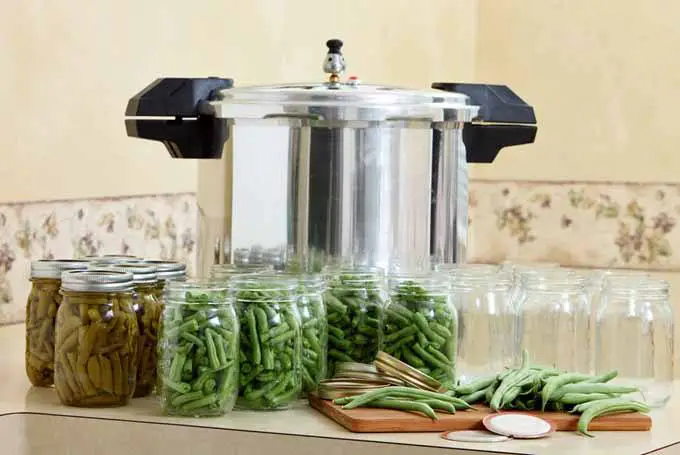
Besides wonderful food and a method for canning, three pieces are needed to can food properly – a jar, a flat lid, and a screw top.
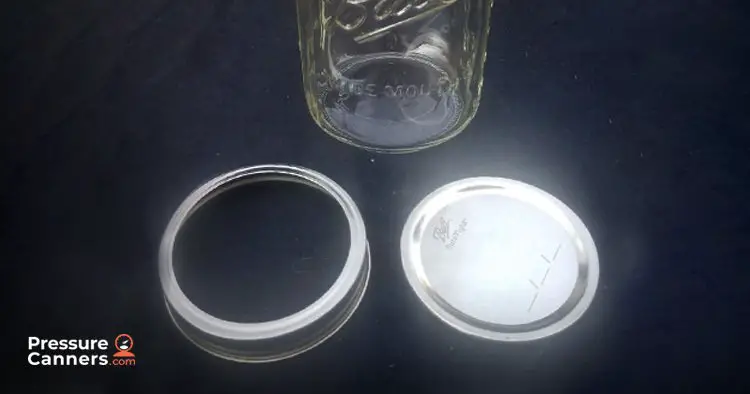
- Jars must be designed for canning. They can be reused as long as they are in clean and in good shape with no cracks or nicks.
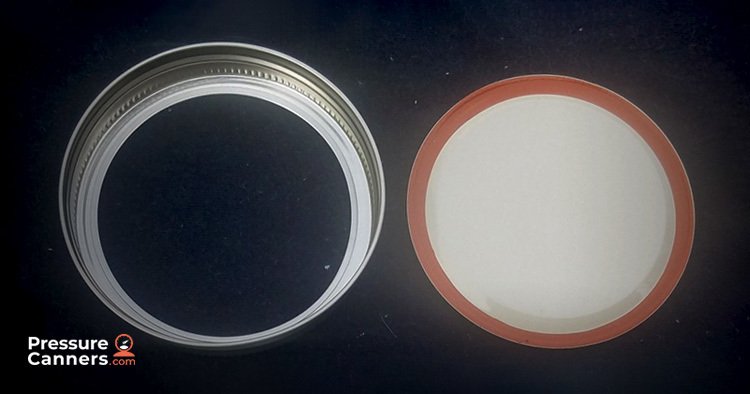
- Flat lids must be brand new. There is a sealing compound that adheres to the top of the jar during processing. This compound can only go through the canning process once.
- Screw tops are the rings that go around the top of the jar. They hold the flat lids in place which helps in the sealing process. Screw tops can be reused if they are in good shape.
How is a proper seal formed?
Processing of jars in a hot water bath or a pressure canner forms a vacuum seal. The sealing compound on the lid forms a seal with the top of the jar. The screw top holds the lid in place while this happens. Oxygen is pushed out of the jar as it is heated. When the food cools, the lid is sucks down and the rubber in the sealing compound forms a tight seal.
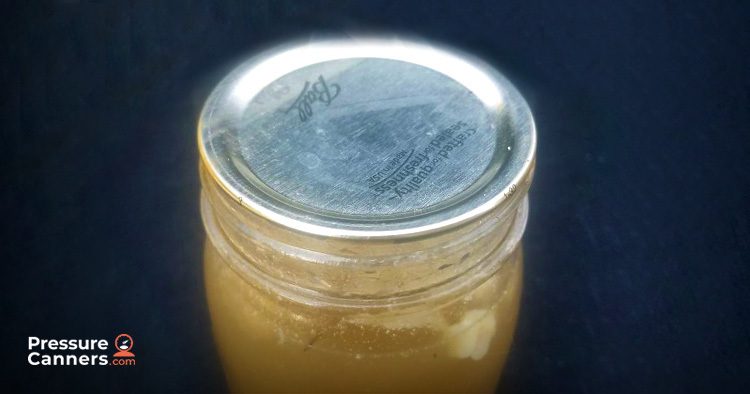
How do I know I have a proper seal?
Let the jars cool at room temperature for at least 12 hours before you test the seals. There are a couple methods for testing if a jar has sealed properly.
- The flat lids pop when cooled. This popping sound is a good indication of a proper seal.
- Press down on the lid. There should not be any movement.
- Tap the flat lid with a metal spoon. You should hear a clear, high-pitched ringing sound.
- The flat lid should dip toward the center, giving it a concave shape.
- You should not be able to move the flat lid. (Note: You can remove the screw bands, but not the lid.)
Tips and Tricks
Safely canning and sealing of jar lids depends on following specific guidelines. From start to finish, there are tips that will ensure your success.
Start with good jars
Canning jars are designed for canning, but regular jars from the grocery store are not designed to seal properly.
- Make sure your jars do not have nicks or chips along the rim. Feel the rim with your finger. If any part feels rough, do not use the jar for canning.
- Make sure the top of the jar is clean before placing the lid on. Wipe the jars with a clean cloth before adding the lid. Any liquid or food particle can interfere with the sealing compound on the lid.
Check those rings
- Tighten the ring on top by hand, but not too snugly as it may warp the lid. Some air needs to be able to escape during the canning process and having the ring too tight might stop this.
- Make sure the rings are in good shape. Rings can be reused, but they will not form a tight seal if they are bent, rusted, or damaged in another way.
Use new jar lids
- Make sure you use new lids each time. Sealing compound on the lids is only active once. Inspect the lids for warping or other imperfections.
- Use lids specifically designed for the jars.
- Place the lid properly on the jar. The sealing compound should form a proper seal with the lid and if it’s slightly off center, the lid will not seal properly.
- Don’t throw those old lids in the trash, up-cycle them with these cute ideas.
Fill jars properly
- Make sure you fill the jar properly. Foods require space to expand. If you fill the jar too full, there is no room for a proper seal. If you don’t have enough to fill the last jar, just put it in the fridge to eat soon.
Follow processing times
- Make sure you use the proper processing time indicated in your recipe in terms of temperature and pressure. Make sure you adjust for altitude if necessary. One of the objectives of the canning process is to add heat and pressure to form a proper seal.
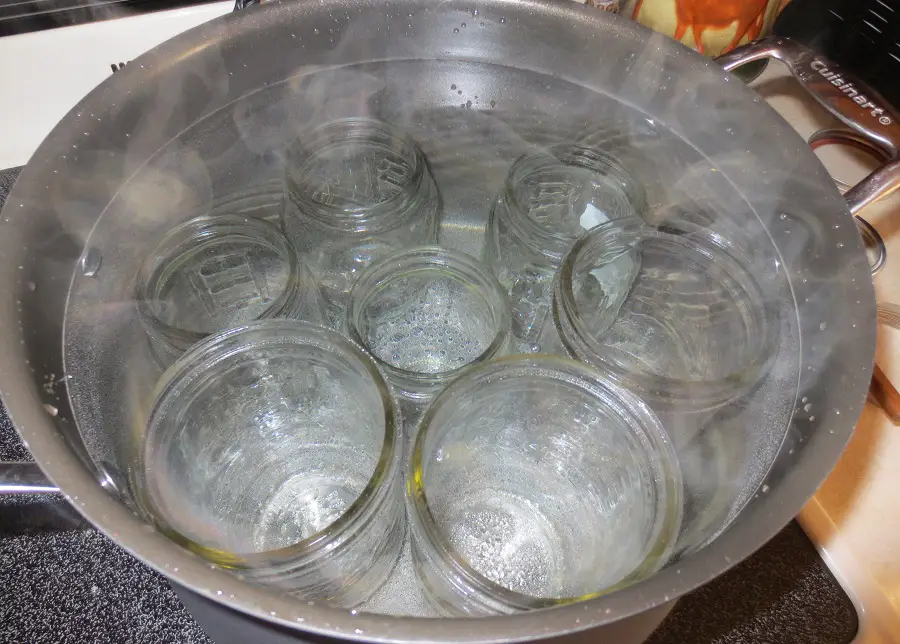
- If you are using a water bath canner, make sure the water is at a full, rolling boil for the entire process.
What if my jars did not seal?
Check the quality of jars and think about the steps you used along the way. Canning is a learning process and there’s always room for improvement and perfection. Once you’ve checked the jars and added new lids, you can reprocess the jars using the proper processing time.
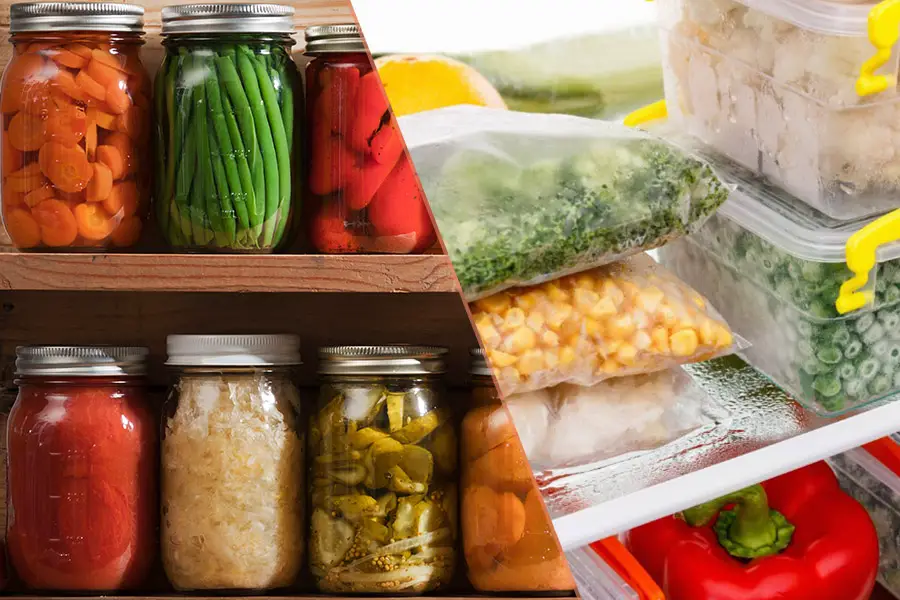
If reprocessing does not fix the problem, cool the jars, and place them in the fridge to eat soon; or put in a freezer-safe container to enjoy later. You can put glass jars in the freezer, just be sure there is enough space for the food to expand as it freezes.
The importance of knowing how to seal canning jars
Just because your jar does not seal does not mean the food is bad, it just means it is not safe for long term pantry storage. Jars not sealed properly will cause oxygen to leak into the jar, which causes bacteria to grow and results in food spoilage.
Learning how to seal canning jars is not hard. If you take your time and pay attention to all steps in the canning process, your jars will seal properly and you can enjoy your produce for years to come.