I love asparagus, but this fresh vegetable can be quite expensive in the store. A small can of asparagus tends to cost way more than regular vegetables, so if you find a source to pick, are successful at growing some in the right conditions in your garden, or get a large batch at a discount price, canning asparagus at home is the way to go.
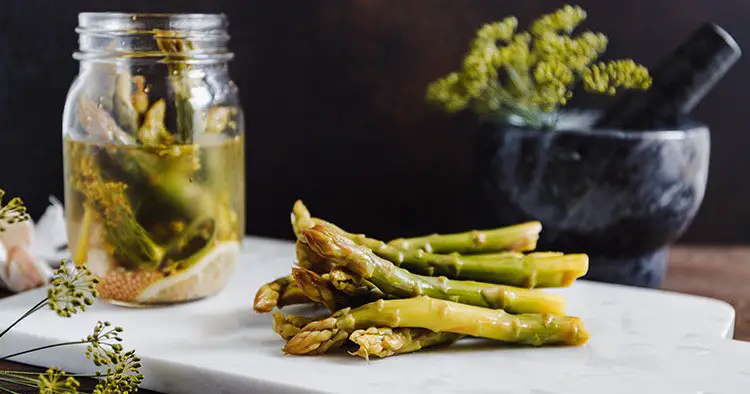
I found a deal on a case of asparagus recently, so I spent a few days and canned them! With about half of the batch, I made a pickling brine to fill the jars, and for the other half, I used a much simpler process by adding boiling water and salt. I’ll discuss both of these methods here.
The brine just takes a few more minutes to prepare and the brine recipe I used is enough for 7 quart jars.
Gather Your Supplies
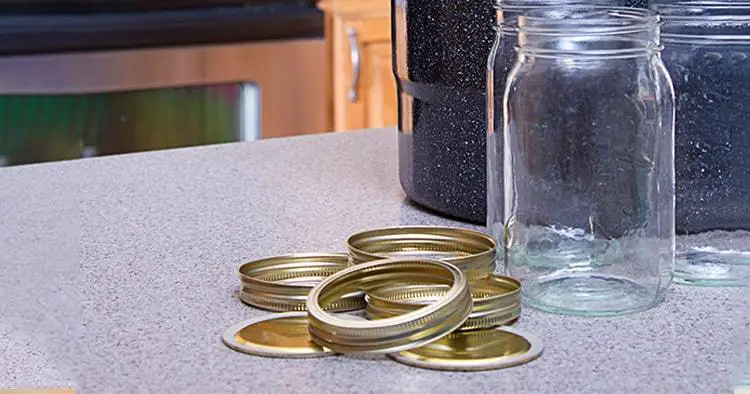
You need to use a pressure canner to preserve asparagus. This will cook the asparagus, kill all of the nasty bacteria, and provide the best preservation methods. Gather these items:
- Pressure canner filled with hot water – I fill my pressure canner and put it on the burner for a bit until it’s hot.
- Clean jars and rings – sterilize the jars and keep them hot, either in a dishwasher or in the oven. I like to use wide mouth jars for asparagus because it’s easier for me to fill.
- Lids – I set brand new lids in a pot of water on the stove and bring them to a boil
- Jar lifter
- Magnetic tool – for lifting the lids and rings
- Funnel
- Stick for removing air bubbles
- Pot of brine or hot water
- Towel – wet and dry for wiping the jar tops
- Asparagus
- Brine or boiling water
- Salt (if not using brine)
If you are unfamiliar with any of these tools or are new to pressure canning, read Pressure Canning: A Better Way to Enjoy Fresh Food.
The Brine
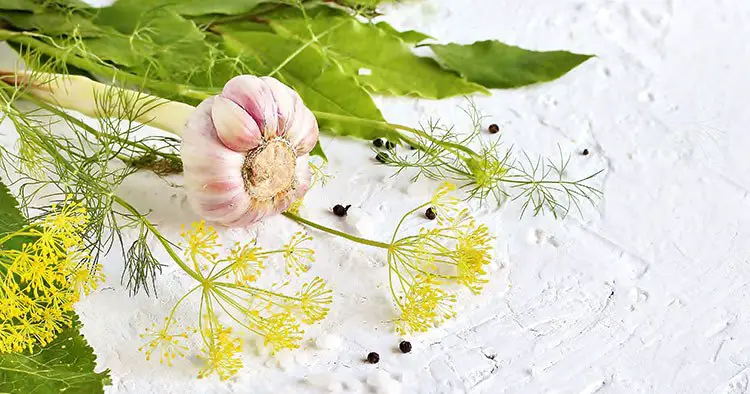
- 3 cups white distilled vinegar
- 3 cups water
- ½ cup canning salt
- 2 teaspoons dill weed
- 7 large garlic cloves, peeled
- Onion slices or small hot peppers for spice, if desired
Add all ingredients to a pot, bring to a boil, and keep it hot while you fill your jars.
Choosing Asparagus
When canning asparagus at home, medium size shoots tend to work the best. Use them when they are fresh and cut off any rotten parts. Choose organic if possible ensuring you wash the spears well.
Cutting the Asparagus
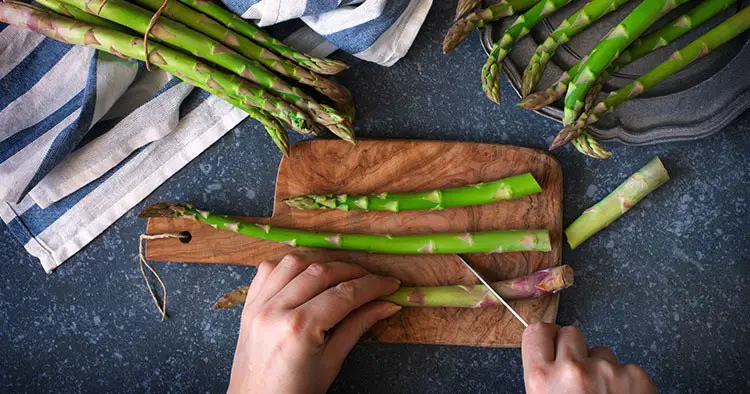
Break or cut the ends of the asparagus so they will stand in the jar with about ½ inch of space or a little more at the top. Set these aside until your jars are ready to fill.
The asparagus I had were pretty long, so I felt there was a lot of waste involved. You have some options for the ends.
The ends normally have a woody texture, and most recipes recommend snapping the asparagus where it starts to get tough. If this is still too long for your jars, you can take the sections that are not so woody and use them as filler for your jars.
There are a few things you can do with the ends. Most people throw them in the garbage or compost pile. If you have farm animals, such as chickens, pigs, or goats, you could feed it to them. Another no-waste option is to make a simple soup. Use the woody ends for this too. The recipe for this soup is later in this article. Another option is to add it to your vegetable scraps and make broth. If you want to use them later, just set them aside or place them in a bag in the freezer.
Prepare the Canning Space
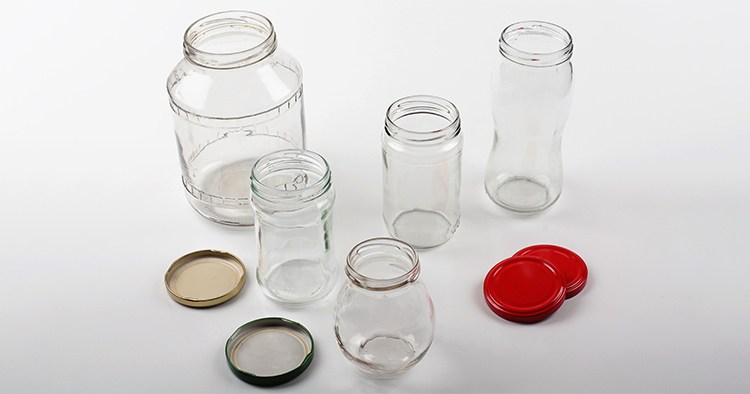
Prepare your jars, lids, and pressure canner:
- Set your pressure canner on the stove and warm up the water inside, as you do not want to put hot jars in cool water.
- Place your lids in a small pan and bring them to a simmer.
- Sterilize your jars and lids in the oven or dishwasher and keep them warm.
- Make sure your brine is ready and hot.
Fill your Jars
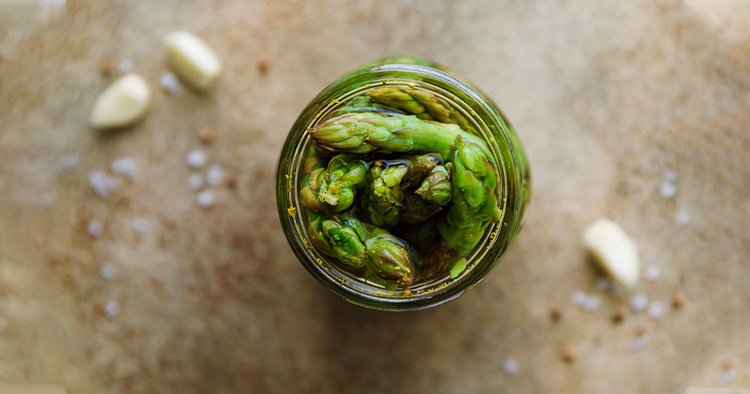
In order to get the most use of space in your jars. You are going to want to tip the jar on its side and start laying the asparagus in the jar. The jar should be hot, so hold it with a hot pad or clean towel while filling. Pack the asparagus tightly, using some thinner stalks to use every bit of space.
Add the Asparagus and Brine
Once you have filled the jars with asparagus, set them right side up and fill the space with the brine or hot water. If using hot water, you can add a tsp of salt to the jar before adding the hot water. This is purely a flavor preference. Use the funnel to make sure you don’t spill liquid over the side of the jar. Fill the jar to within ½ inch from the top. This allows for expansion.
If you are using the brine, take a piece of garlic and hot peppers or onions and divide among the jars before pouring the brine over the asparagus.
Seal the Jars
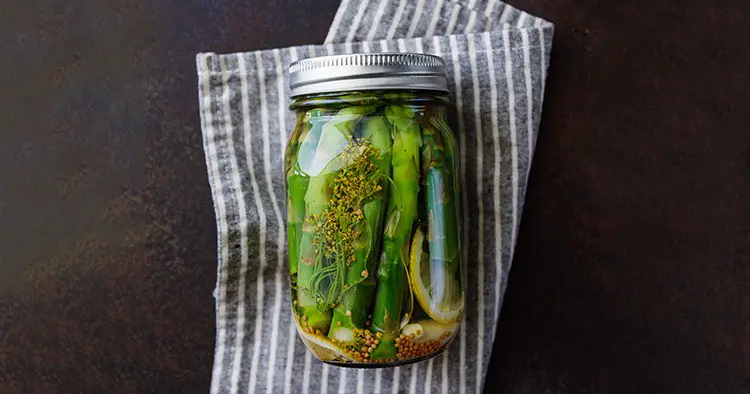
Remove any air bubbles that may have stayed in the jar using a chopstick, plastic knife or a tool designed for the job.
Wipe the rims of the jar to remove any liquid. This is necessary for the jar lids to form a proper seal.
Lift the hot lid out of the simmering water, shake off the excess water. You can tap it dry on a clean towel. Place the lid on the jar and add the ring. Screw the ring on well, but not too tight.
Place the jars in the pressure canner. The water pressure will rise, so if there is too much water according to the manufacturer’s directions, just remove some.
Commence with Pressure Canning Asparagus at Home

Place the lid on your pressure canner and lock it. Follow directions in your pressure canner manual with regarding to weights, pressure, and time.
Start your timer when the weights start rocking. Remember, if you are at high altitude, add processing time using this pressure canning altitude chart. Once the timer goes off, turn off the heat and let the canner slowly release its pressure and cool down slowly. You can gently slide it over to another burner for this process. It depends on your stove.
Once the pressure is released, you can remove the lid and remove your jars. They will still be hot so use the jar lifter or hot pad.
Check to make sure the lids have sealed. Jars where seals have not formed properly should be placed in the fridge or freezer for consumption soon. If they have sealed properly, label them store in a cool, dry place.
Asparagus Soup
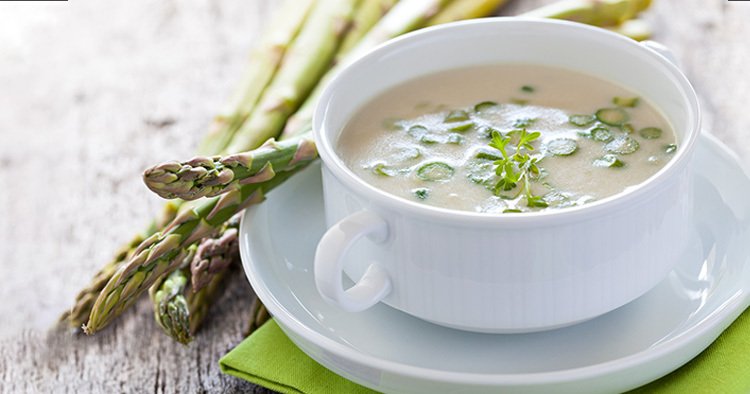
As mentioned, the ends you didn’t place in jars can be made into a simple soup.
- Take the ends and place them in a pot.
- Add some water and boil them until they are tender, stirring every once in a while. This may take a few hours. If the water starts to get low, just add some more.
- If you like, you can strain out the fibrous parts and use the liquid as a base for other soups.
- Or you can put them in a blender (or you could use an immersion blender) and puree them in small batches.
- Placing the puree back into a pot, add salt, pepper, and any spices you prefer and heat it up just a bit more.
- Spoon into bowls and enjoy.
Enjoy the Bounty of Canning Asparagus at Home
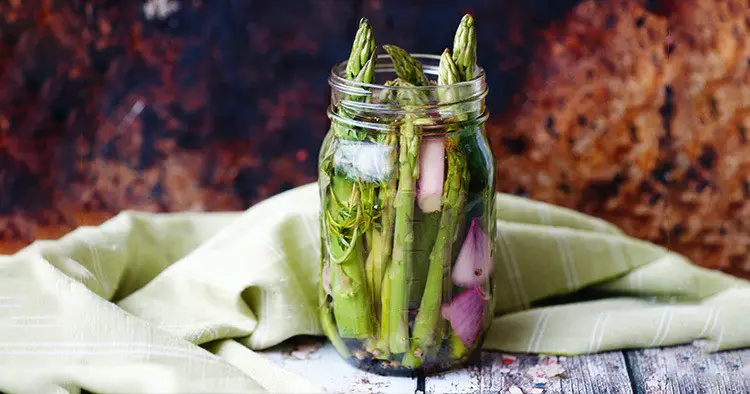
Now that you have a shelf of canned asparagus, you can eat it plain or in your favorite recipes. If you used a pickling brine, the asparagus can be used as an appetizer or in salads. If you used hot water and salt, the canned asparagus can be added to casseroles, quiches, tossed with pasta, or incorporated into soups. The asparagus will have a soft texture.
If you find yourself with a excess quantity of asparagus, try canning asparagus at home! Leave a comment below and tell us how it turned out. Share recipes you make with your canned asparagus.
