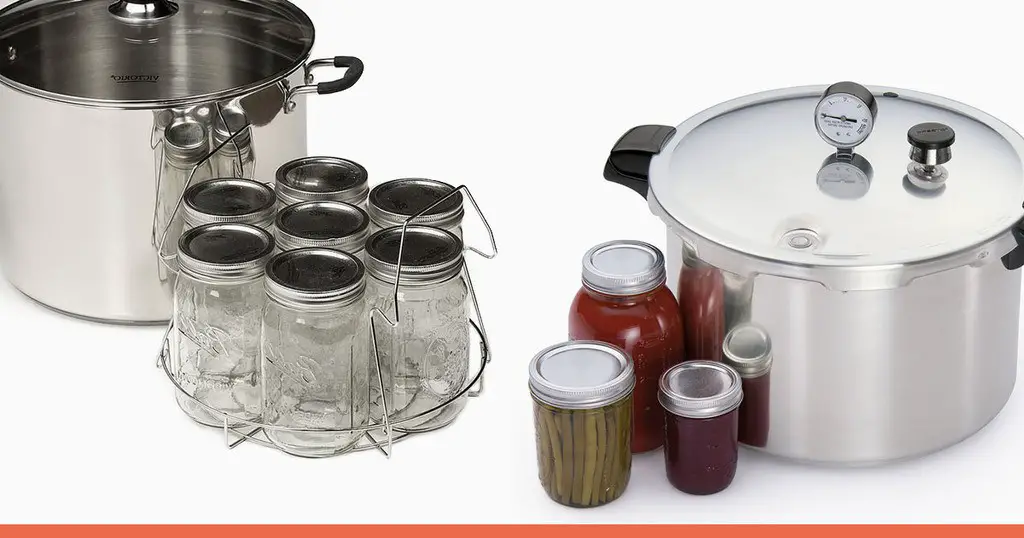
Pressure canning is a great way to preserve foods. Low-acid foods such as meats, seafood, and most vegetables must be processed at high temperatures for a specific time using proper procedures and water. So, when preparing their pressure canner for processing, many people ask: How much water do I add to the pressure canner?”
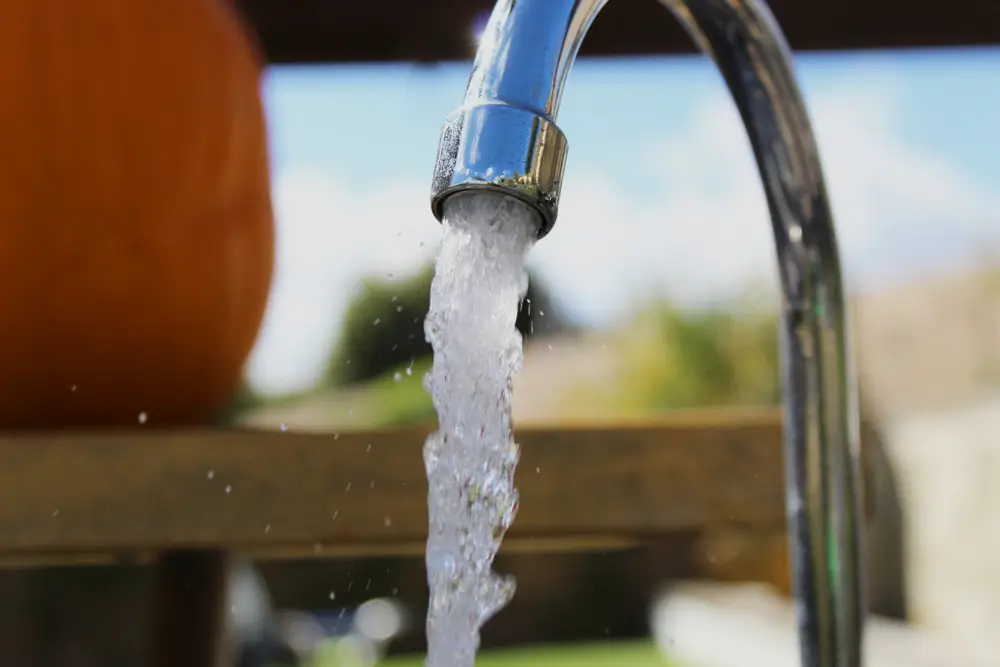
Add 2-3 inches of water to the bottom of the pressure canner. Bring that water to a simmer and add your jars filled with food. Ensure the water level does not go past the mid-way point of the jars. This will provide plenty of water to build up steam in the canner, but not too much that it will cause problems.
Table of Contents
How Pressure Canners Work
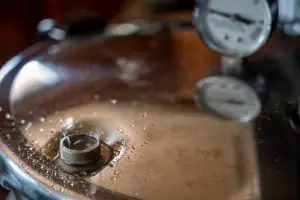
Pressure canners work by trapping steam and building pressure inside a pot. They are designed to hold pressure up to 25 pounds. Pressure canners build up pressure to compensate for the pressure in the atmosphere.
Pressure canning relies on water added to the pot to produce the steam required to build pressure. This pressure cooks the food and seals the lids.
If you are new to pressure canning, read this Pressure Canning introductory guide. We recommend you also consult your pressure canner manual to verify the amount of water they recommend.
How Does a Pressure Canner Create Pressure?
The important thing is that there is enough water to boil and build up steam and also enough space for the pressure to build. Let’s talk a little science here to understand how this works.
When you seal the lid on a pressure canner, the steam valve is open. Bring the water to a boil, and after about 10-15 minutes steam will start to rise out of the opening in the valve. Allow the steam to release for about 10 minutes. This allows the water to turn into steam and build up so it fills every empty space inside the canner.
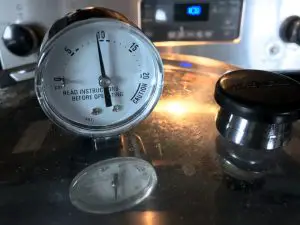
Now you are going to add the pressure regulator – this will be a weighted or dial gauge. They both work fine.
During processing, keep the pressure steady for the period of time indicated in the recipe. This will ensure the final product is safe from bacteria and that the jars are sealed properly.
When the time is up, turn off the heat source. Let the pressure release naturally and the water cool down completely before removing the lid. Removing the lid before the pressure is released can be dangerous.
Adding Water to the Pressure Canner

Follow these steps to prepare your pressure canner:
- Add a canning rack to the bottom of the pressure canner. You do not want the glass jars to sit on the bottom of the canner as they could crack when in direct contact.
- Add 2-3 inches of water to the bottom of the pressure canner. This is usually about three quarts of water but will vary according to your pressure canner.
- Bring the water to a simmer (roughly 180°F).
Before adding hot foods or liquids to canning jars, you should sterilize the jars. This will prevent the jars from breaking. You can do this in one of several ways:
- You can boil the jars on the stove. Heat them in boiling water at a temperature of 180°F.
- You can sterilize the jars in the oven. Heat them in a hot oven at 200°F for 20 minutes.
- Place the jars in the dishwasher and keep them on the heat-dry cycle until ready to use.
Prepare foods to can and fill the jars with them. Wipe the rims. Add the lids and rings. Use a jar lifter to set the jars in the canner. The water level may rise. If it does, that’s fine. The minimum amount of water you want is 2-3 inches, but if it rises halfway up the jars, that’s perfectly fine.
Too little water will not allow the proper amount of steam to build up. Running out of water may cause the jars to crack and damage your pressure canner.
What Happens When You Add Too Much Water?
Too much water in the pressure canner prevents the canner from venting at the beginning of the pressure building process and water will spit out the top. This venting creates the pressure needed to process the food in the pressure canner.
Adjustments for Altitude
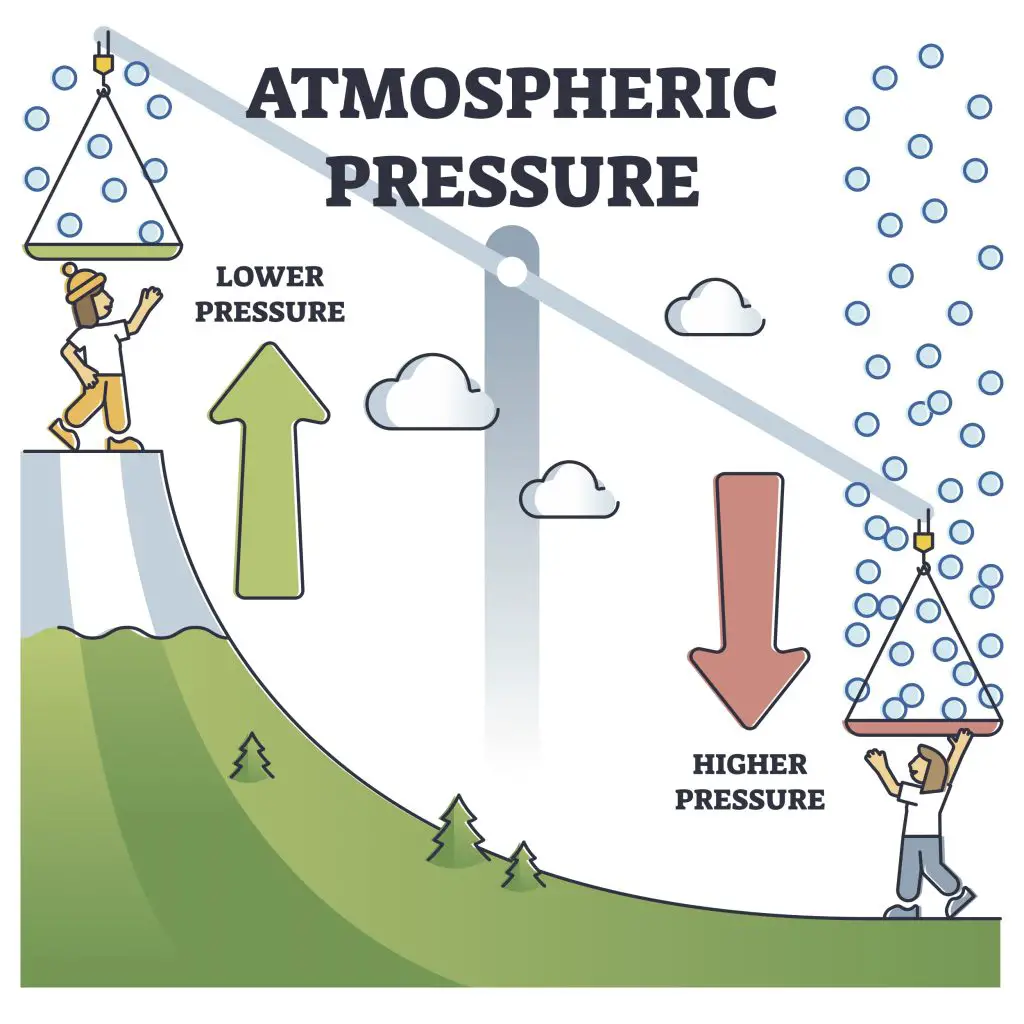
Pressure canners are perfect for those living at higher altitudes. The higher your altitude the lower temperature water boils at. A pressure canner uses steam and pressure to compensate for this temperature difference. Processing times are longer, and the pounds per square inch (PSI) indicated by the pressure regulator gauge are higher. Check out the Pressure Canning Altitude Chart to understand more about altitude adjustments. The most important thing is to check your recipe for instructions.
Things to Remember When Adding Water to your Pressure Canner
- Read your instruction manual to verify the amount of water to place in your pressure canner.
- Unlike water-bath canners, do not add water to cover the jars in a pressure canner.
- Keep the pressure steady while canning.
- Allow the pressure to build and release slowly.
Levels of Water Used in Water Bath Canning
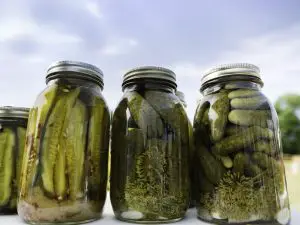
If you are new to canning, it’s important to understand the difference between water bath canning vs pressure canning. Water bath canning is used when canning high-acid foods such as tomatoes, fruits, pickles, sauces, or condiments. Time and temperature destroy mold, yeast, and enzymes that cause food to spoil. Water plays a huge role in this process.
When water bath canning, the water in the canner must completely cover the jars. The boiling water surrounding the jars heats and sterilizes the food and seals the lids. The boiling water can only reach a temperature of 212° Fahrenheit (F) (100° Celsius (C)) because it is not under pressure. Also, the higher the altitude, the lower the temperature needed to boil the water.
Ready to Can?
Often, people shy away from pressure canning because it is perceived as dangerous. While the build-up of pressure can be intimidating, understanding how your pressure canner works and following a few simple guidelines make this a safe process to use.
Now, it’s your turn! We’d love to hear your tips and tricks regarding pressure canning. How much water do you add to your pressure canner – more or less than is recommended? And don’t forget to tell us why too!