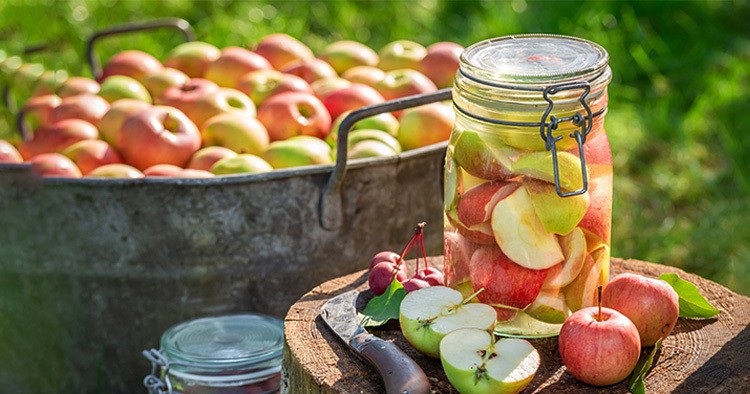
After spending the day in the apple orchard, what can you do with all of that wonderful fruit? When you find yourself with a bushel of apples, start canning! Apples are a versatile fruit that can be preserved in many ways. Read on to learn how to can apples.
In our previous post, we talked about all of the different varieties of apples and which one to choose for various canning projects. In this article, we are going to look at basic preparation and canning techniques that require a minimum of preparation.
If you are canning apples for eating out of the jar later, you want to choose ones that are on the firm side and don’t break down while cooking. The best apples for canning whole are McIntosh, Jonagold, Rome, Cameo, Red Delicious and Honeycrisp. If you have an apple that is not of this variety, do some research or ask the grower. If you are not sure, you can cook one or two apples in a pot with some water or sugar syrup and see what their texture is. With the vast variety of apples grown around the world, you are sure to find the perfect one!
Table of Contents
Cooked vs Fresh
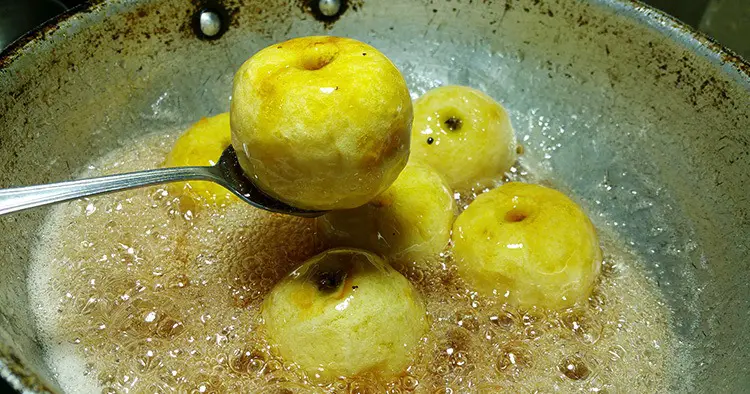
Apples can be cooked before placing them in canning jars or they can be packed in raw with hot liquid.
To cook them, slice them and put them in hot liquid on your stove. The liquid could be water, a sugar syrup or a thicker liquid (such as for apple pie filling. Heat the pot on the stove until the apples reach desired doneness. Just 5 minutes will heat them up and keep them more solid. If you heat them longer, they will begin to break down and you’ll end up with stewed tomatoes or more applesauce like texture. Again, this all depends on the type of apple you choose. Remember that the apples will cook a bit more during the canning process, so undercooking them a bit is just fine.
If you choose to can them raw, you would pack them in the jars. Then, you would pour hot liquid such as a simple syrup, or hot water, over them in the jar.
Whole vs Sliced
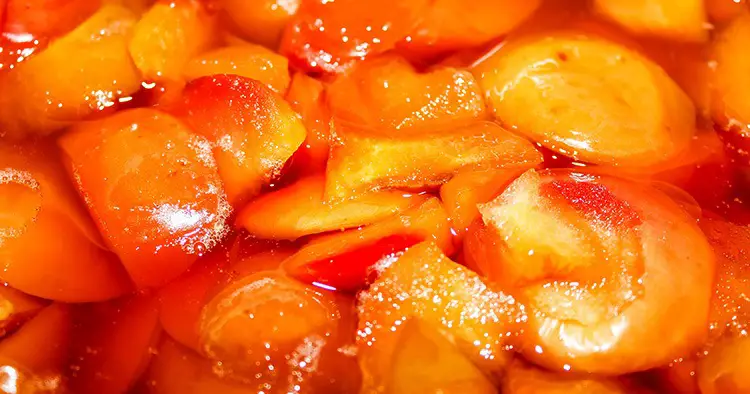
Your next decision is whether to can apples whole or in pieces. If you have small apples and a larger jar, you can definitely can them whole. The issue here becomes space. You will have less waste and a better use of jar space if you slice them into wedges or chunks.
When you toss your apples in whole, you have several options:
- Just wash them and toss them in seeds, stems and all
- Peel and core them
- Just core them
Many people think that the core is dangerous to eat. This is a myth that has been proven wrong. While the seeds contain chemicals that can turn into cyanide when they are crushed or chewed, the volume you’d have to eat to have an ill effect is huge. A few seeds won’t hurt you, but if you are worried, core the apples.
With vs Without Peels
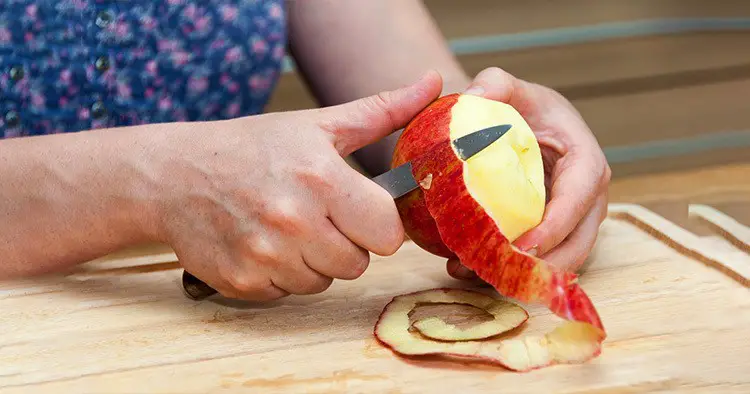
Apples are so versatile. There is nothing wrong with canning apples with their peels on. The most important step is to wash them well and make sure there are no bruises or brown spots. Make sure you like the taste and texture of the apple peels when you go to eat them.
If you choose to peel your apples, there are a ton of things to do with the peels.
- Feed them to your chickens or rabbits
- Compost them
- Dry them for potpourri
- Use them to make vinegar
Liquid for Canning Apples
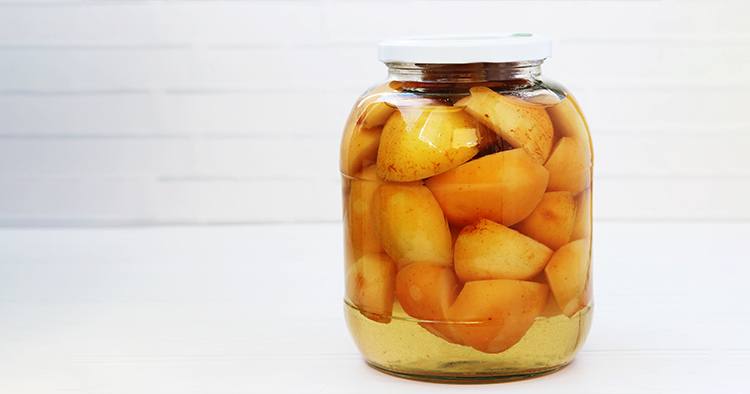
When your apples are placed in the jar, you will want to add liquid. This can be in the form of a light syrup, apple juice, heavy syrup or water with a little lemon juice.
Sugar Free
You can definitely preserve apples without sugar. Your liquid may be as simple as boiling water. If you want natural sweetness, choose apples that you like to eat that way before canning.
Making a Sugar Syrup
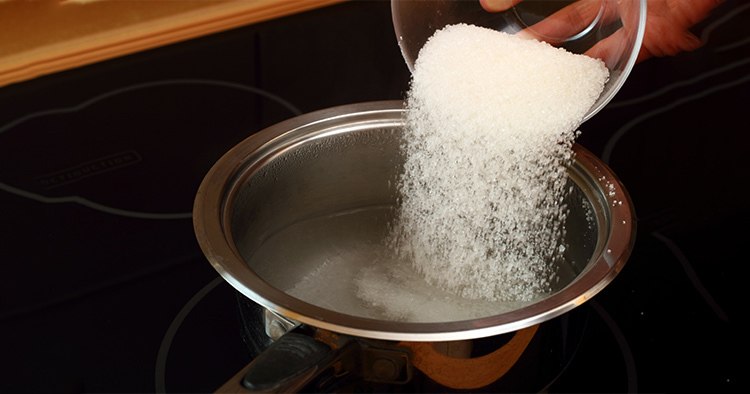
If you want to add some sweetness to your canned apples, make a simple syrup by combining water and sugar in the in a large saucepan and heat it up slowly on the stove. Heat and stir the mixture until the sugar is dissolved. If a foam forms on top of the liquid, you can skim it off with a spoon for a clearer syrup or leave it alone.
The amount of sugar combined with water will determine the sweetness of your syrup. The amount of syrup you make depends on how many jars you are processing. If you end up with leftovers, you can use it for other purposes. The more sugar you add, the thicker your syrup will be.
| Type of Syrup | Water | Sugar | Makes this much syrup |
| Very Light | 4 cups (946 milliliters) | 1 cup (236 milliliters) | 4 cups (.94 liters) |
| Light | 4 cups | 1 2/3 cups (378 milliliters) | 4 ¼ cups (1 liter) |
| Medium | 4 cups | 2 2/3 cups (615 milliliters) | 4 2/3 cups (1.08 liters) |
| Heavy | 4 cups | 4 cups | 5 ¾ cups (1.36 liters) |
With Aspirin

I’ve seen a few recipes that call for adding one or two aspirins to the jar of apples before sealing and preserving. The idea is that it acts as a preservative and the apples stay fresh longer. I don’t know if this is an old wives tale.
The Journal of the American Medical Association discourages this method as the ingredient in aspirin, salicylic acid, is dangerous to your health. If you need to acidify foods before canning, use lemon juice or vinegar. In the case of apples, you don’t need to add any acids in order to preserve safely. Plus, if you use lemon juice to prevent browning, you are completely covered.
Spiced Apples
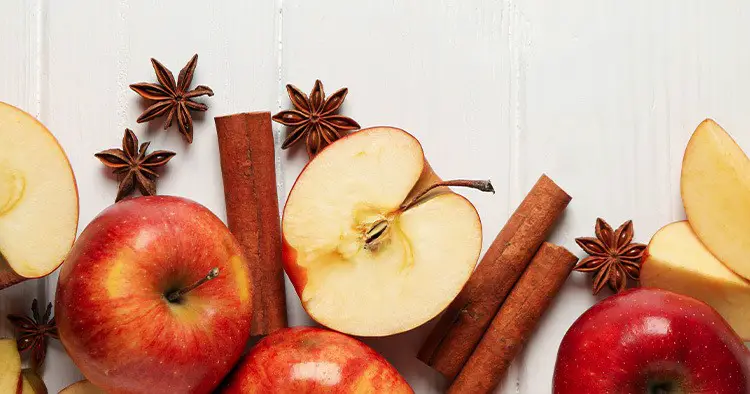
To add some extra flavor to the apples, you can add one or more of the following ground spices:
- Allspice
- Nutmeg
- Cinnamon
- Cloves
- sugar
Since this is subject to your own taste, here is what I would recommend. Depending on the size of your batch, add a small amount of sugar or a spice, stir it, cook it a few minutes, and then taste it. Do you like it? Does it need more sweetness? Does it need more cinnamon? Be creative, just add ingredients a little at a time. You can’t go back!
Prepare your apples
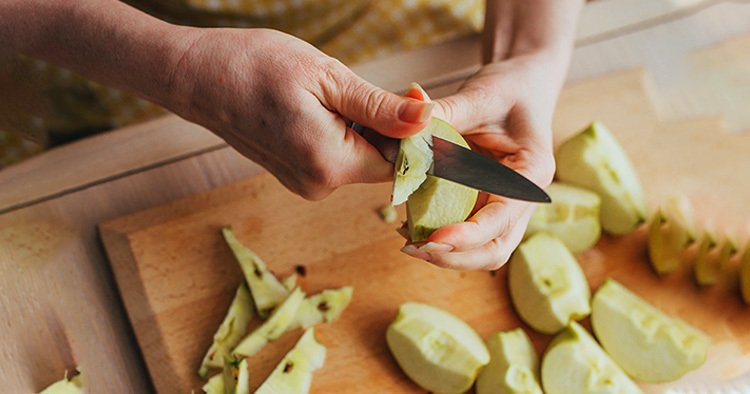
Now that we’ve given you different options for canning apples, it’s time to actually do it! Here are the basic steps:
- Wash apples thoroughly in cool water
- Peel them if you like with a vegetable peeler, or automatic apple peeler
- Core the apples if you are not canning them whole. Get rid of the stems and seeds. You can use a variety of tools for this including an apple corer.
- Slice or chop your apples if you like (½ inch thick apple pieces will hold their shape better)
- Treat your apples as you go to prevent browning with Fruit Fresh, lemon juice, or just keep them in a pot of cold water.
- Either cook them in your desired liquid, or have the liquid simmering on the stove to use when filling jars.
How to Can Apples
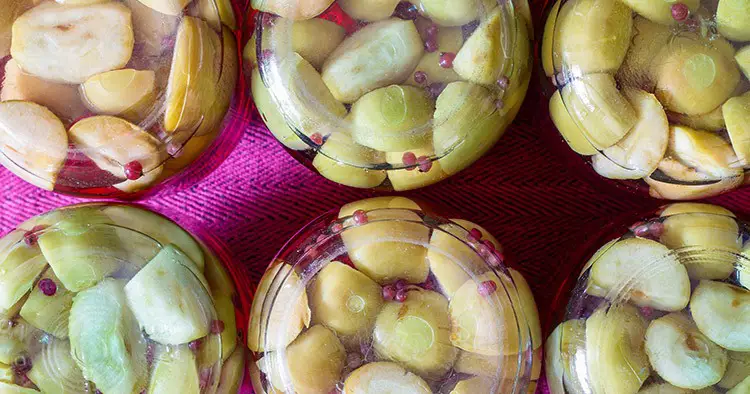
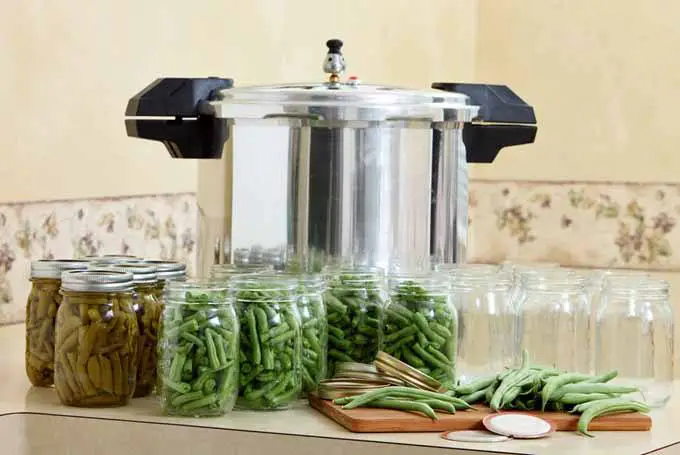
Apples can very well in a water-bath canner, but plenty of people can them in a pressure canner as well. It’s all a matter of preference, and both methods are safe.
For both methods you’ll need to:
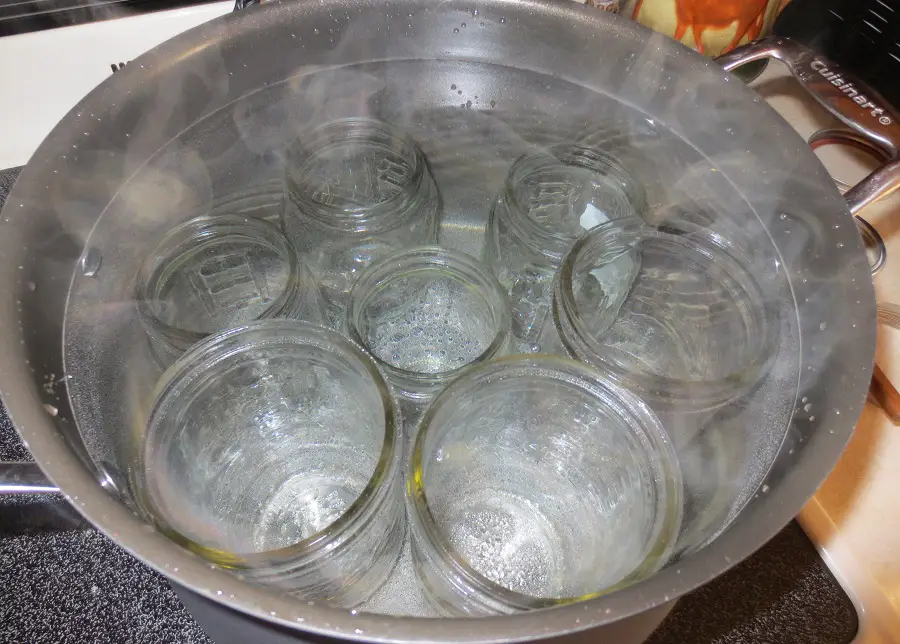
- Sterilize your jars and lids. You can do this in the oven.
- Fill your jars with apples and liquid
- Seal the jars and lids
- Place them in the prepared canner of choice
- Process the jars. Check out our article on Pressure Canning for step by step instructions.
It’s best to check in the manual that came with your pressure canner, but in general, use this guide from the National Center for Home Preservation:
Recommended process time for Apples, sliced in a boiling-water canner
Style of Pack: Hot
Jar Size: Pints or Quarts
| Altitude (ft) | 0 – 1,000 | 1,001 – 3,000 | 3,001 – 6,000 | Above 6,000 |
|---|---|---|---|---|
| Time (minutes) | 20 | 25 | 30 | 35 |
Process time for Apples, sliced in a Dial-Gauge Pressure Canner
Style of Pack: Hot
Jar Size: Pints or Quarts
Process Time: 8 minutes
| Altitude (ft) | 0 – 2,000 | 2,001 – 4,000 | 4,001 – 6,000 | 6,001 – 8,000 |
|---|---|---|---|---|
| Canner Pressure (PSI) | 6 | 7 | 8 | 9 |
Process time for Apples, sliced in a Weighted-Gauge Pressure Canner
Style of Pack: Hot
Jar Size: Pints or Quarts
Process Time: 8 minutes
| Altitude (ft) | 0 – 1,000 | Above 1,000 |
|---|---|---|
| Canner Pressure (PSI) | 5 | 10 |
Store and Enjoy!
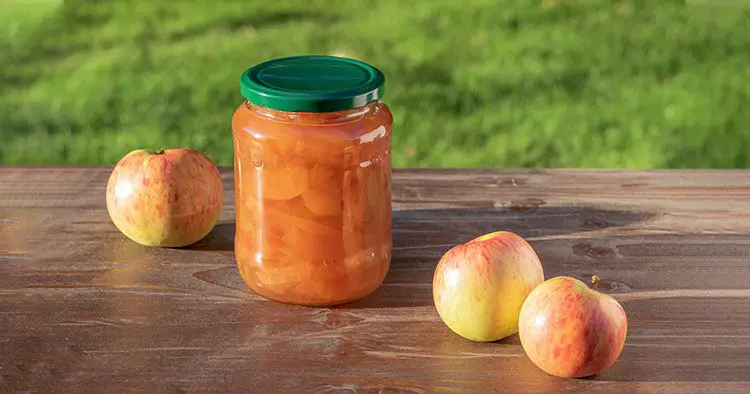
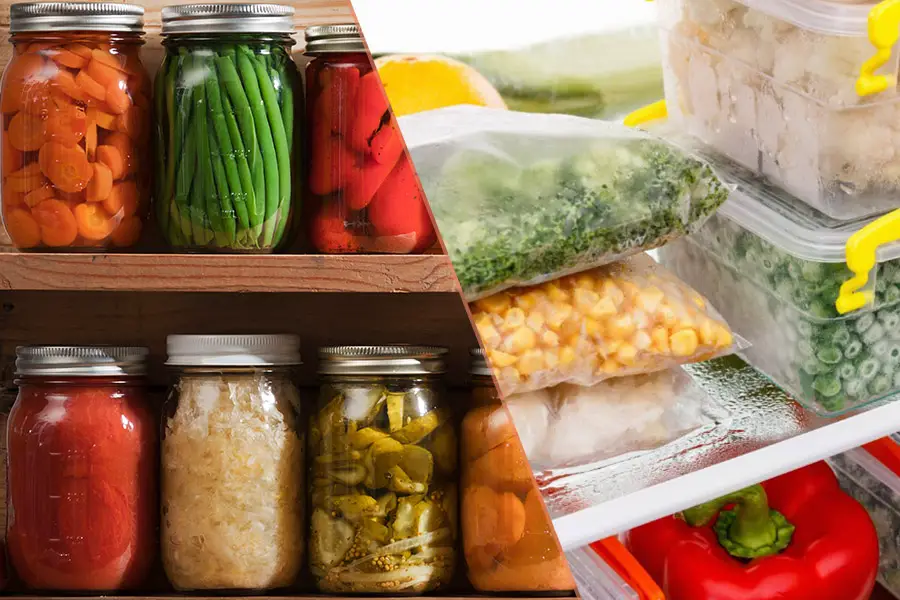
With jars of apples in your pantry, you are ready to enjoy apple crisps, pies, and countless other deserts. You can add them to your oatmeal, muffins, or pancakes. The possibilities are endless! What is your favorite way to enjoy canned apples? Comment below – we’d love to hear from you!
