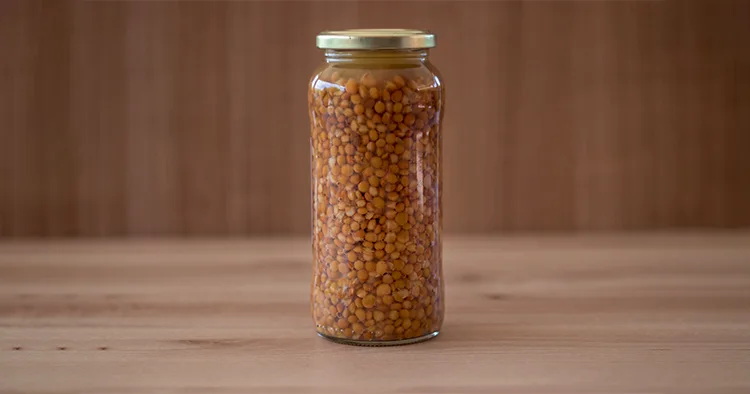
When I think of lentils, the first dish that comes to mind is Dal – a hearty soup that is a staple of the Indian diet. However, lentils are so much more versatile. In addition to being delicious, they are easy to prepare and extremely nutritious. While they do not take much time to prepare from scratch, why not make it easier by canning lentils?
Table of Contents
Types of Lentils
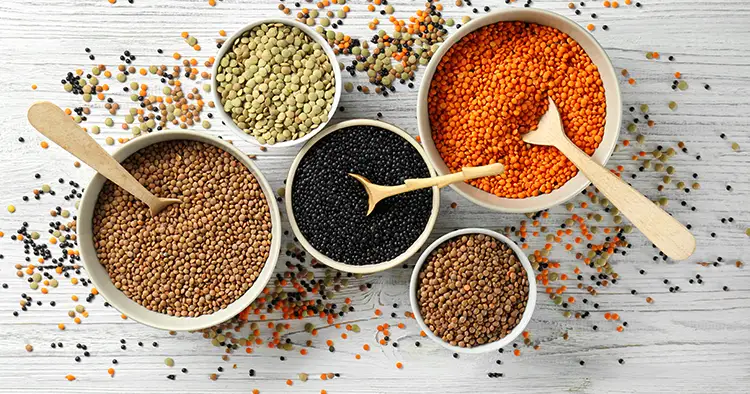
There are 5 main types of lentils and many varieties within these categories. The easiest lentils to can are brown or red.
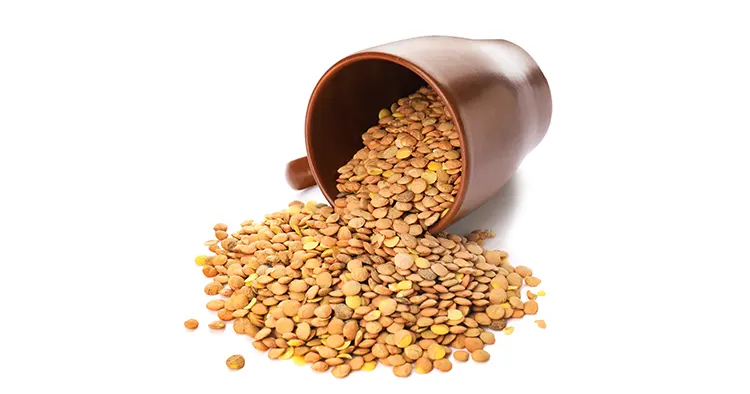
- Brown – These are the most common type of lentils, with colors ranging from a light brown, to almost black. They have an earthy taste and are perfect additions to soups.
- Green – With colors ranging from khaki to bright green, these beauties taste earthy with hints of pepper undertones. Although they take longer to cook, they hold their shape and texture well, and are often used in salads.
- Red – These are the lentils used in Indian dals. This soup is a beautiful mixture of golden yellow and deep red color, with a sweet nutty taste. The lentils become soft and break down when cooked, however this only enriches the creamy texture of the soup as it blends with the spices.
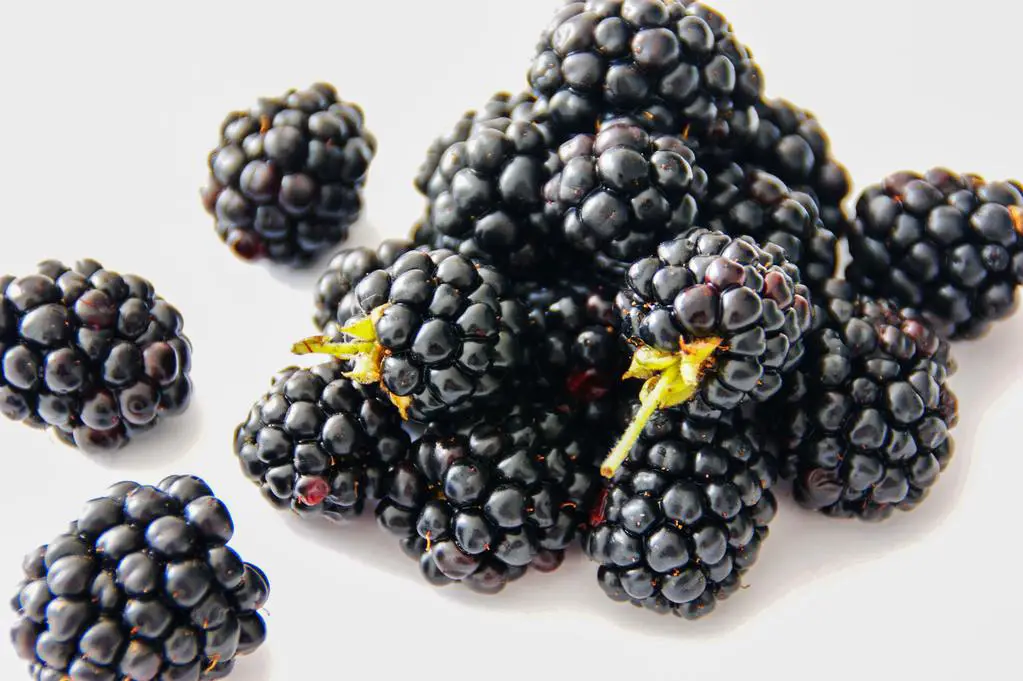
- Black – These are also called beluga lentils. They are smaller than the other lentils and pure black, with an earthy taste. Black lentils can be used in salads, as a garnish, roasted, or pureed. Black lentils pack a powerful nutritional punch with fiber, vitamins, and minerals.
- French green lentils – These fancy lentils from the French region are also called Le Puy green lentils. Like certain French wines, the name and variety are protected under the European Union. Grown in the same region with rich volcanic soil for over 2,000 years, they are the ultimate lentils. With a strong pepper taste, they hold their shape in dishes and are incredibly versatile to cook with.
How Many Lentils Do I Need?
If you are canning plain lentils, you will need approximately 1 cup of lentils per quart (.95L) jar or ½ cup per pint (.47L) jar. You may choose to add other ingredients to your lentils, such as onions or carrots; however, keep in mind that they will take up more room in the jars.
Prepare the Lentils
Preparing lentils for canning is easy. First, rinse your lentils in cold water. Remove any individual lentils that look odd, as well as any sticks or stones that might have been added with the packaging. A colander is helpful for this process.
Place your lentils in a large bowl. Cover them with cold water and place a towel over the bowl. Leave them overnight in a cool place. Before you are ready to pressure-can the lentils, drain the water, and rinse the lentils again.
At the same time, place a pot of water on the stove and bring it to a boil. This will be used to fill your jars.
Sterilize the Canning Jars and Lids
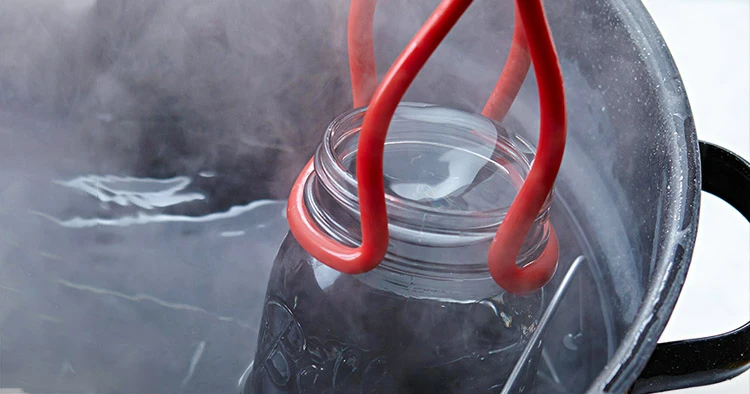
There are several ways to sterilize your jars. You can sterilize jars in the oven for 10-20 minutes. You could also place them in a pot of water and boil jars for several minutes. Alternately, you can place them in the dishwasher and keep them warm using the dry cycle until they are ready to be filled.
The lids and rings can be placed in a pot of simmering water until they are ready to used. The most important thing is to keep the jars warm right up until the point that they are filled.
Prepare Your Pressure Canner
Fill your pressure canner with hot water and place it on the stove top. Bring the water to a simmer and keep it hot until you are ready to add your jars.
Fill Your Jars
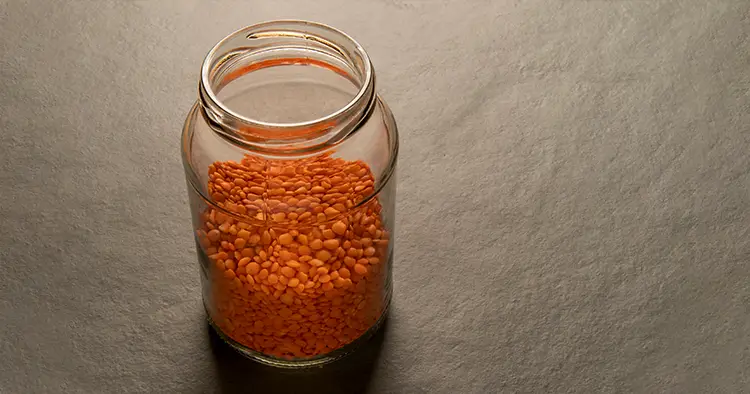
Place the hot canning jars on a clean surface. Using a funnel and a spoon, add the lentils to the jars, make sure they are filled evenly. Pour enough boiling water into each jar so that there is 1-inch of space left at the top of the jars. If you would like to add salt to the jars, add 1 teaspoon to each quart jar and ½ teaspoon to each pint jar. This is completely optional and just for flavor.
Using a bubble popper, remove any air bubbles that may be in the jar, and wipe the rims and sides of the jar with a clean cloth. It’s helpful to wipe the spills with a wet cloth and then with a dry cloth to remove all moisture.
Remove a jar lid from the simmering water, wipe the excess liquid off, and place it on top of the canning jar. Add a ring and screw it on by hand. Do not over-tighten!
Pressure Canning Lentils
Place the jars in the hot water of the pressure canner. They should not be touching each other. Make sure the water is at least 1 inch above the top of the jars. If it is not, simply add hot water to the correct level.
Seal the pressure canner lid and turn up the heat just a bit. Once the pressure valve starts rocking, start the timer.
A general rule is 90 minutes of processing for quart jars, and 75 minutes for pint jars. If you are at a high altitude, add extra time using this pressure canner altitude chart as a guideline. Of course, the best source would be your pressure canner manual, so refer to this for the correct processing times.
Once the processing time is up, turn the heat off and let the pressure canner release its pressure slowly. When the pressure has dissipated, remove the lid and lift the jars onto a clean towel to cool completely.
Storage and Use of Your Lentils
Store your canned lentils in a cool pantry, out of direct sunlight. It is safe to store them for a year. These lentils can be used in soups, stews, dals, salads, or eaten right out of the jar. If you experience gas issues while eating lentils, there are steps you can take to alleviate your symptoms.
We’d love to hear about your experience with canning lentils. Leave a comment below with your favorite way to enjoy lentils.