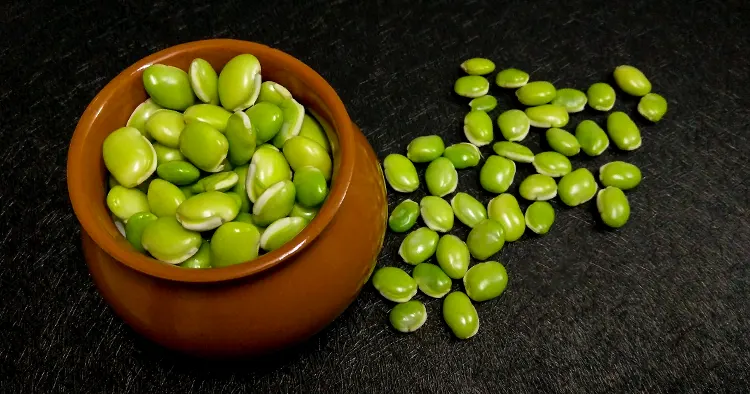
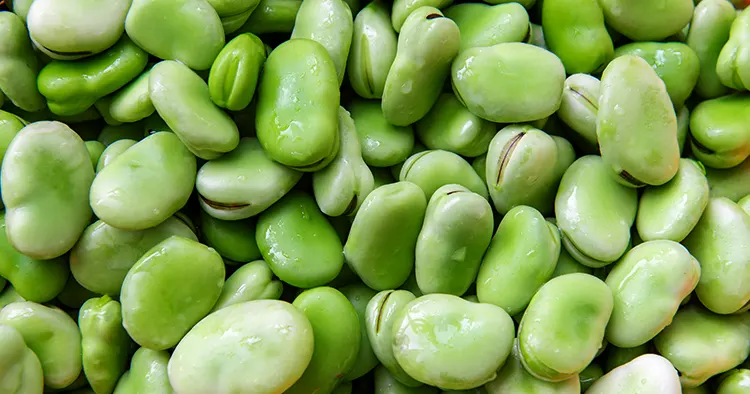
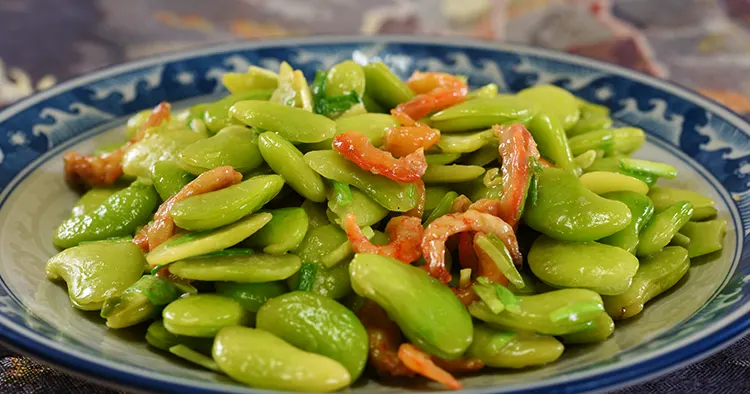
Fresh Lima Beans are delicious and versatile. Whether you have a bumper crop from your garden or the opportunity to visit a farmer’s market, canning fresh lima beans is a wonderful way to preserve them for quick, delicious meals.
Lima beans come in small or large sizes, and often exhibit a beautiful variety of colors. They can be a great addition to any soup, stew, side dish, or simply enjoyed on their own. Add some butter during the cooking process and you have classic butter beans.
Table of Contents
How Many Beans do I Need?
There are a couple of options to choose from, in terms of type and quantity. If you choose to use shelled, fresh beans, you will need 28 pounds (12.7 kilograms) to can 7 quarts (6.62 liters). Alternatively, you will need 18 pounds (8.1 kilograms) of fresh beans to can 9 pints (4.25 liters). There is an average of 4 pounds (1.8 kilograms) per quart and 2 pounds (.9 kilograms) per pint.
Canning in quart or pint jars is a personal preference. Depending on the size of your family, pint-size is good for side dishes. Quart sizes are great for soups, stews, and main dishes.
Note: you don’t have to wait until you gather 18 or 28 pounds of beans to can. Can what you have!
Preparing Fresh Lima Beans
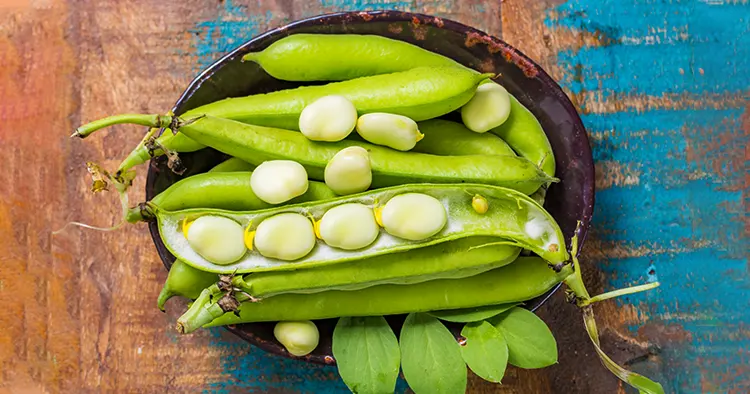
Lima beans grow on vines in pods. If you get a bushel of fresh-picked lima beans, remove the beans from the shells. The seeds should be green and plump. Throw away any seeds that show signs of insect damage or disease, such as a shriveled appearance or holes in the bean.
- Wash the beans in cool water to remove dirt and debris.
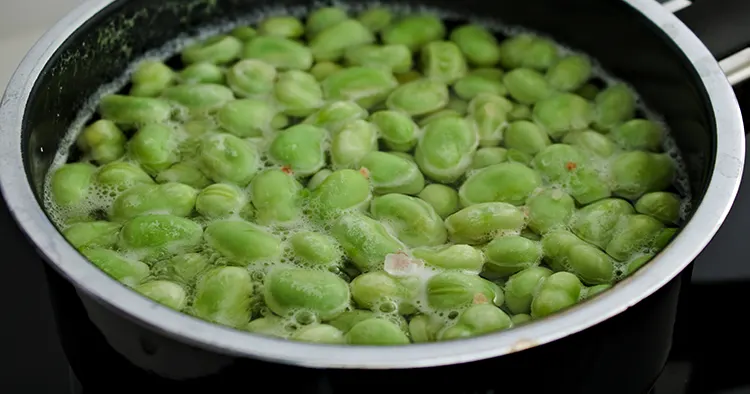
- Fresh lima beans can be canned using a hot pack or cold pack.
Hot or Cold Pack Options
Cold pack – place the raw beans straight into sterilized jars.
Hot pack – place the beans in a pot and cover them with boiling water. Heat to a boil. Strain the beans and place the hot beans into sterilized jars.
- Add boiling water to within 1 inch of the top of the pint jars. Leave 1 ¼ inches of space at the top of quart jars if your beans are larger. Leave 1 ½ inches of space at the top of quart jars if the beans are smaller.
- Add one teaspoon of salt to each jar if you like, but this is not necessary and entirely dependent on personal preference.
Gather Canning Supplies
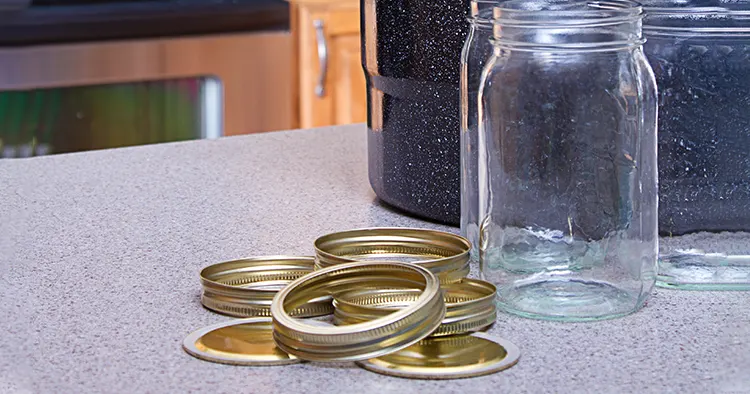
In addition to your Lima beans, have all of these supplies ready on a clean counter.
- Pressure Canner
- Large Saucepan
- Canning Jars
- Canning Lids and Rings
- Magnetic Lid Lifter
- Funnel
- Bubble Popper
- Jar Lifter
- Clean Towels
Note: If you are entirely new to pressure canning, please refer to this Start Guide.
Prepare the Pressure Canner
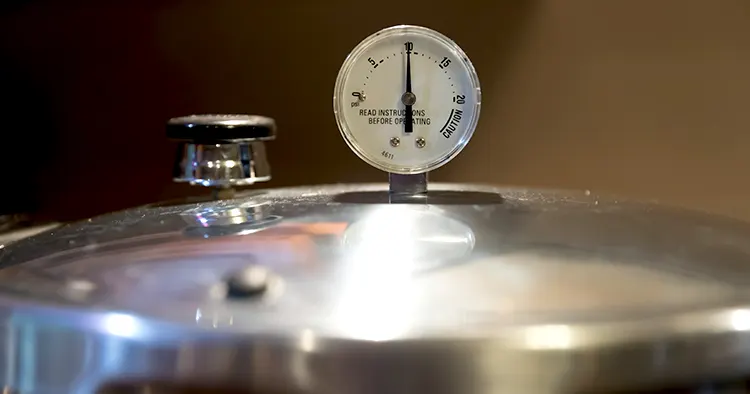
Place the metal rack in the bottom of the canner and add about 3 quarts of water. Heat the water to a simmer. You don’t need the lid on at this point.
Heating the water does two things. Hot water will build pressure quickly when you put the lid on the pressure canner and start processing, and you always want to place your hot jars into hot water for safety. (Temperature differences can cause canning jars to break.)
Sterilize the Jars and Lids
Your jars need to be clean and hot. You can do this in several ways.
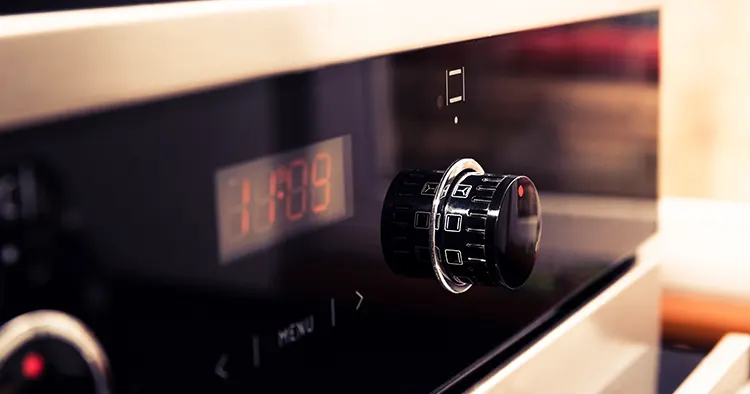
- Sterilize jars in the oven at 200 degrees F for 20 minutes.
- Sterilize jars in boiling water for 10 minutes.
- Run them through the dishwasher and keep them on the warm cycle until they are ready for canning. Make sure your dishwasher rinses the jars very well.
Place your lids and rings in a pan of hot water and bring them to a simmer.
Canning Fresh Lima Beans
- Remove your jars from the oven, hot water bath, or dishwasher.
- Fill your jars with beans (hot or cold). Using a funnel will ensure a neater process. To get the most beans into the jar, use a slotted spoon and add the beans. Then add boiling water until the jar is filled up to 1-inch from the top of the jar.
- At this point, you can add salt to the jar for flavor, but it is not necessary—1 teaspoon per quart and ½ teaspoon per pint.
- Using the bubble popper, remove any air bubbles that may be in the jar.
- Wipe the top of the jars with a wet and then dry rag. Make sure there are no food particles on the rim of the jar.
- Add the lids and rings. (Use the magnetic lid lifter to handle the lids and rings, as they will be hot!) The rings should be tightened just until you feel resistance. Do not over-tighten.
- Place the jars in the pressure canner using the jar lifter.
- Make sure the water in the pressure canner is at least one inch above the top of the jars. (Add hot water from the tap if needed.)
Processing Time
Place the top on the canner and turn on the heat.
Once the gauge starts rocking, start the timer.
Process the jars for the time required (see the table below for guidance). For more information about canning at altitude, check out our Pressure Canning Altitude Chart.
Here are some general guidelines:
If you have a dial gauge
Jar Size: Pints
Time: 40 Minutes
0-2,000 Feet Altitude: 11 lbs PSI
2,001 – 4,000 Feet Altitude: 12 lbs PSI
4,000 – 6,000 Feet Altitude: 13 lbs PSI
6,001 – 8,000 Feet Altitude: 14 lbs PSI
Jar Size: Quarts
Time: 50 Minutes
0-2,000 Feet Altitude: 11 lbs PSI
2,001 – 4,000 Feet Altitude: 12 lbs PSI
4,000 – 6,000 Feet Altitude: 13 lbs PSI
6,001 – 8,000 Feet Altitude: 14 lbs PSI
If you have a weighted gauge
Jar Size: Pints
Time: 40 Minutes
0 – 1,000 Feet Altitude: 10 lbs of pressure
Above 1,000 Feet Altitude: 15 lbs of pressure
Jar Size: Quarts
Time: 50 Minutes
0 – 1,000 Feet Altitude: 10 lbs of pressure
Above 1,000 Feet Altitude: 15 lbs of pressure
Source: National Center for Home Food Preservation
Once the time has elapsed, turn off the heat and allow the pressure canner to release steam naturally.
Once it is safe, remove the lid off the pressure canner and use the tongs to place the jars on a clean towel to cool completely.
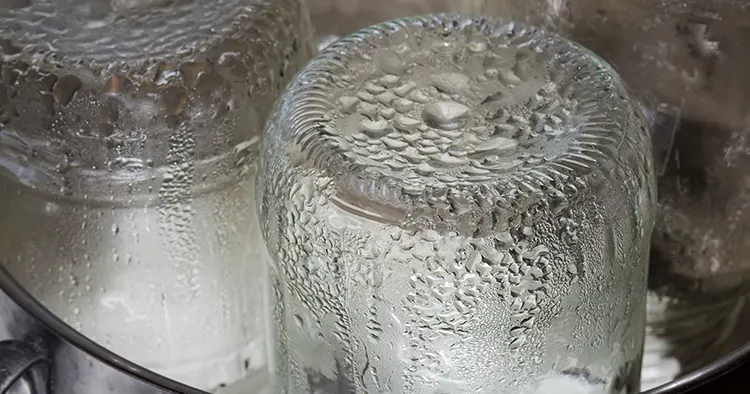
Check the Seals and Store
After the processing time has elapsed, remove the pressure canner from the heat and allow the pressure to dissipate slowly. Again, check your pressure canner manual for exact procedures on how long to wait to release the steam.
When it is safe, remove the pressure canner lid and use tongs to remove the jars from the hot water. Place the jars on a towel and allow them to cool completely.
Check to see if the jars have been sealed. If they haven’t, put that jar in the fridge and eat it within a few days.
If the jars have sealed properly, place the canned green beans in the pantry for use in the next 12 months.
Note: It can be normal for beans to soak up some of the boiling water in the jars. There’s no need to worry if this happens, as the beans are vacuum sealed and will stay fresh and moist.
Enjoy Your Canned Fresh Lima Beans
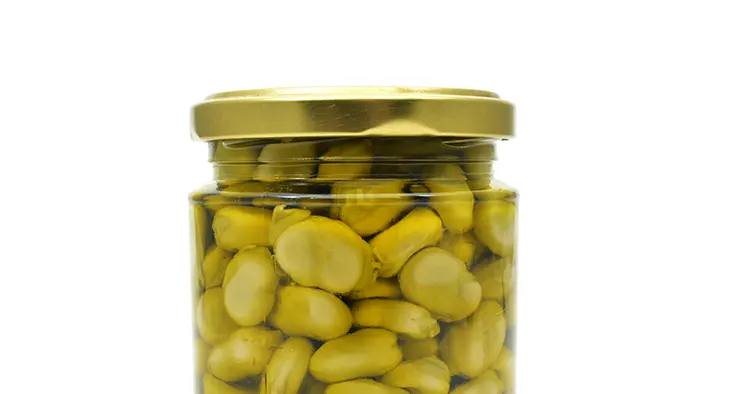
Canning fresh lima beans provides beans in your pantry that can be used in place of jars of store-bought lima or butter beans. The simplest way to enjoy them is to open a jar, pour them into a saucepan with the liquid, add some butter (and extra liquid if needed) and cook over medium heat until the beans are nice and hot. How do you like your lima beans?