In our series on canning beans, we’ve focused on several varieties. Navy beans are extremely popular beans and are commonly used in many basic cooking recipes. Canning navy beans and storing them will significantly benefit your pantry by saving both time and money.
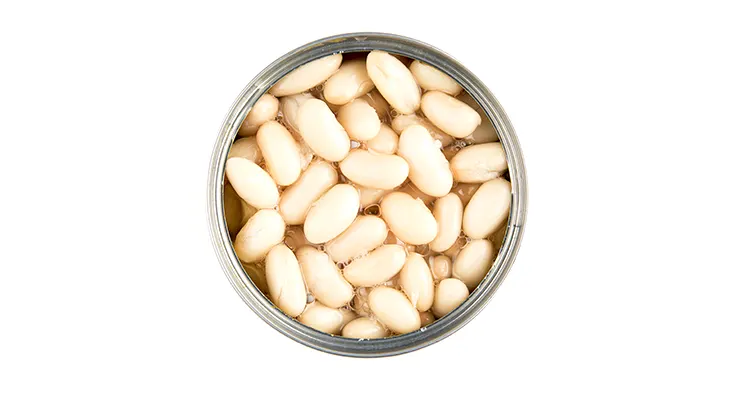
What are Navy Beans?
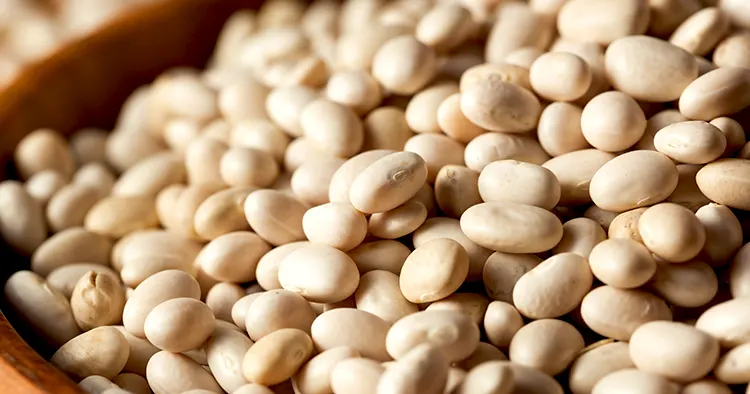
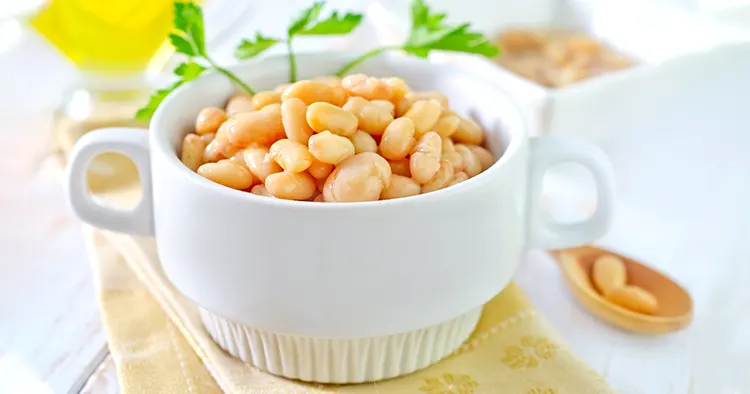
Navy beans are a white bean, about pea size, with an oval, slightly flattened shape. They have a dense flavor and are often used in Boston Baked Beans recipes or prepared with ham.
These beans get their name from sailors who used them as a staple food in the 19th century, this is largely due to their shelf life on the journey and notable nutritional value. You can also find them referred to as: haricot, pearl haricot bean, white pea bean, and Boston bean.
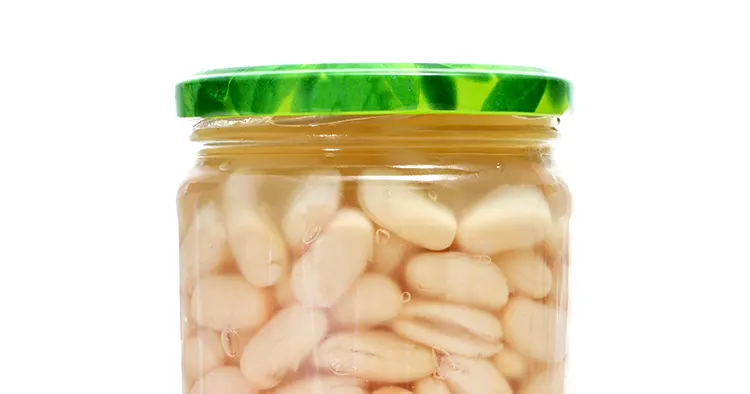
While you can store navy beans in their dried form in your pantry, you can also save future time and effort by pressure canning them. This will eliminate the soaking time when you are ready to cook.
Nutrition
The nutritional value in one cup of cooked navy beans is abundant and has:
- 255 Calories
- 47 grams carbohydrates
- 15 grams protein
- 1.1 grams of fat
- 19 grams of fiber
- 255 micrograms of folate
- 1 milligram manganese
- 0.4 milligrams thiamine
- 262 milligrams phosphorous
- 4.3 milligrams iron
- 96 milligrams magnesium
- 708 milligrams potassium
- 0.4 milligrams copper
- 126 milligrams calcium
- 0.3 milligrams vitamin B6
- 1.9 milligrams zinc
- 5.3 micrograms selenium
- 0.1 milligrams riboflavin
- 1.2 milligrams niacin
- 0.5 milligrams pantothenic acid
- 1.6 milligrams vitamin C
Health Benefits

Beans can be an excellent addition to a healthy diet. They contain numerous vitamins and minerals and have several benefits, including:
- Excellent for your brain function – studies have shown that beans combat depression.
- Rich in Antioxidants.
- Helps to Regulate Cholesterol.
- Support Heart Health as part of a nutritious diet.
- Aid in Weight Loss as they are notably high in fiber and very filling.
- Lowers Blood Sugar Levels.
How many Beans do I Need?
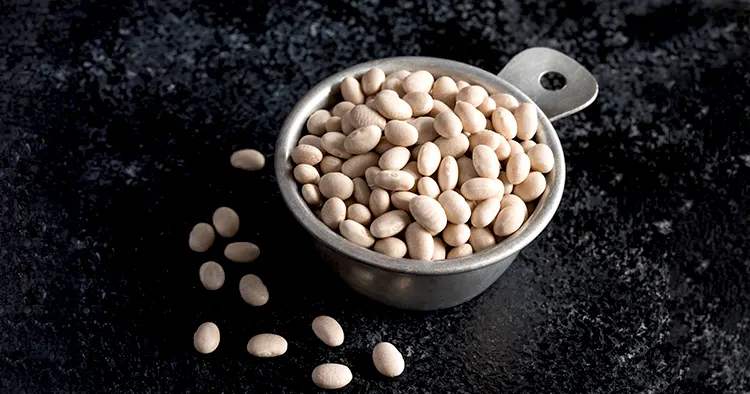
As a general rule, you will need:
- ½ cup (4 oz) of dry beans for each pint jar
- 1 cup (8 oz) of dry beans for each quart jar
Prepare the beans
Follow these steps to prepare the beans for canning:
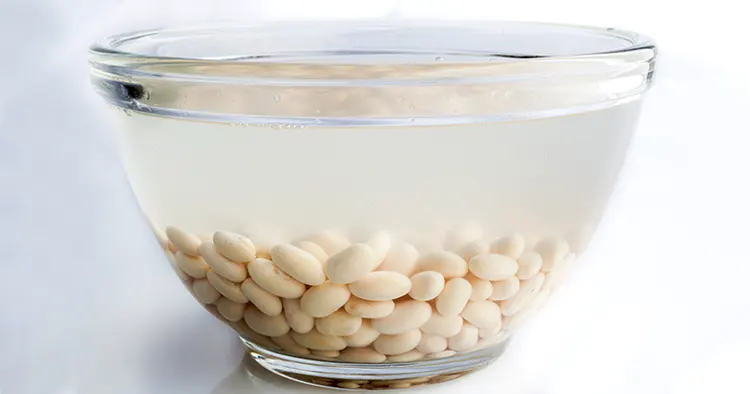
- Soak the beans overnight (or for at least 12-18 hours). Some people do not soak their beans, but it’s a good practice for several reasons. Firstly, this reduces bloating and gas caused by beans; it also reduces contaminants, speeds up cooking times, and reduces acid levels, which improves mineral absorption. Adding an optional two tablespoons of whey, vinegar, or lemon juice also helps break down the outer shell of the beans and enhances these benefits.
- Drain and rinse the beans.
- Add the beans to a large saucepan and cover them with fresh water by at least two inches.
- Bring the beans to a boil, stirring frequently. They are ready to place in jars.
Gather Canning Supplies
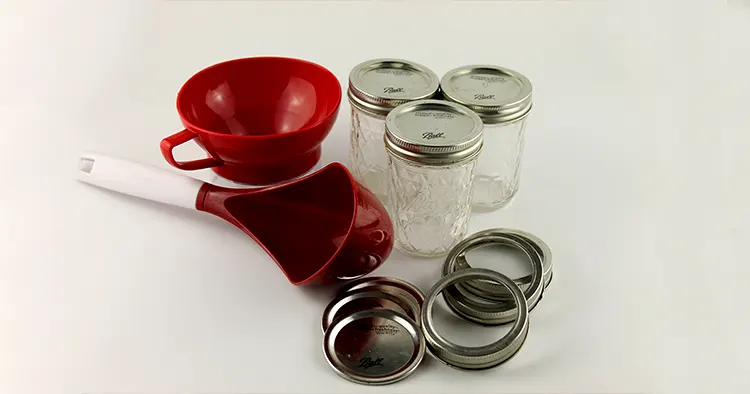
In addition to your green beans, have all of these supplies ready on a clean counter.
- Pressure canner
- Large Saucepan
- Canning Jars
- Canning Lids and Rings
- Magnetic Lid Lifter
- Funnel
- Bubble Popper
- Jar Lifter
- Clean Towels
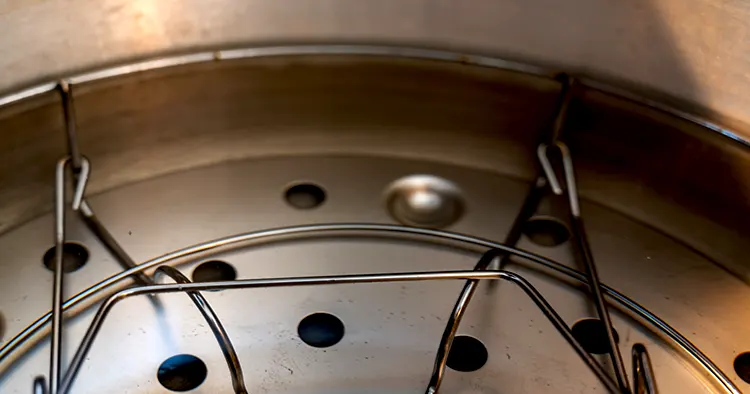
Prepare the Pressure Canner
Note: If you are entirely new to pressure canning, please refer to this Start Guide.
Place the metal rack at the bottom of the canner and add about 3 quarts of water. Heat the water to a simmer. You will not need the lid on at this point.
Heating the water does two things: the hot water will build pressure quickly when you put the lid on the pressure canner and start processing; and, you always want to place your hot jars into hot water for safety. (Temperature differences can cause canning jars to break.)
Sterilize the Jars and Lids
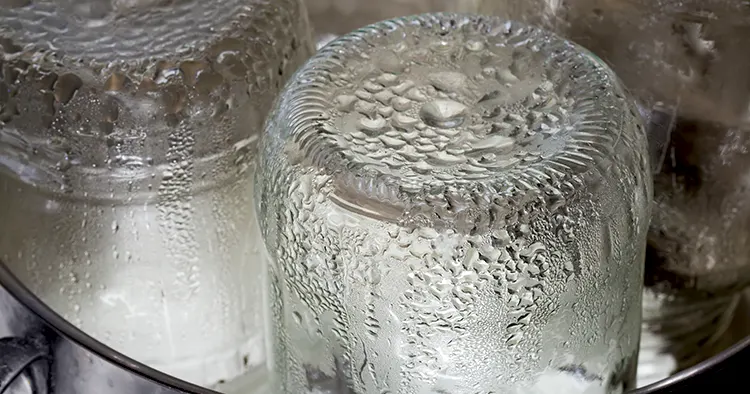
Your jars need to be clean and hot. You can do this in several ways:
- Sterilize jars in the oven at 200 degrees F for 20 minutes.
- Sterilize jars in boiling water for 10 minutes.
- Run the jars through the dishwasher and keep them on the warm cycle until they are ready for canning. Make sure your dishwasher rinses the jars thoroughly.
Place your lids and rings in a pan of hot water and bring them to a simmer.
Canning Navy Beans
- Remove your jars from the oven, hot water bath, or dishwasher.
- Fill your jars with hot beans. Using a funnel will ensure a neater process. Add the beans using a slotted spoon, this will allow you to fit the most beans into the jar. Then add the cooking liquid until the jar is filled to 1-inch from the top of the jar.
- At this point, you can add salt to the jar for flavor, but it is not necessary—1 tsp per quart and ½ tsp per pint.
- Using the bubble popper, remove any air bubbles that may be in the jar.
- Wipe the top of the jars with a wet and then dry rag. Make sure there aren’t any food particles on the rim of the jar.
- Add the lids and rings. (Use the magnetic lid lifter to handle the lids and rings, as they will be hot!) The rings should be tightened just until you feel resistance. Do not over-tighten.
- Place the jars in the pressure canner using the jar lifter.
- Make sure the water in the pressure canner is at least one inch above the top of the jars. (Add hot water from the tap if needed.)
Processing Time for Canning Navy Beans
Place the top on the canner and turn on the heat.
Once the gauge starts rocking, start the timer.
Process the jars for the time required (see the table below for guidance). For more information about canning at altitude, check out our Pressure Canning Altitude Chart.
If you have a Dial Gauge:
Jar Size: Pints
Processing Time: 75 Minutes
0 – 2,000 Feet in Altitude – 11 lbs. PSI
2,001 – 4,000 Feet in Altitude – 12 lbs. PSI
4,001 – 6,000 Feet in Altitude – 13 lbs. PSI
6,001 – 8,000 Feet in Altitude – 14 lbs. PSI
Jar Size: Quarts
Processing Time – 90 minutes
0 – 2,000 Feet in Altitude – 11 lbs. PSI
2,001 – 4,000 Feet in Altitude – 12 lbs. PSI
4,001 – 6,000 Feet in Altitude – 13 lbs. PSI
6,001 – 8,000 Feet in Altitude – 14 lbs. PSI
If you have a Weighted Gauge:
Jar Size: Pints
Processing Time – 75 minutes
0 – 1,000 Feet in Altitude – 10 lbs. PSI
Above 1,000 Feet in Altitude – 15 lbs. PSI
Jar Size: Quarts
Processing Time – 90 minutes
0 – 1,000 Feet in Altitude – 10 lbs. PSI
Above 1,000 Feet in Altitude – 15 lbs. PSI
Source: National Center for Home Food Preservation
If you have questions about canning at altitude, please see our Pressure Canning Altitude Chart.
Once the time has elapsed, turn off the heat and allow the pressure canner to release steam naturally.
Once it is safe, remove the lid off the pressure canner and use the tongs to place the jars on a clean towel to cool completely.
Check the Seals and Store
After the processing time has elapsed, remove the pressure canner from the heat and allow the pressure to dissipate slowly. Again, you will want to check your pressure canner manual for exact procedures on how long to wait to release the steam.
When it is safe, remove the pressure canner lid and use tongs to remove the jars from the hot water. Place them on a towel and allow them to cool completely.
Check to see if the jars have been sealed. If they haven’t, put that jar in the fridge and eat it within a few days.
If the jars have sealed properly, place the canned green beans in the pantry for use in the next 12 months.
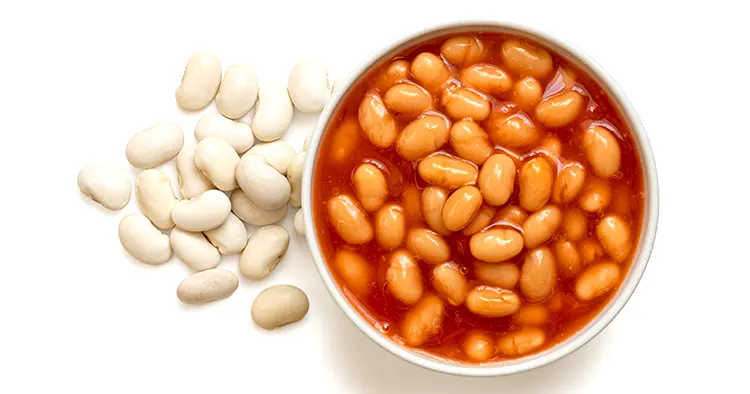
Enjoying your Canned Navy Beans
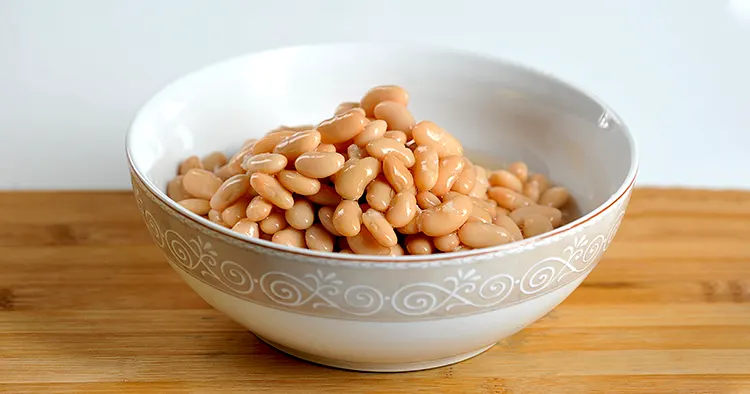
Canned navy beans are ready to eat right out of the can. Popular dishes include: beans and ham, bean salads, Boston baked beans, Barbeque Beans, Cassoulet, and white bean chili. Have you tried canning navy beans? We’d love to hear about it in the comments below!