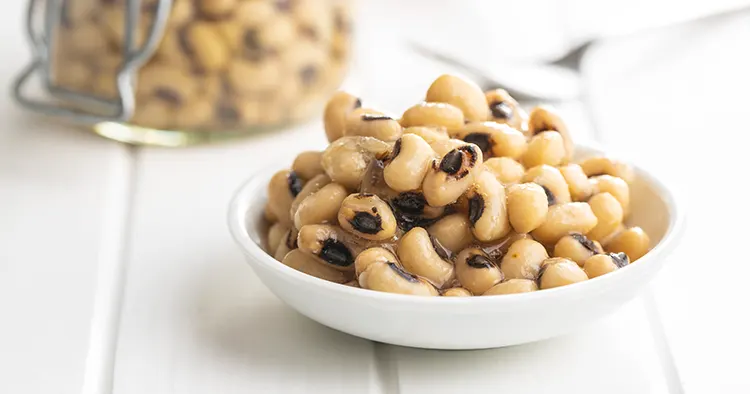
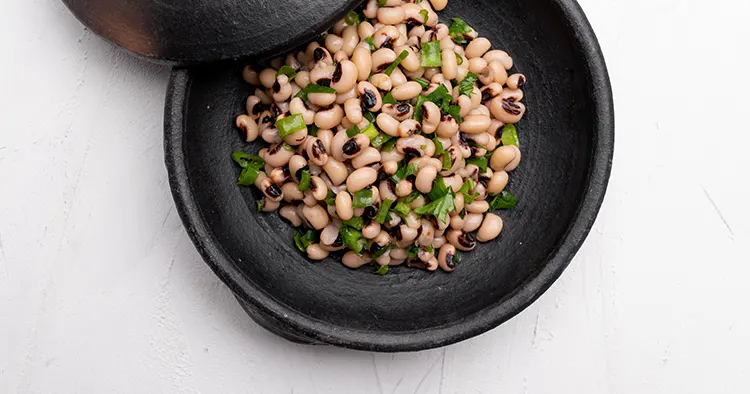
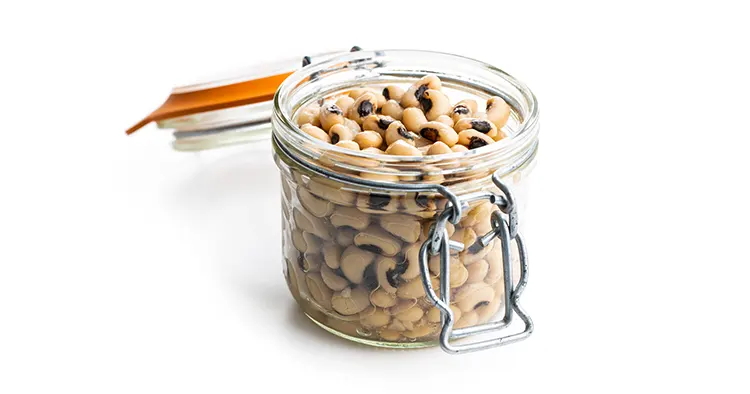
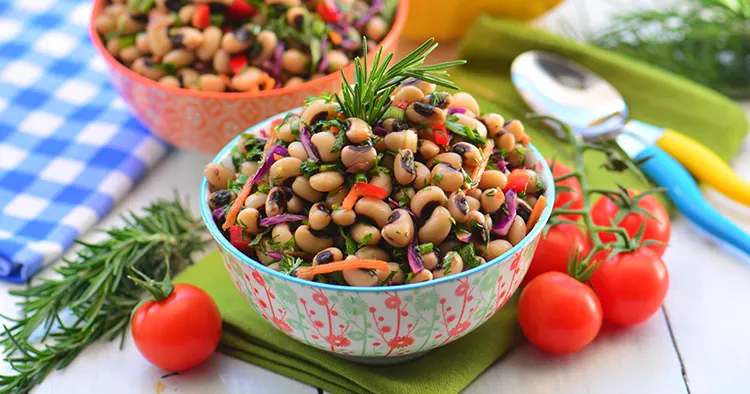
Often used in traditional southern dishes, black-eyed peas are actually a type of bean. You will recognize them by their creamy color and their signature black spot in the center.
It is unclear where black-eyed peas originated. Some say Asia and others say Africa. What is clear is that they were brought over to the United States via Africa during the slave trade. George Washington Carver (well known for his work with peanuts) is credited with its promotion and propagation. If you find yourself with extra peas, why not try pressure canning black-eyed peas.
Table of Contents
- About Black-eyed Peas
- Black-eyed Peas Nutrition
- How Many Black-Eyed Peas Do I Need?
- Preparing the Black-Eyed Peas
- Gather Canning Supplies
- Sterilize the Jars and Lids
- Prepare your Pressure Canner
- Pressure Canning Black-Eyed Peas
- Processing Time
- Check the Seals and Store
- What Can I Do with My Canned Black-eyed Peas?
About Black-eyed Peas
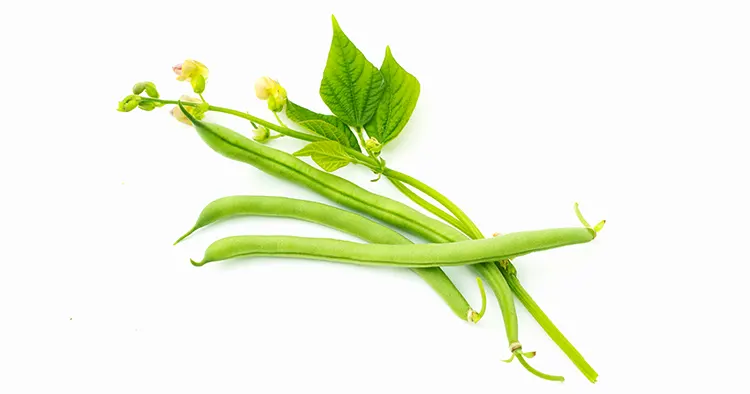
Black-eyed peas grow on a vine in pods. Once shelled, they are commercially canned or dried. If you use the black-eyed peas from the can, be sure to rinse the liquid before adding it to your dishes to control the sodium content. If you plan to use the dried black-eyed peas, there’s a little more work required, as you will need to soak and then cook them for a period of time before they are ready to eat.
Pressure canning black-eyed peas give you the best of both worlds. You get these delicious, ready-to-heat peas while also skipping the preservatives.
Black-eyed Peas Nutrition
Black-eyed peas are part of a healthy diet, as peas are high in fiber, which makes you feel full, lowers your cholesterol, and supports your digestive tract. They also contain large amounts of beta carotene; your body converts this beta carotene into vitamin A, which is incredibly beneficial for eye and skin health.
One cup of cooked black-eyed peas has:
- 160 Calories
- 0.6 grams of Fat
- 33.5 grams of Carbohydrates
- 5.2 grams of Proteins
- 8.3 grams of Fiber
- 5.3 grams of Sugar
They are high in folate, vitamin A, vitamin K, manganese, magnesium, and copper. All of which are excellent vitamins and minerals for your health.
How Many Black-Eyed Peas Do I Need?

Black-eyed peas can be canned in pint or quart-size jars. If you are interested in replacing the canned peas from the store, choose a pint jar.
For a canner load of 9-pint jars, you will need about 3 pounds, 6 ounces (1.5 kilograms) of dried peas. This works out to about 6 ounces (175 grams) of peas per pint.
For a canner load of 7-quart jars, you will need about 5 pounds, 4 ounces (2.38 kilograms) of dried peas. This works out to about 12 ounces (340 grams) of peas per quart.
Preparing the Black-Eyed Peas
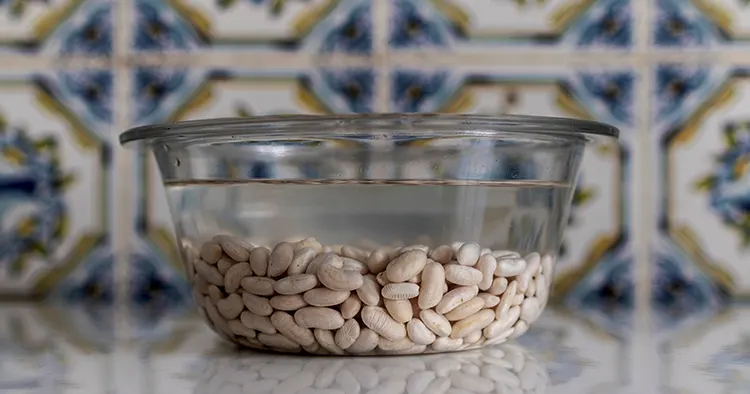
The peas need to be softened a bit before putting them in the pressure canner.
You can do this by:
- Soaking them overnight in a pot of water
- Or, place them in a pot of water and bring them to a boil. Boil them for 2 minutes, turn off the heat and the let them stand for an hour.
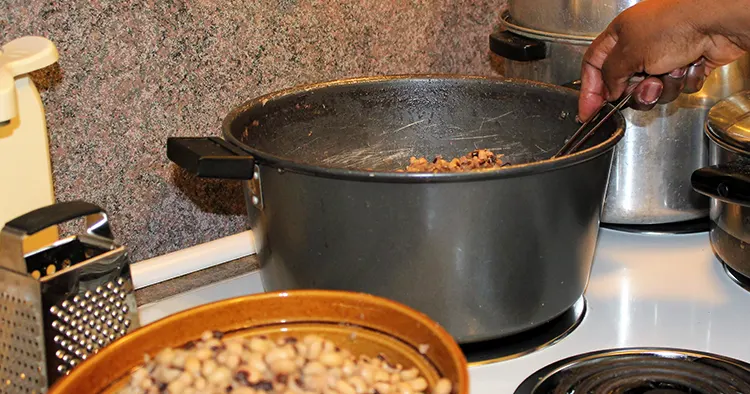
After the peas are soaked, drain the water. Add fresh water to the pot and bring the peas to a boil for 30 minutes. Keep them warm until you are ready to place them in the jars.
Gather Canning Supplies
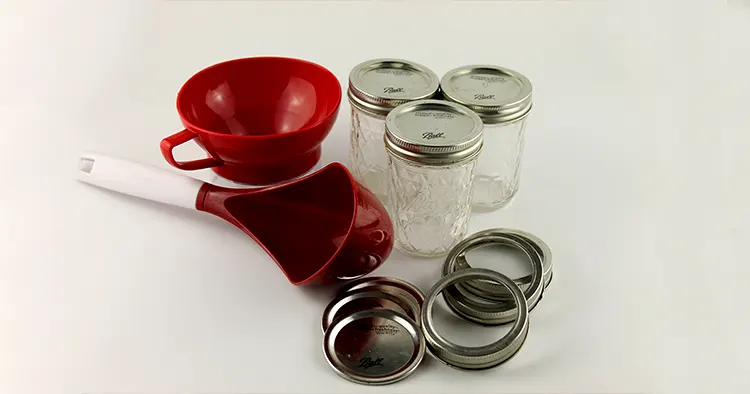
In addition to your black-eyed peas, have all of these supplies ready on a clean counter.
- Pressure Canner
- Large Saucepan
- Canning Jars
- Canning Lids and Rings
- Magnetic Lid Lifter
- Funnel
- Bubble Popper
- Jar Lifter
- Clean Towels
Sterilize the Jars and Lids
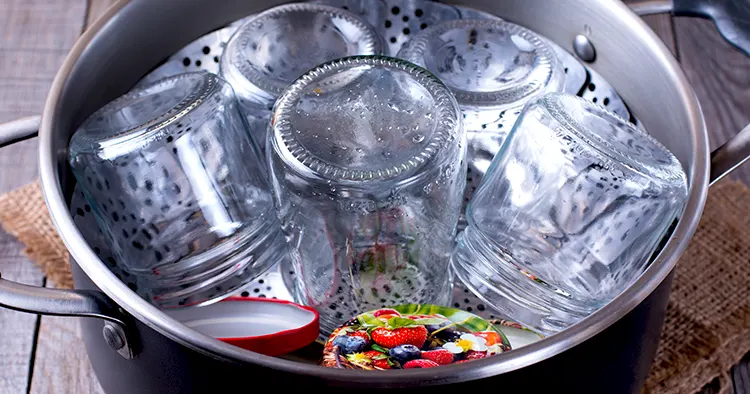
Your jars need to be clean and hot. You can do this in several ways:
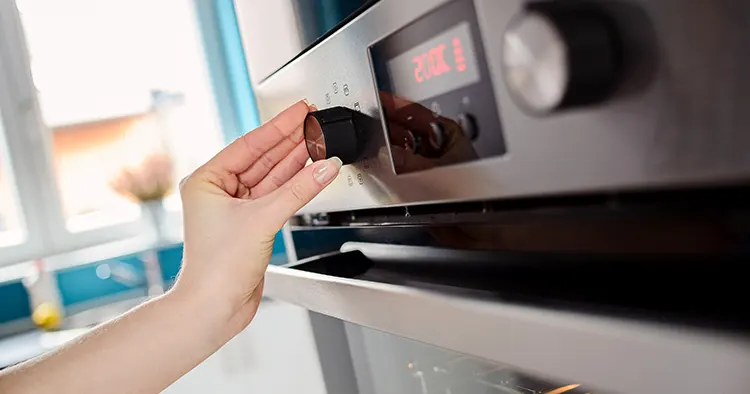
- Sterilize jars in the oven at 200 degrees F for 20 minutes.
- Sterilize jars in boiling water for 10 minutes.
- Run the jars through the dishwasher and keep them on the warm cycle until they are ready for canning. Make sure your dishwasher rinses the jars very well.
Prepare your lids according to the directions on the box of lids. Most recommend washing them in hot soapy water, rinsing them well, and setting them aside until ready to place on the jars.
Prepare your Pressure Canner
Fill your pressure canner with hot water (or any water) and bring it to a simmer on the stove. Hot jars need to be placed in hot water to prevent breaking.
Pressure Canning Black-Eyed Peas
- Remove your jars from the oven, hot water bath, or dishwasher.
- Fill your jars with hot peas. Using a funnel will ensure a neater process. To get the most peas into the jar, use a slotted spoon and add the peas. Then add the cooking liquid until the jar is filled up to 1-inch from the top of the jar.
- At this point, you can add salt to the jar for flavor, but it is not necessary—1 tsp per quart and ½ tsp per pint.
- Using the bubble popper, remove any air bubbles that may be in the jar.
- Wipe the top of the jars with a wet and then dry rag. Make sure there aren’t any food particles on the rim of the jar.
- Add the lids and rings. (Use the magnetic lid lifter to handle the lids and rings, as they will be hot!) The rings should be tightened just until you feel resistance. Do not over-tighten.
- Place the jars in the pressure canner using the jar lifter.
- Make sure the water in the pressure canner is at least one inch above the top of the jars. (Add hot water from the tap if needed.)
Processing Time
Place the top on the canner and turn on the heat.
Once the gauge starts rocking, start the timer.
Process the jars for the time required (see the table below for guidance). Check out our Pressure Canning Altitude Chart for more information about canning at altitude.
If you have a Dial Gauge:
Jar Size: Pints
Processing Time: 75 Minutes
0 – 2,000 Feet in Altitude – 11 lbs. PSI
2,001 – 4,000 Feet in Altitude – 12 lbs. PSI
4,001 – 6,000 Feet in Altitude – 13 lbs. PSI
6,001 – 8,000 Feet in Altitude – 14 lbs. PSI
Jar Size: Quarts
Processing Time – 90 minutes
0 – 2,000 Feet in Altitude – 11 lbs. PSI
2,001 – 4,000 Feet in Altitude – 12 lbs. PSI
4,001 – 6,000 Feet in Altitude – 13 lbs. PSI
6,001 – 8,000 Feet in Altitude – 14 lbs. PSI
If you have a Weighted Gauge:
Jar Size: Pints
Processing Time – 75 minutes
0 – 1,000 Feet in Altitude – 10 lbs. PSI
Above 1,000 Feet in Altitude – 15 lbs. PSI
Jar Size: Quarts
Processing Time – 90 minutes
0 – 1,000 Feet in Altitude – 10 lbs. PSI
Above 1,000 Feet in Altitude – 15 lbs. PSI
Source: National Center for Home Food Preservation
Once the time has elapsed, turn off the heat and allow the pressure canner to release steam naturally.
Once it is safe, remove the lid off the pressure canner and use the tongs to place the jars on a clean towel to cool completely.
Check the Seals and Store
After the processing time has elapsed, remove the pressure canner from the heat and allow the pressure to dissipate slowly. Again, you will want to check your pressure canner manual for exact procedures on how long to wait to release the steam.
When it is safe, remove the pressure canner lid and use tongs to remove the jars from the hot water. Place them on a towel and allow them to cool completely.
Check to see if the jars have been sealed. If they haven’t, put that jar in the fridge and eat it within a few days.
If the jars have sealed properly, place the canned black-eyed peas in the pantry for use in the next 12 months.
What Can I Do with My Canned Black-eyed Peas?
Instead of using a can of peas purchased from the store, the next time you think about black-eyed peas, go to your pantry and open a fresh can.
- Eat them right out of the jar – heated or cold
- Drain them and place them on a salad
- Make Hoppin’ John, a traditional dish said to bring luck made with black-eyed peas , ham, onion, and red pepper
- Add them to ham and collard greens
- Add them to a soup or chili as an alternative to other beans