Green beans are one of the most popular side dishes and can be prepared in a variety of ways. They are generally available from a can, frozen, or fresh. Be it a green bean casserole around the holidays; salads filled with several times of beans, drizzled with fresh Italian dressing; or, simply popping open a can, heating them, and serving with meat and potatoes, the options are endless. So, when you find yourself with extra green beans from the garden or farmer’s market, why not try canning green beans?
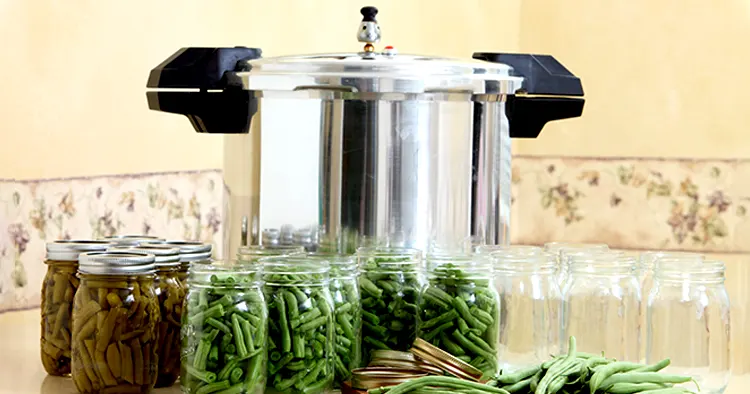
Green beans must be canned in a pressure canner. Water bath canners were typically used in the past, but the current recommendation is to use a pressure canner. Green beans are low in acid and at risk of botulism (a toxin known to grow in foods that are not properly preserved). It is important to make sure your produce is fresh, all canning processes are followed, and your green beans are sealed and stored properly.
Table of Contents
Types of Green Beans
There are several varieties of green beans. The directions in this guide apply to most beans found on the market. Here are a few:
Bush Beans
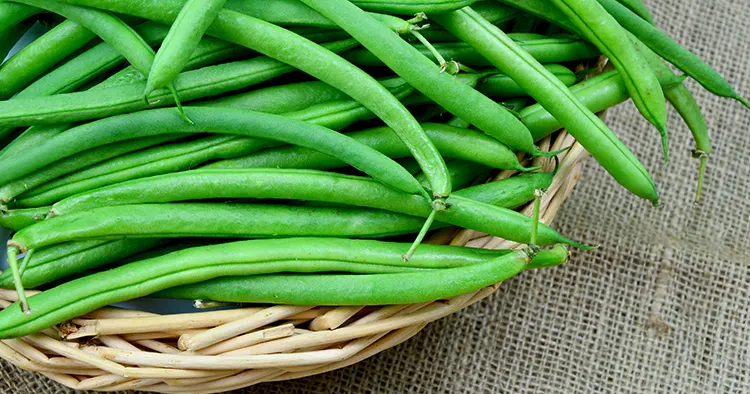
Bush Beans, named because they grow on the ground instead of having to be trained on a trellis, are the most common beans you’ll find. The plants are about 2 feet tall, they all mature during a few-week period, and they are easy for farmers to harvest. Canning folks love bush beans because there are always large amounts of beans ready to can at the same time.
Pole Beans
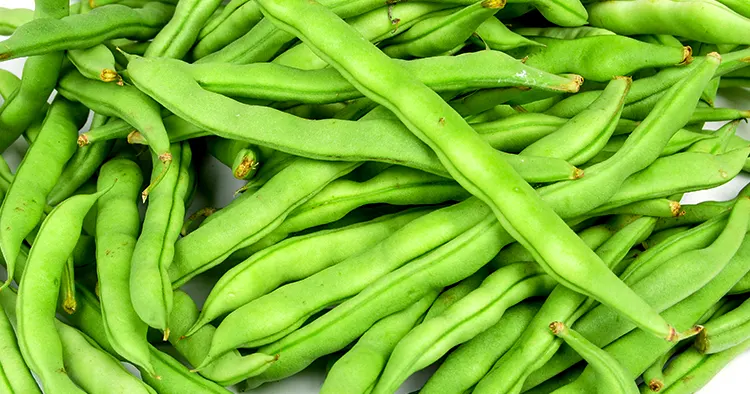
Pole Beans produce a similar bean, but the plants grow up to 20 feet tall, and thus need a trellis set up for them to climb up. They are perfect for home gardens as they take up less space and producing over 6-8 weeks.
Haricots Verts
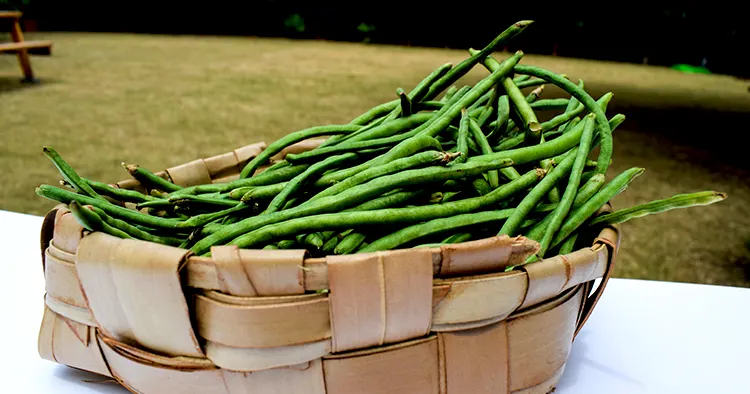
Haricots Verts – This is French for green beans. They are skinnier and tender and harvested when they are young for a great flavor.
Italian Green Beans
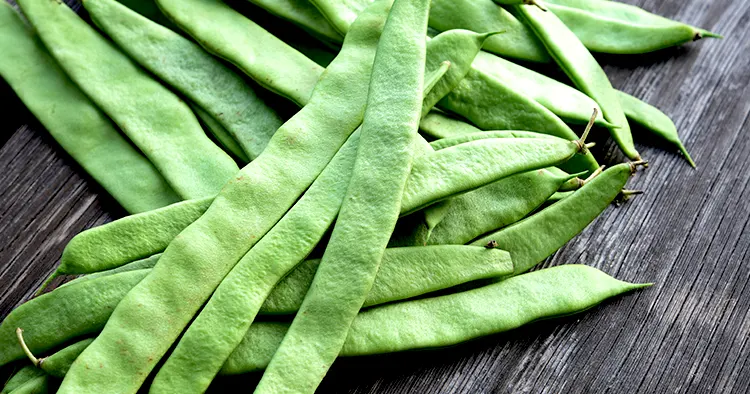
Italian Green Beans – Also called Romano beans, they are wide and flat. They can come from a vine or a bush.
Wax Beans
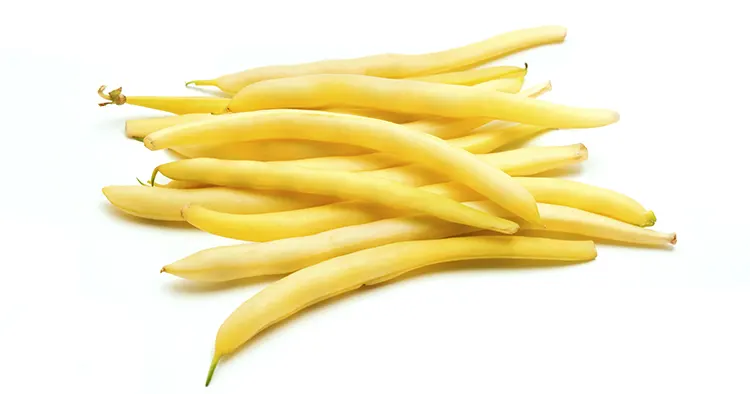
Wax beans are simply green beans that are yellow in color, this is because they don’t produce chlorophyll like the green varieties.
How many beans?
Here is the amount of beans you need to gather for canning green beans.
- 14 pounds (6.35 kilograms) of beans for 7 quarts.
- 9 pounds (4.08 kilograms) of beans for 9 pints
Preparing the beans
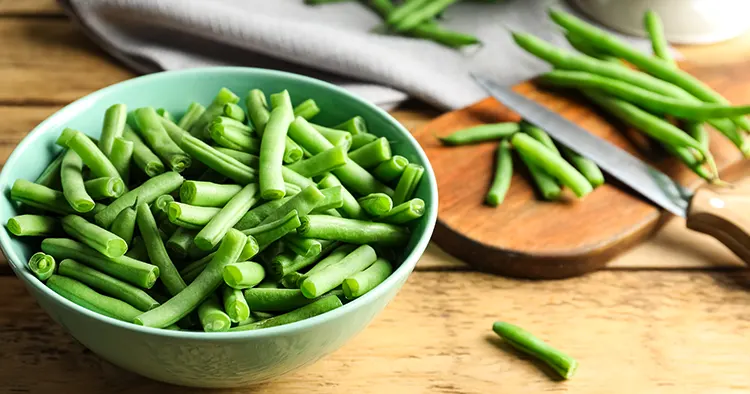
Break off the stems, then either snap or cut them into bite-size pieces. (Fresh beans will snap in half with pressure from your fingers – some people find this preparation easier, but it makes no difference in processing.)
Hot vs. Cold Pack
There are two methods for canning green beans – either using a hot or cold pack. It’s all a matter of taste and time. The hot pack is precooked and might be a little more tender. I’ve used a cold pack and the outcome is delicious. They are both easy processes, so the choice is up to you.
Hot Pack – Boil the beans for 5 minutes before packing them into hot jars.
Cold Pack – Place the raw beans in jars; pack them down as tight as you can.
Canning Supplies
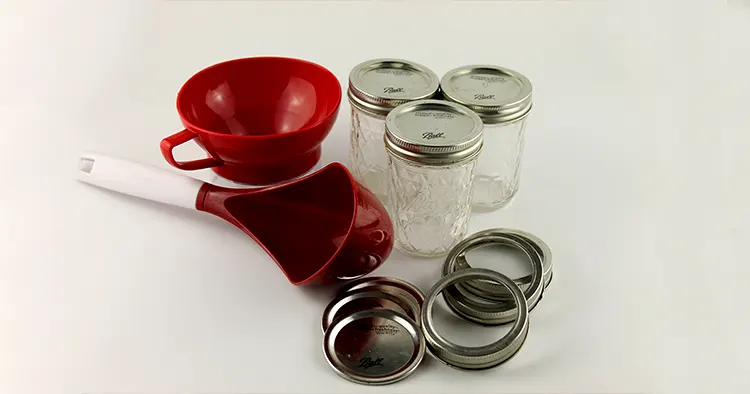
In addition to your green beans, have all of these supplies ready on a clean counter.
- Pressure canner
- Large Saucepan
- Canning Jars
- Canning Lids and Rings
- Magnetic Lid Lifter
- Funnel
- Bubble Popper
- Jar Lifter
- Clean Towels
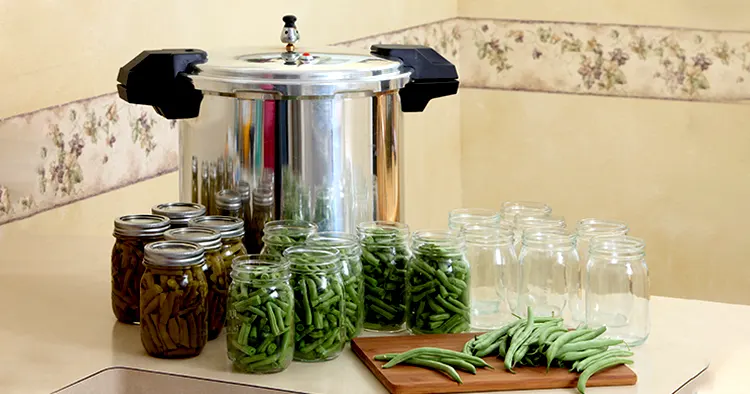
Prepare the Pressure Canner and Saucepan
Note: If you are completely new to pressure canning, please refer to this Start Guide.
Place the metal rack in the bottom of the canner and add about 3 quarts of water. Heat the water to a simmer. You don’t need the lid on at this point.
Heating the water is important as hot water will build pressure quickly when you put the lid on the pressure canner and start processing. You always want to place your hot jars into hot water for safety. (Temperature differences can cause canning jars to break.)
Place a large saucepan of water on the stove and bring it to a boil. This will be used to fill your jars.
Sterilize the Jars and Lids
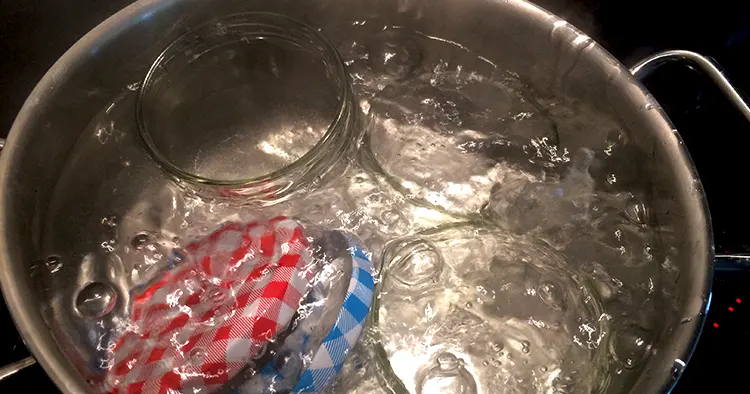
Your jars will need to be both clean and hot. You can do this in several ways.
- Sterilize jars in the oven at 200 degrees F for 20 minutes.
- Sterilize jars in boiling water for 10 minutes.
- Run them through the dishwasher and keep them on the warm cycle until they are ready for canning. Make sure your dishwasher rinses the jars very well.
Place your lids and rings in a pan of hot water and bring them to a simmer.
Time to Can Green Beans
- Remove your jars from the oven, hot water bath, or dishwasher.
- Fill your jars with hot or raw beans. It’s beneficial to use a funnel here, as this will ensure a neater process.
- Fill the rest of the jar with boiling water. Use a funnel to add the water as well. Leave 1 inch of headspace on the top of the jar. At this point, you can add salt to the jar for flavor, but it is not necessary—1 tsp per quart and ½ tsp per pint.
- Using the bubble popper, remove any air bubbles that may be in the jar.
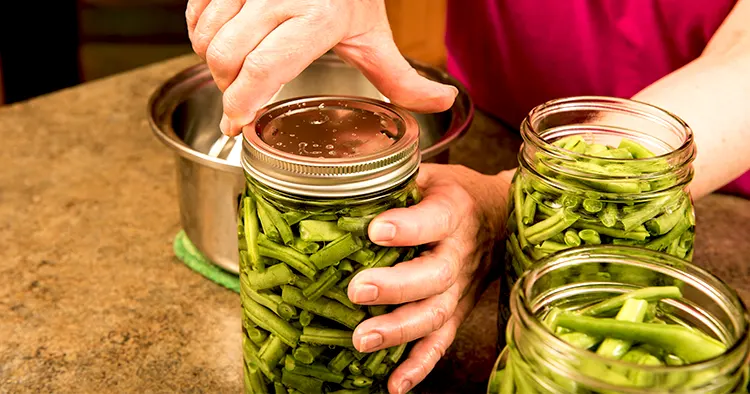
- Wipe the top of the jars with a wet and then dry rag. Make sure there are no food particles on the rim of the jar.
- Add the lids and rings. (Use the magnetic lid lifter to handle the lids and rings, as they will be hot!) The rings should be tightened just until you feel resistance. Do not over-tighten.
- Place the jars in the pressure canner using the jar lifter.
- Make sure the water in the pressure canner is at least one inch above the top of the jars. (Add hot water from the tap if needed.)
Processing Time

Place the top on the canner and turn on the heat.
Once the gauge starts rocking, start the timer.
Process the jars for the time required (see below for guidance).
If you have a Dial Gauge:
Style of Pack: Hot & Raw
Jar Size: Pints
Process Time: 20 minutes
Jar Size: Quarts
Process Time: 25 minutes
0 – 2,000 Feet Altitude: 11 Lbs PSI
2,001 – 4,000 Feet Altitude: 12 Lbs PSI
4,001 – 6,000 Feet Altitude: 13 Lbs PSI
6,0001 – 8,000 Feet Altitude: 14 Lbs PSI
If you have a Weighted Gauge:
Style of Pack: Hot & Raw
Jar Size: Pints
Process Time: 20 minutes
Jar Size: Quarts
Process Time: 25 minutes
0 – 1,000 Feet Altitude: 10 Lbs PSI
Above 1,000 Feet Altitude:15 Lbs PSI
Source: National Center for Home Food Preservation
For more information about canning at altitude, see our Pressure Canning Altitude Chart. Once the time has elapsed, turn off the heat and allow the pressure canner to release steam naturally.
Once it is safe, remove the lid off the pressure canner and use the tongs to place the jars on a clean towel to cool completely.
Check the Seals and Store
After the processing time has elapsed, remove the pressure canner from the heat and allow the pressure to dissipate slowly. Again, you will want to check your pressure canner manual for the exact procedures on how long to wait in order to release the steam.
When it is safe, remove the pressure canner lid and use tongs to remove the jars from the hot water. Place them on a towel and allow them to cool completely.
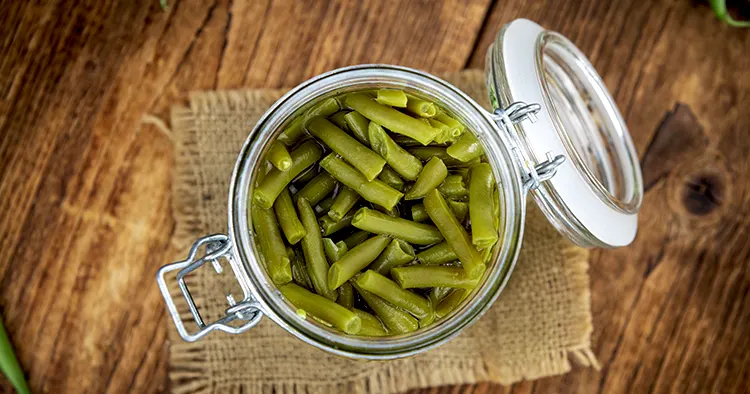
Check to see if the jars have been sealed. If they haven’t, put that jar in the fridge and eat them within a few days.
If the jars have sealed properly, place the canned green beans in the pantry for use in the next 12 months.
Nutrition for Green Beans
Green Beans are excellent for your diet. Here are the nutrition facts per ½ cup of raw green beans. Keep in mind that adding salt will add sodium.
- 31 Calories
- 7.1 grams Carbohydrates
- 1.8 grams Protein
- .1-gram Fat
- 3.4 grams Fiber
- 16.3 milligrams Vitamin C (27% of the recommended daily value)
- 14.4 micrograms Vitamin K (18% of the recommended daily value)
- 690 IU (International Units) Vitamin A (14% of the recommended daily value)
- .2 milligrams Manganese (11% of the recommended daily value)
- 37 micrograms Folate (9% of the recommended daily value)
- .1 milligram Thiamine (6% of the recommended daily value)
- .1 milligram Riboflavin (6%of the recommended daily value)
- 25 milligrams Magnesium (6% of the recommended daily value)
- 209 milligrams Potassium (6% of the recommended daily value)
Enjoying your Canned Green Beans
Green beans can be eaten right out of the can to enjoy a fresh taste from your garden all year long. Some enjoy green beans in side dishes or casseroles. If you have an excess of green beans from your garden or a local farmer, try canning green beans today. I hope you try canning green beans as they are one of the easiest things to can. Let us know about your canning experience!