Who doesn’t love a bowl of hot chili on a cold winter’s day? It’s a classic and simply delicious. Sure, you could buy several cans of processed kidney beans from the supermarket, and it would taste just fine (although some might detect a sort of tinny taste); however, the better, and healthier, option is to make homemade chili using dried beans from your pantry. And so, for the benefit of both health and taste, try canning kidney beans!
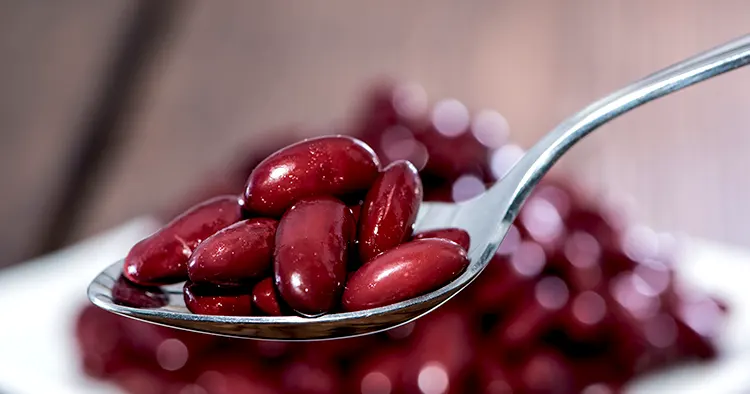
Kidney Beans
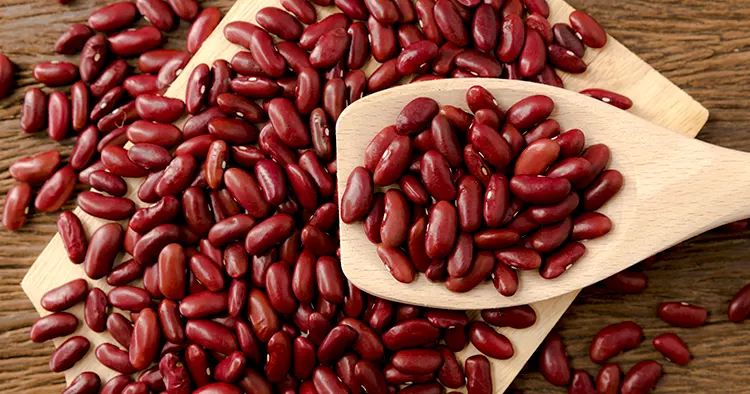
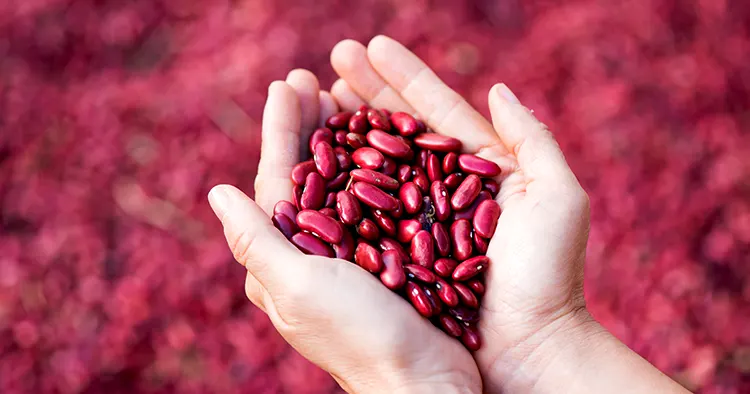
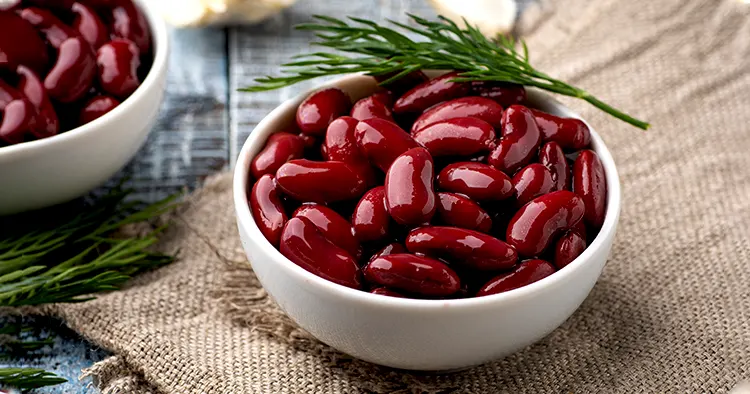
While most people think of kidney beans as being red, the truth is that kidney beans can be found in shades of red, white, purple, black, or even light green. They can also be striped, spotted, or speckled. Kidney beans are native to North and Central America, so they’re commonly used in recipes from these regions, but they have also become a significant source of protein throughout the world.
How Many Beans Do I Need?

Depending on the number of beans used at one time, it’s best to choose pint or quart jars. For reference, a pint jar would be equivalent to a can from the supermarket. Many chili recipes call for multiple cans of beans, so a one-quart jar might be appropriate. One of the great things about canning anything, kidney beans in this case, is that you get to choose the best serving size for your family.
You will need:
- 6 ounces (175 grams of dried kidney beans per pint (1/2 litre) jar
- ¾ pound (350 grams) of dried kidney beans per quart (litre) jar
Preparing Kidney Beans
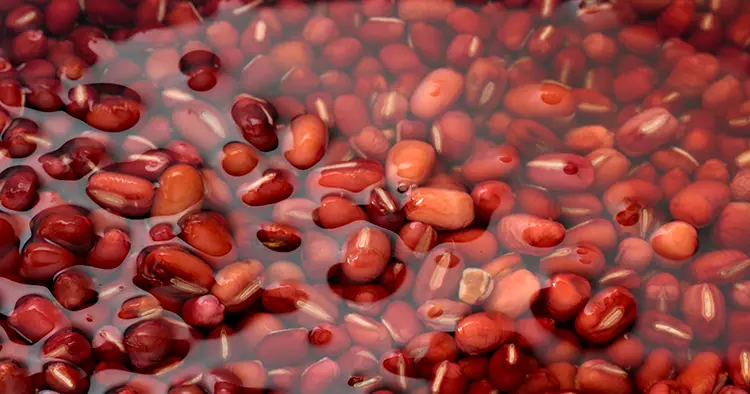
Before canning kidney beans, it is always important to soak your beans in order to remove any toxins that could cause the body discomfort. Soaking is a simple process and you can do this in a couple of ways:
- Place the kidney beans in a bowl and cover with cool water. Let them sit in that water overnight. When ready to use, pour out the water and rinse the beans with cool water.
- Place the kidney beans in a saucepan, cover with water, and bring the beans to a boil. Boil the beans for two minutes, turn off the water and let the beans sit in the hot water for one hour. When ready to use, pour out the water and rinse the beans with cool water. This is often called a “quick soak.”
After the beans have been soaked, place them in a pot covered with fresh water and boil them for 30 minutes. Once this is done, they are now ready for canning.
Gather Your Canning Supplies
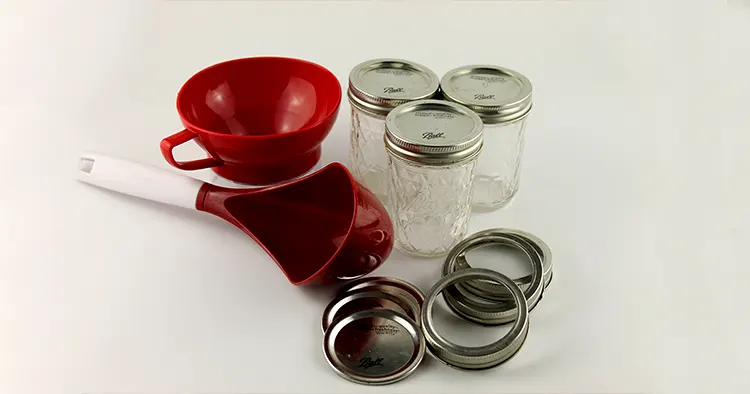
Prepare your Jars
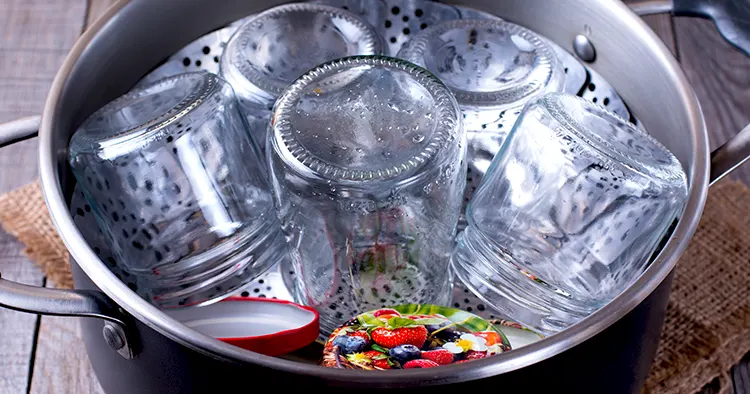
Your jars need to be clean and hot. You can do this in several ways.
- Sterilize jars in the oven at 200 degrees F for 20 minutes.
- Sterilize jars in boiling water for 10 minutes.
- Run them through the dishwasher and keep them on the warm cycle until they are ready for canning.
Place your lids and rings in a pan of hot water and bring them to a simmer.
Add 3 quarts of water to your canner and place it over the burner to heat it. The pressure canner should be near the boiling point when you add the jars, and should also have a rack on the bottom.
Place a large saucepan of water on the stove and bring it to a boil. This will be used to fill your jars.
Canning Kidney Beans
- Remove your jars from the oven, hot water bath, or dishwasher.
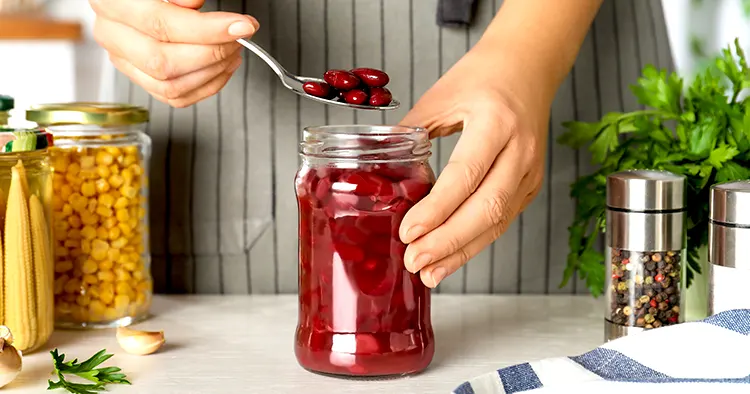
- Fill your jars with kidney beans. Use a slotted spoon to remove the beans from the hot liquid and add them to the jars. They should sit in the jar naturally – do not pack them down. Use a funnel to keep it neat.
- Add boiling water (or the water from the pot of kidney beans); fill it to within 1 inch of the top of the jar.
- Remove bubbles with a bubble popper, chopstick, or dull knife.
- Clean the rim of the jar by wiping it with a wet and then a dry rag. Make sure there isn’t any water or residue on the rim – where the lid meets the jar.
- Add the lid and then screw on the ring. Do not over-tighten.
- Add the jars to the pressure canner.
Processing Time
As there are many pressure canners on the market, you will want to consult your manual for specific instructions. For more information about altitude and canning, check out our Pressure Canning Altitude Chart.
Here are some general guidelines:
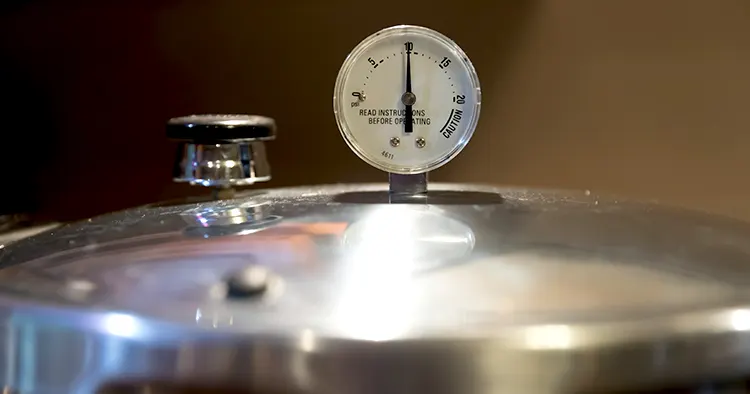
If you have a dial gauge
Jar Size: Pints
Time: 75 Minutes
0-2,000 Feet Altitude: 11 lbs PSI
2,001 – 4,000 Feet Altitude: 12 lbs PSI
4,000 – 6,000 Feet Altitude: 13 lbs PSI
6,001 – 8,000 Feet Altitude: 14 lbs PSI
Jar Size: Quarts
Time: 90 Minutes
0-2,000 Feet Altitude: 11 lbs PSI
2,001 – 4,000 Feet Altitude: 12 lbs PSI
4,000 – 6,000 Feet Altitude: 13 lbs PSI
6,001 – 8,000 Feet Altitude: 14 lbs PSI
If you have a weighted gauge
Jar Size: Pints
Time: 75 Minutes
0 – 1,000 Feet Altitude: 10 lbs of pressure
Above 1,000 Feet Altitude: 15 lbs of pressure
Jar Size: Quarts
Time: 90 Minutes
0 – 1,000 Feet Altitude: 10 lbs of pressure
Above 1,000 Feet Altitude: 15 lbs of pressure
Source: National Center for Home Food Preservation
Finishing the Canning Process

After the processing time has elapsed, remove the pressure canner from the heat and allow the pressure to slowly dissipate. Again, you will want to check your pressure canner manual for exact procedures on how long to wait to release the steam.
When it is safe, remove the pressure canner lid and use tongs to remove the jars from the hot water. Place them on a towel and allow them to cool completely.
After canning the kidney beans, check to see if the jars have sealed. If they haven’t, put that jar in the fridge and eat it within a few days.
If the jars have sealed properly, place the jars in the pantry for use in the next 12 months.
Kidney Beans are Healthy!
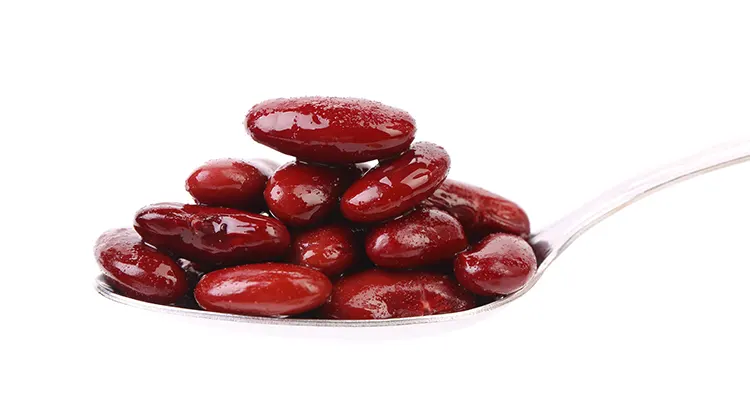
Most people eat kidney beans because they are full of protein, but they are also a great source of fiber and low in calories.
Here’s the nutritional break-down of 3.5 ounces (100 grams) of boiled kidney beans:
- 127 Calories
- 0.5 grams of Fat
- 22.8 grams of Carbohydrates
- 0.3 grams of Sugar
- 6.4 grams of Fiber
- 8.7 grams of Protein
Kidney beans are also rich in multiple vitamins and minerals such as: Iron, Copper, Folate, Molybdenum, Manganese, Potassium, and Vitamin K.
Unless you are cutting back on carbohydrates, kidney beans are a great addition to a healthy diet.
Kidney Bean Downsides
I’m not sure why you would, but raw kidney beans are toxic to eat and should not be consumed until cooked. That’s why pressure canning is so great – it thoroughly cooks the beans in the process and creates a perfectly safe dish. Soaking and cooking the beans eliminates this toxin. Canning kidney beans is a great way to safely preserve this legume.
Some people shy away from kidney beans because of undesirable side effects such as gas and bloating. If you are looking for some suggestions on handling this side effect, please hop on over to this article – although it talks about lentils and gas, the same techniques can be applied to kidney beans. It’s always a good idea to properly soak and cook any bean, and then consume them in smaller quantities so you can gauge your body’s reaction, as well as allowing your body get used to the extra fiber.
Enjoying Your Canned Kidney Beans
Canning kidney beans is easy and they can be enjoyed by themselves, with rice, in soup or stews, in side dishes like 3-bean salads. They can be eaten cold or hot. Just pop open a jar and enjoy! What’s your favorite dish to make with kidney beans?